Craftswomen come up with something new every time and modernize embroidery techniques. Even if the method appeared in ancient times, it is not much similar to the process that was originally used to make paintings and products. One of these methods of creating paintings is diamond embroidery, which is popular due to its low entry threshold. This article will tell and show everything for diamond embroidery, how embroidery is done, the diamond technique and the history of its origin.
What's happened
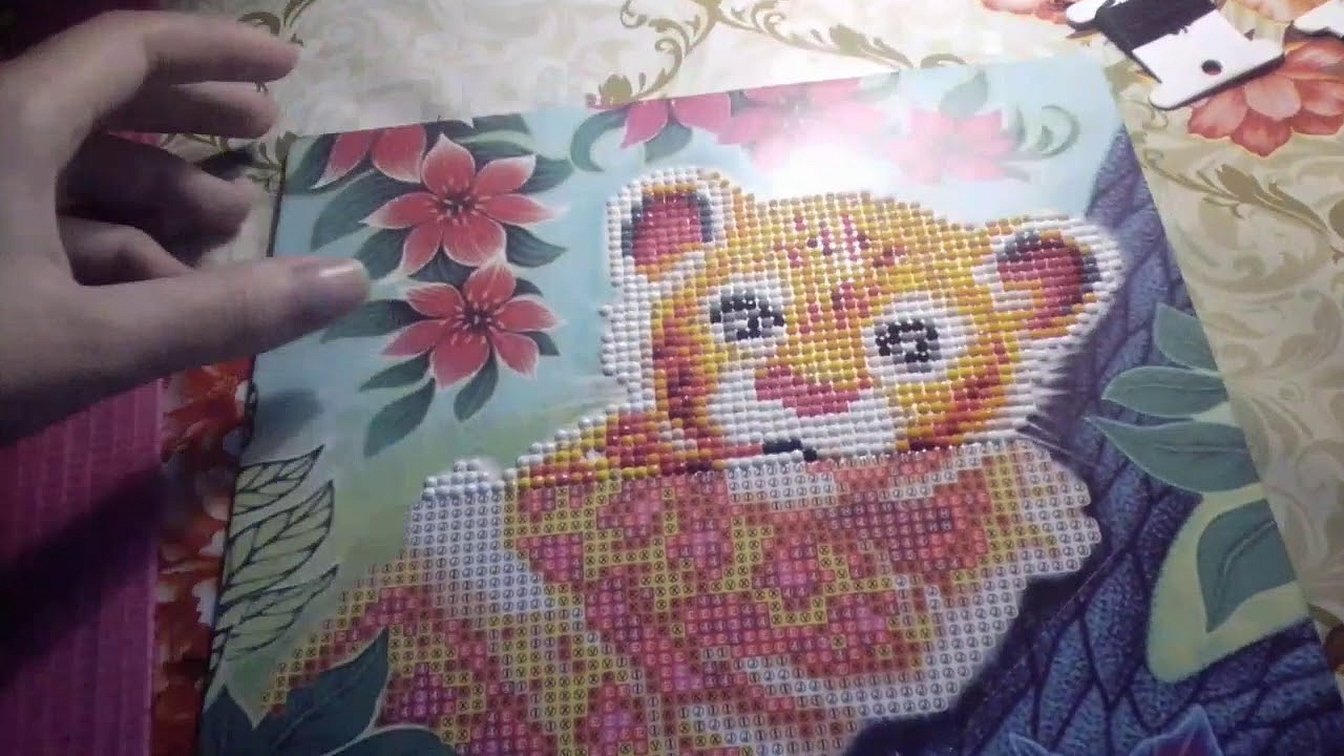
The diamond embroidery technique is based on laying out pictures, scenes and landscapes using rhinestones according to certain patterns that are taken from the Internet or invented independently. Often, patterns for bead or cross stitch embroidery are used for this, but unlike these types of handicrafts, embroidery tools such as a needle and thread are not needed here. Only with tweezers and colored rhinestones can you create very beautiful pictures in a relatively short time. The use of simple patterns eliminates mistakes even for the smallest and most inexperienced craftswomen. To complete the process, you need patience and accuracy, which will allow you to create beautiful pictures.
Story
The technique was first used in Ancient Greece before our era. At that time, it began with decorating the clothes of rich people. For this, they did not use rhinestones, since they did not exist yet, but jewelry or pearls. They laid out patterns and abstractions on sleeves and collars, and fixed them with glue or wax. Naturally, only a few people could afford such a pleasure.
Important! The technique was further disseminated when used in decorative and applied arts and the design of paintings containing landscapes, scenes and still lifes. Here, simple beads of lapis lazuli or clay of different colors were used more and more often.
When glass was first produced in Rome, it immediately became popular to use it in mosaic art. Decoration became more accessible: beads were used to decorate clothes, and flat pieces were used to decorate the facades of houses. After lead, antimony, or bone meal were added to glass, it turned into a cloudy smalt. This opaque enamel was used to make paintings and stained glass windows in the castles of wealthy people.
Development of diamond mosaic
Like any method of decorative art, diamond embroidery developed and modernized. In the Middle Ages, the so-called glass beads first appeared, which became the ancestor of diamond embroidery. Already at that time, canvas was used as a canvas on which there were markings for cross-stitching. Colored pieces were laid out on it along the contours, having previously soaked the canvas in wax.
In Russia in the 19th century, noble women and court servants sewed with beads. Using glass beads, they made:
- Wallets;
- Paintings and icons;
- Robes;
- Bracelets and jewelry.
At some point, the method faded away and lost popularity, but was revived with the development of decorative and applied techniques in the mid-twentieth century. It was at this time that the terms "diamond embroidery" and "diamond laser mosaic" began to be used.

In the 21st century, the technique was improved even more. Today, it is used to decorate panels or decorate interior items. All you need to get started is to buy a special kit in a sewing store or online. You can master the principles using the instructions, which are often included in the kit.
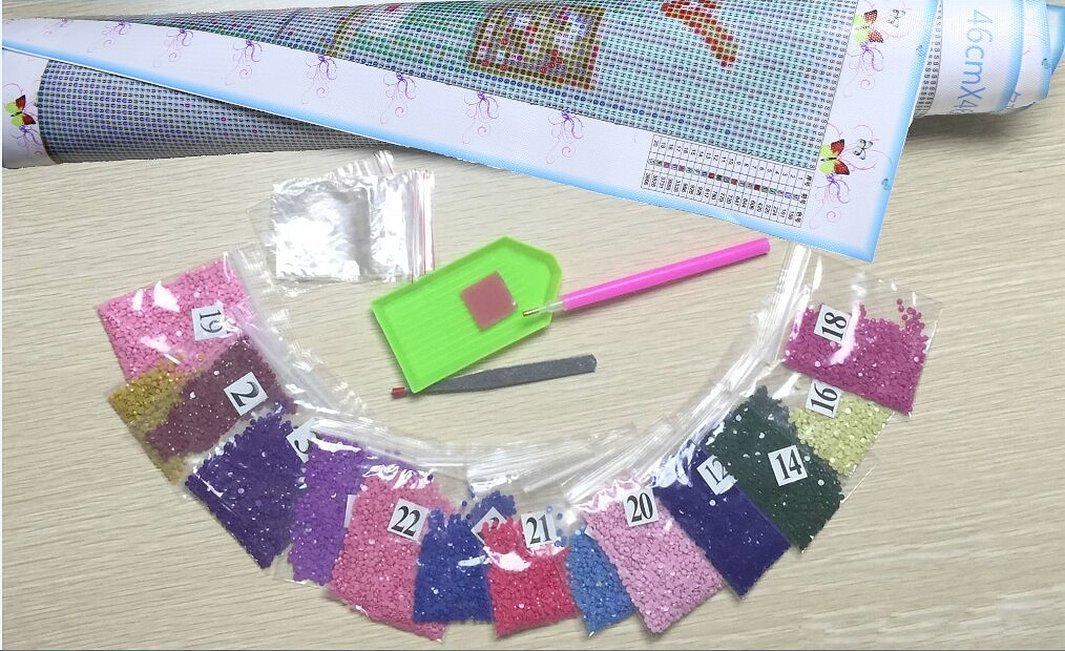
Composition of the sets
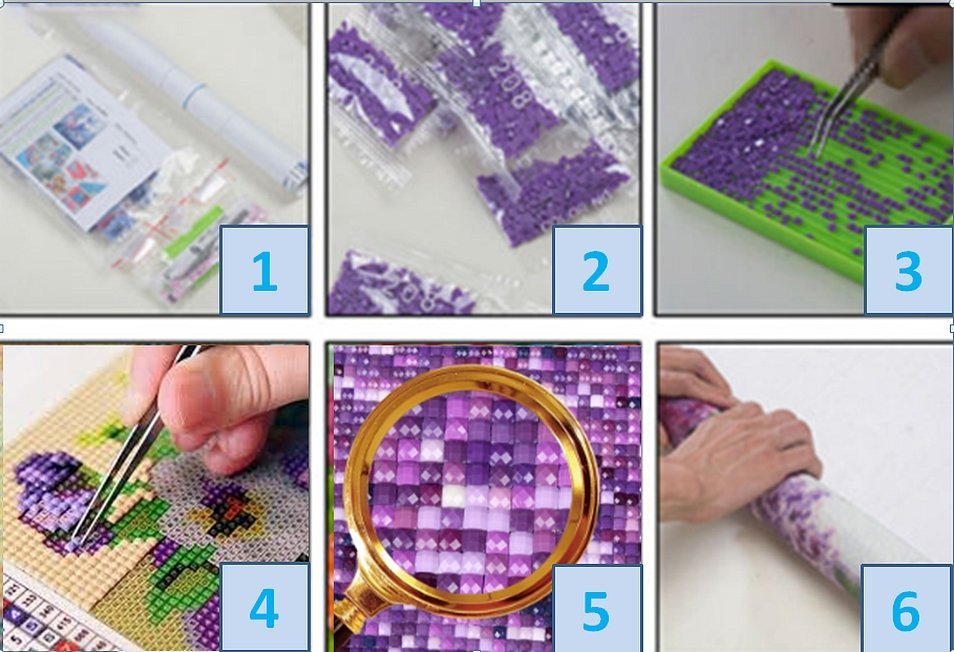
The kits include all the necessary materials to create beautiful mosaic pictures. They include a base, which is usually made of paper or fabric with an adhesive applied. The base may differ in the composition of the glue and the surface itself, but the rhinestones are all the same and are made of acrylic. It is acrylic that allows you to achieve the effect of sparkling rhinestones, both in artificial and natural light.
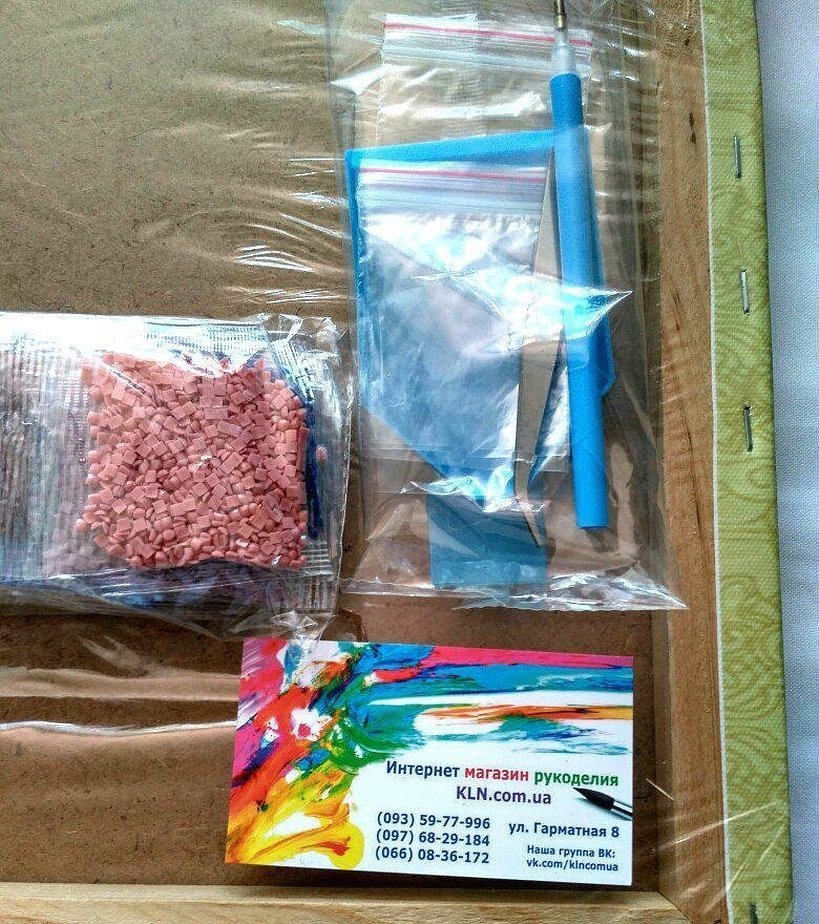
The kit should also include small tweezers, with which the stones are placed on the base, and a stylus with gel, which allows you to conveniently stick the stones. Most often, the second one must be purchased separately, but it is worth it, because the end of the stylus is filled with gel, with which it is easy to take the stones and attach them to the desired place.
Important! You can buy everything separately and probably save money, but in doing so you will spend a lot of time and effort searching for each specific item. The most convenient option is to order a complete set online or in a specialized store for needlewomen.

Types of schemes
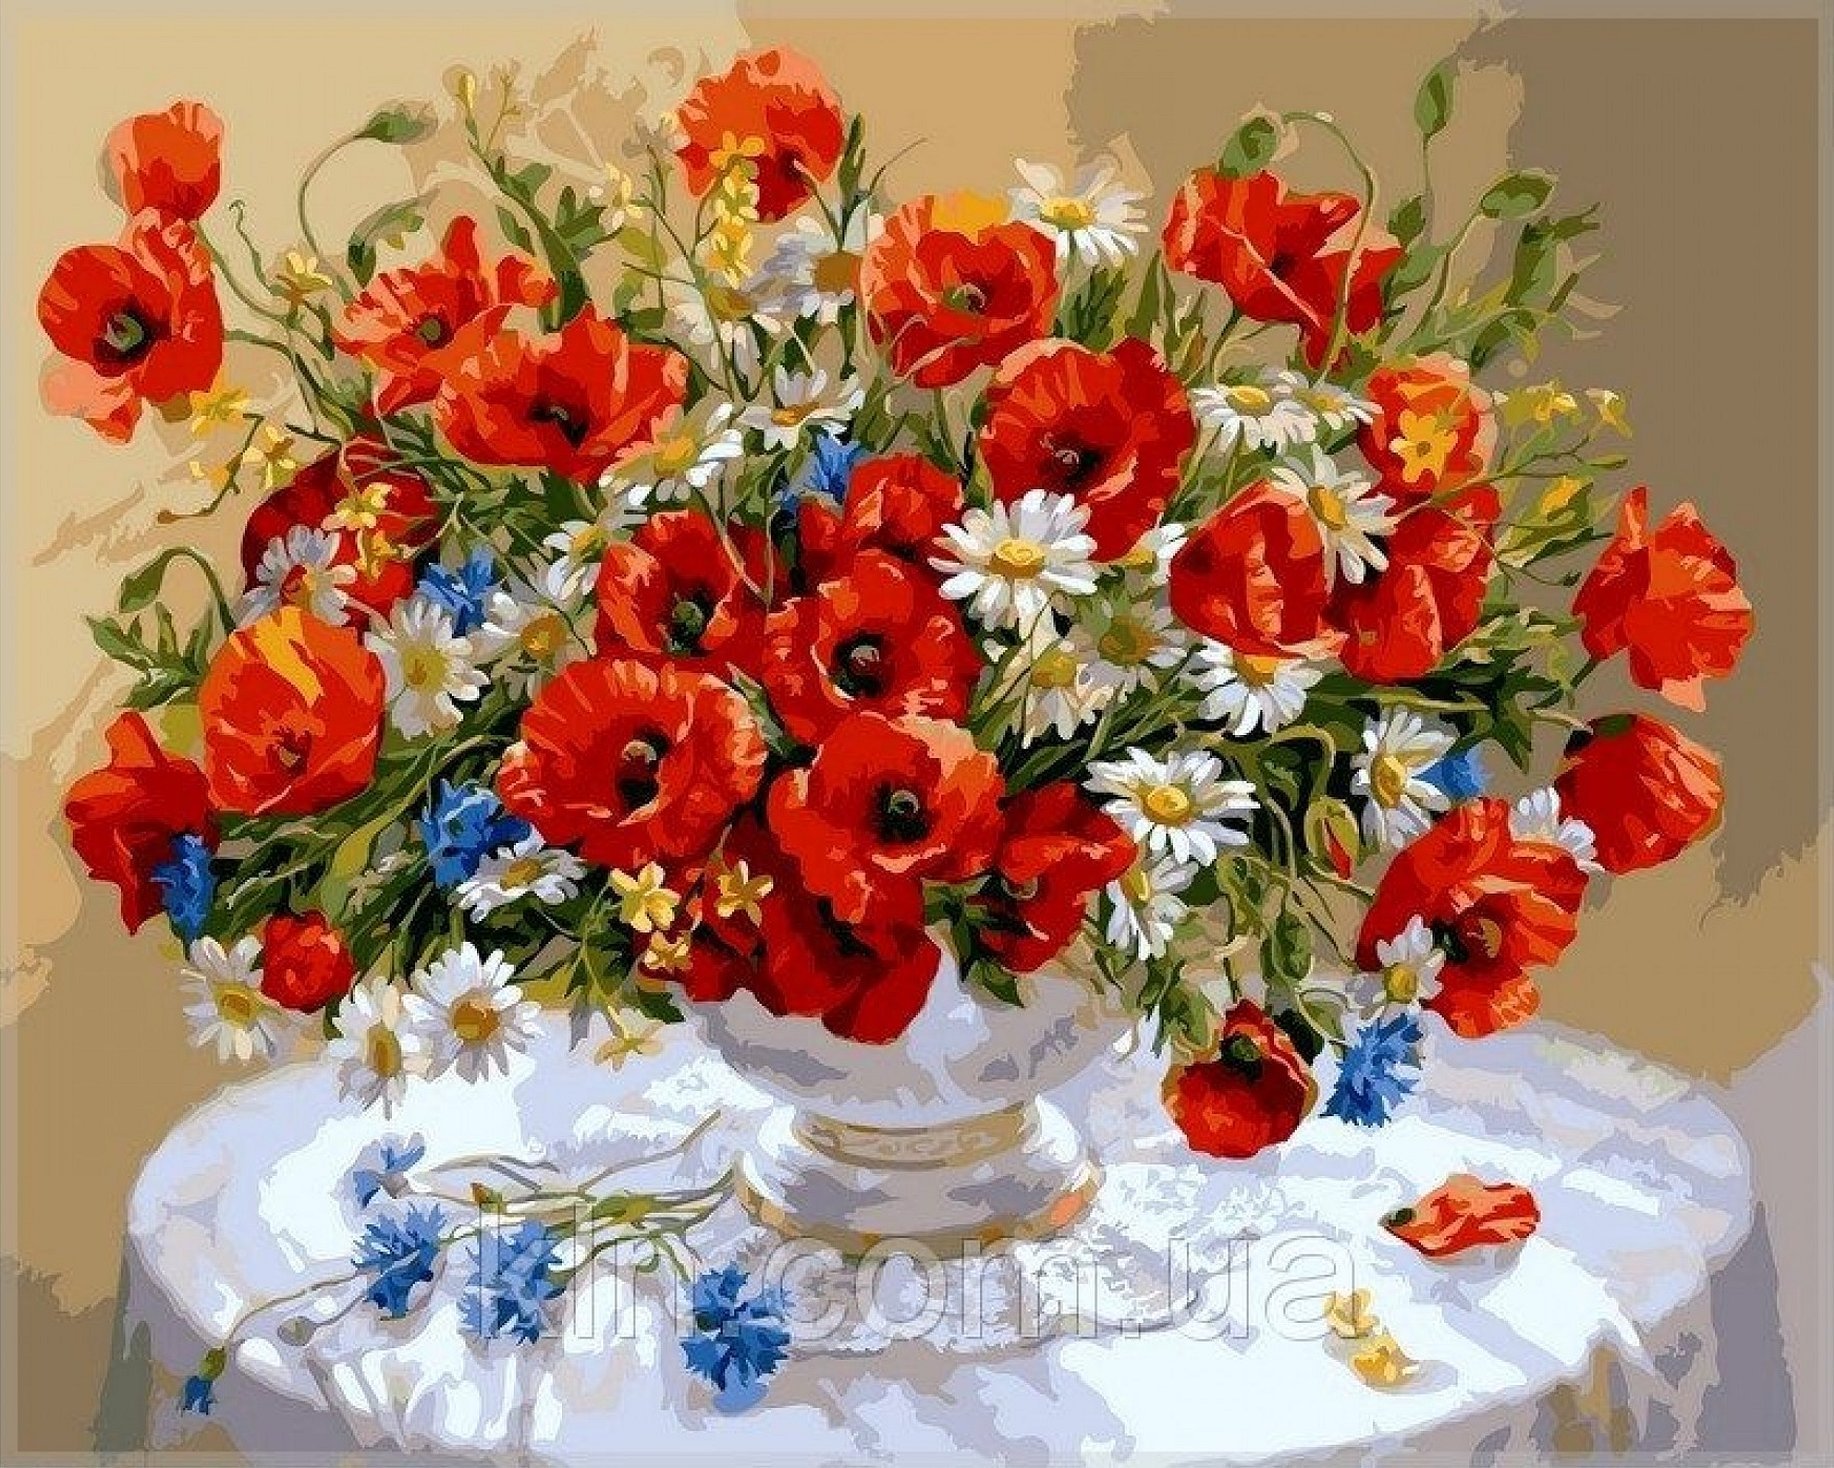
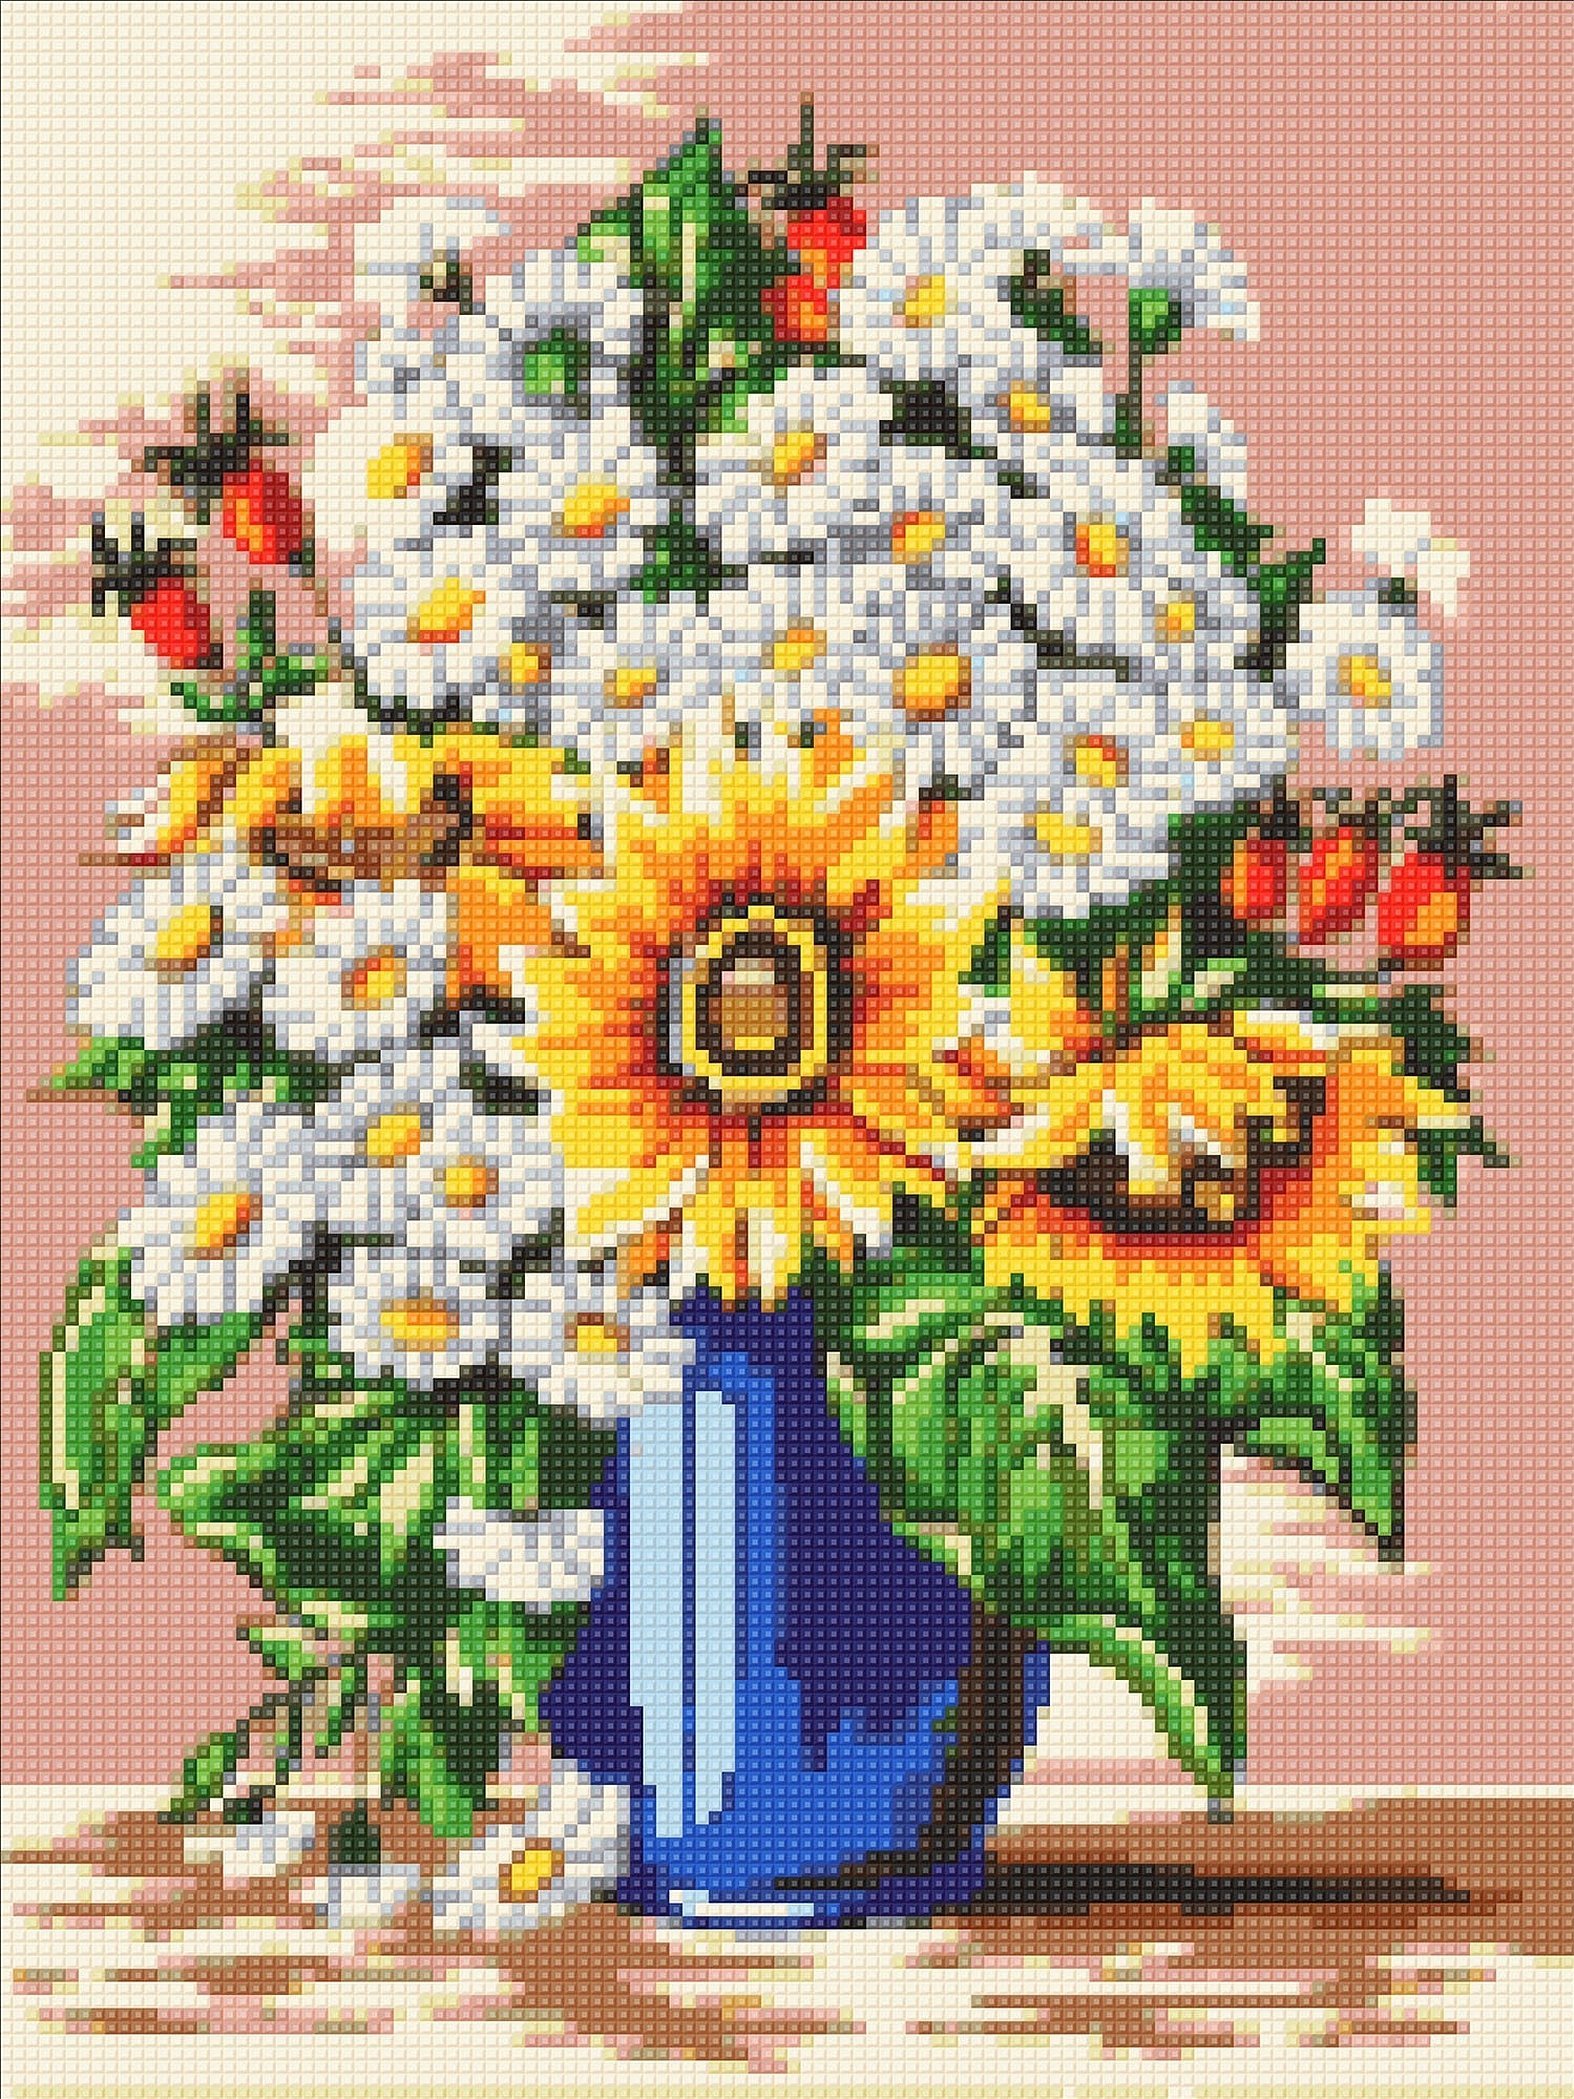
According to the classic technique, patterns for embroidery with crystal diamond rhinestones are black and white and color. Their main difference from each other is that the patterns are located directly on the base, and there is no need to cross out the embroidered crosses or beads. For such work, it is better, of course, to prefer using a color pattern, but if the picture includes a small number of colors or is small, then it will be convenient to use a black and white pattern.
Form
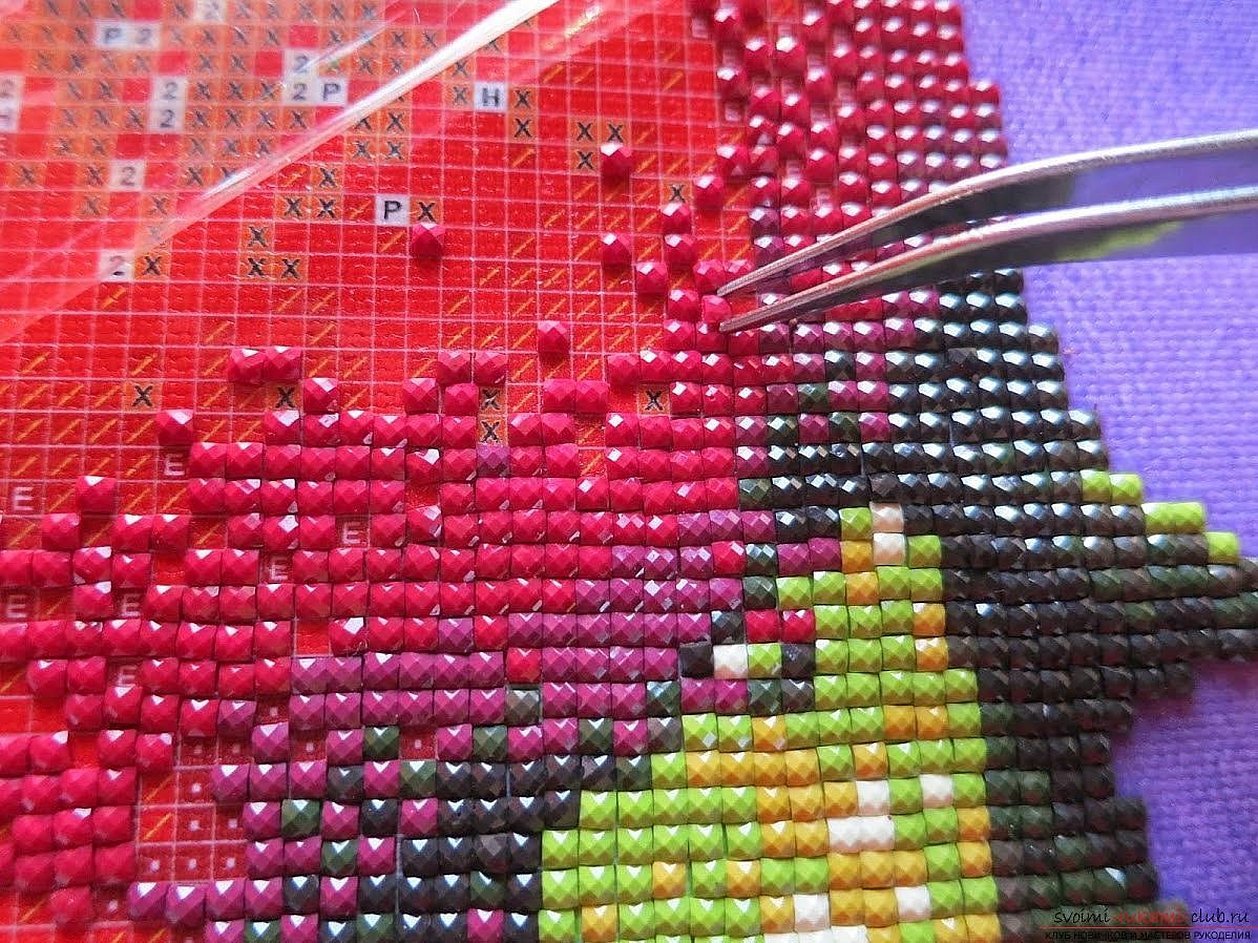
"Diamonds" for embroidery are divided into two types: square and round. The first can differ in the type of cut, having nine or thirteen diagonal or transverse edges. This is not taken into account when laying out pictures. The completed work, due to different angles of reflection and colors, gives the work a beautiful and unique shine.
Round rhinestones are also faceted, which also adds shine to the finished product, but they are not as versatile as square ones. They are most often used when laying out animals, butterflies, birds, and winter scenes.
How to understand colors
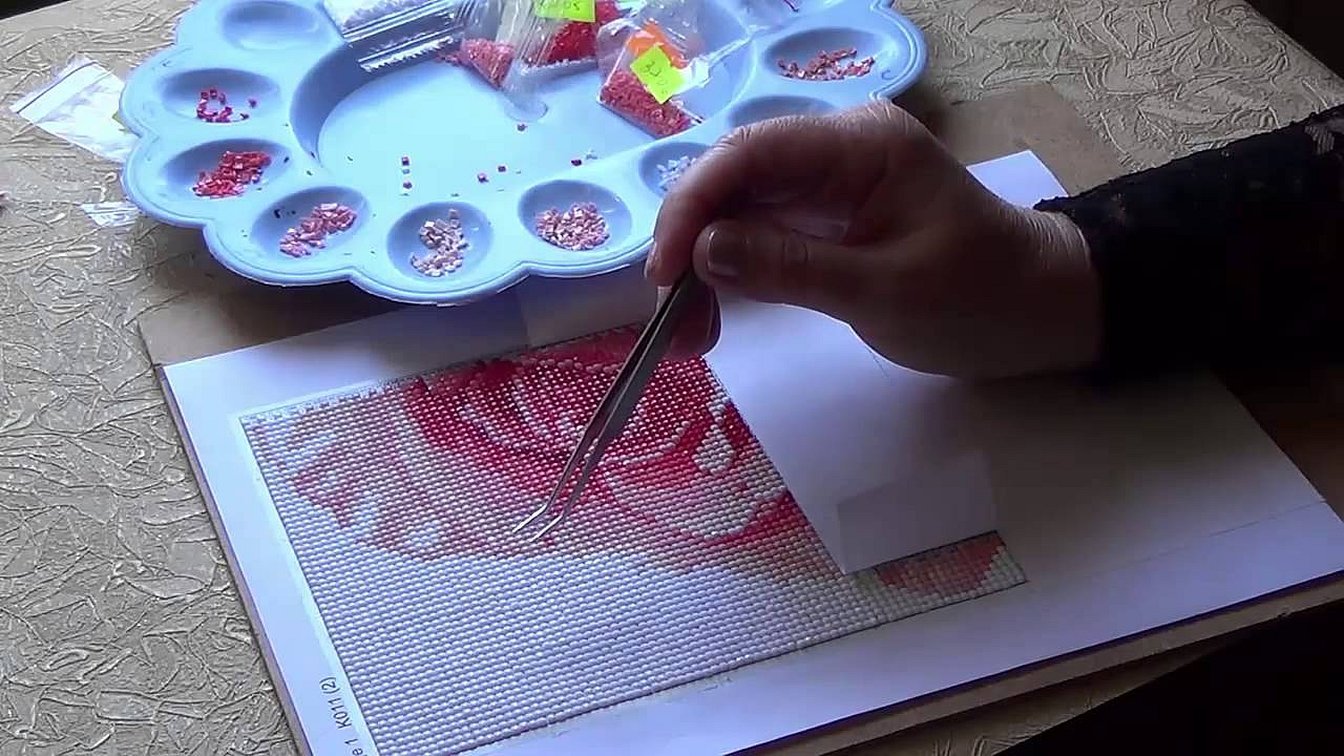
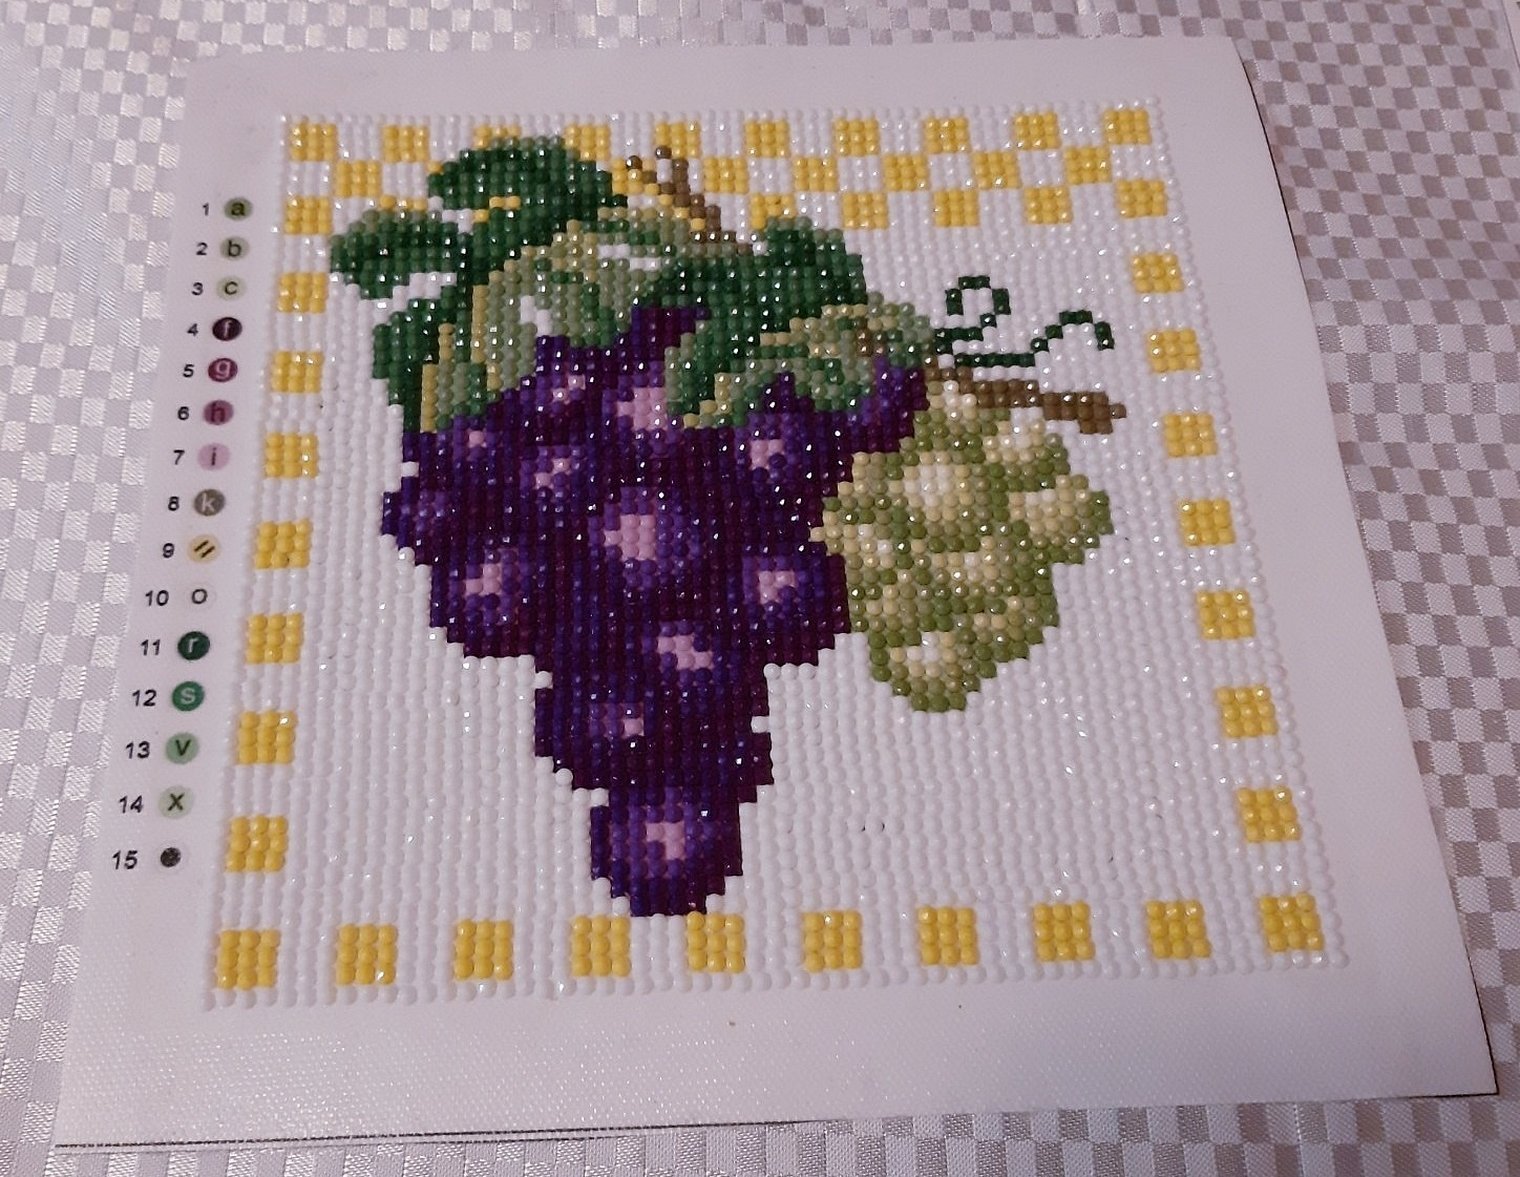
It is not very difficult. It is enough to look at the base and determine which symbol is needed. Then this symbol is looked for in a special color table called the key to the scheme. In the set and on the base there are three types of numbers: the first indicate the serial number, the second - the color of the rhinestone, and the third - their quantity. In the set the quantity may be greater, since the manufacturers put them with a reserve.
Important! To avoid confusion in colors, you should always separate the rhinestones in special trays, which are also often included in the set. It is also important that the stone falls exactly on the symbol, otherwise the row will be uneven and the pattern will shift.
Technique
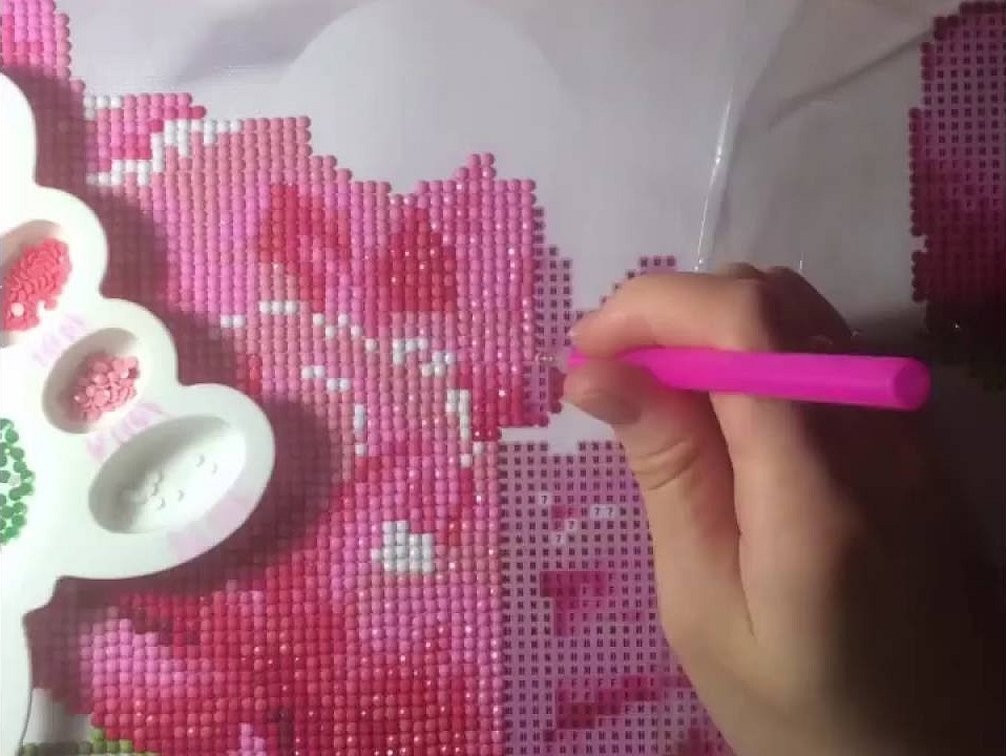
The work process begins with preparing the workplace and all the tools. A bright room with an empty table is best for this. Light plays a key role, since the eyes will get tired very quickly from such a layout. No step-by-step instructions are needed here, since making a picture from rhinestones is very simple.
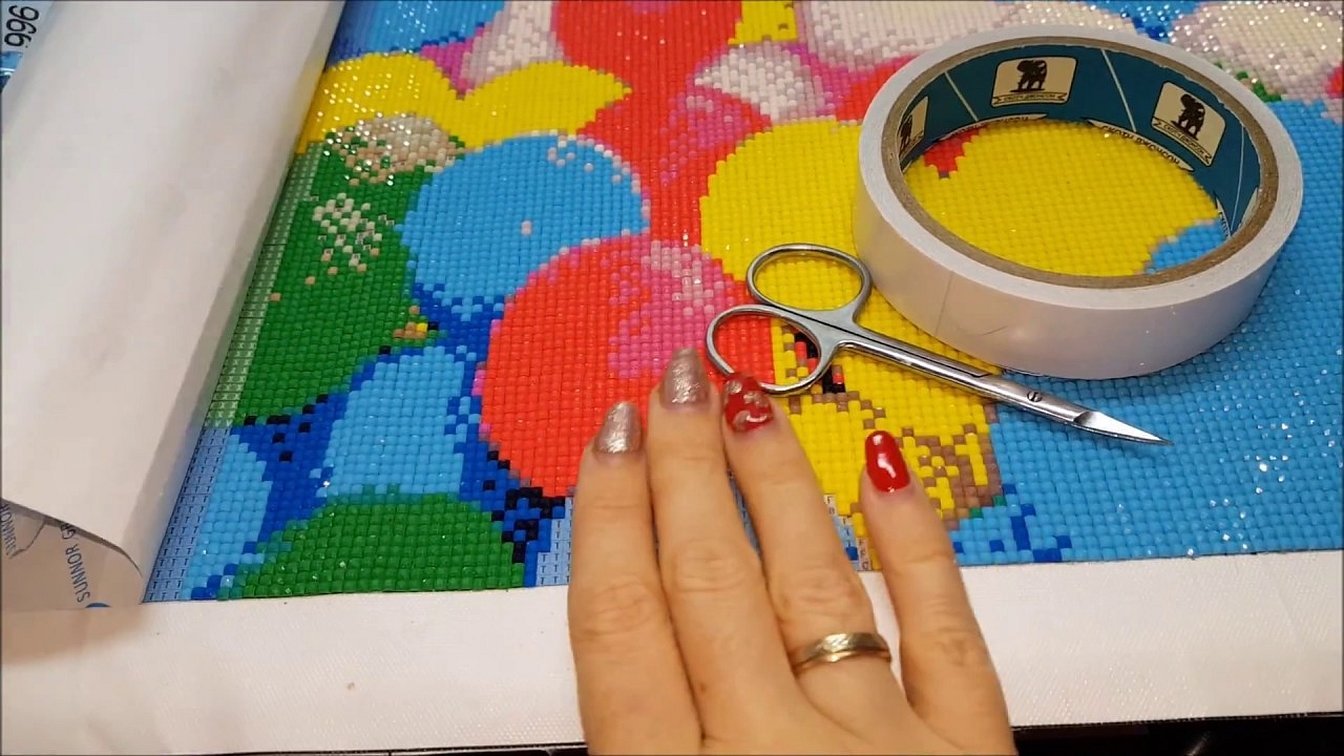
The diamond embroidery technique is simple, but it has its nuances. First, you do not need to remove the layer that protects the adhesive surface from the entire canvas, since it will dry quickly and the stones will not stick. As you work, it is bent back or cut into pieces.
Also, do not glue and press the rhinestones too hard, as it will be impossible to correct an uneven row later. The rows of diamonds should be even, and the stones themselves should fit tightly to the base and to each other. To check the row for evenness, use rulers. All the cells are laid out in this way, and all that remains is to frame the picture with a baguette.

Storage and design
The design of the finished picture should be approached no less responsibly than the production. Often, products are designed independently or in a framing workshop. The methods are different and everything depends on the taste of the author and his preferences.
When decorating the base yourself, you should carefully glue it to thick cardboard or paper, thin plywood using glue or double-sided tape. It is best to press the base with a rubber roller. This will prevent deformation with the correct technique.
Important! If the author does not plan to decorate the item in the near future, the item is carefully rolled up with the crystals facing outwards and hidden in a case or table to protect it from dust.
Recommendations for Beginners
Experienced needlewomen have collected tips to help novice craftswomen in their work and give them a lesson. Among the main recommendations are the following:
- The corner that is most comfortable should be embroidered first;
- It is best to lay out the rhinestones in strips, since laying out the rhinestones along the entire length can get tiresome and the method will seem tedious;
- Do not remove the protective layer from the entire base at once. Otherwise, it may be damaged or stained;
- Choose for work only full embroidery kits, in which the picture is laid out completely, and not in parts.
Which diamond embroidery is better: Chinese or Russian
This topic of discussion has given rise to many disputes between craftswomen. Some say that China has the cheapest and most beautiful stones with a huge variety of them. Others object, saying that in Russia they can also make them for any taste and color, at an affordable price. In fact, everyone is right, since both in Russia and in Asia, including China, there are manufacturers who make high-quality and inexpensive sets of crystals. The choice is huge, please.
Kits from different countries differ in some properties: the composition of the base, glue and the pattern according to which the layout is made.
The most popular names of embroidery kits are:
- Granny - Russia;
- Diamond painting - Russia;
- Snow White - China;
- Anya - Korea;
- Pautinka - Russia;
- Color-Kit - China.
Pros and cons
The following advantages of the technology can be highlighted:
- Low threshold for entry into mastery;
- Speed of execution of even complex plots;
- Shine from the finished product;
- Unique texture and novelty of products;
- No need to hide your work under glass.
Diamond embroidery also has its disadvantages:
- Quite a labor-intensive work process that requires attention;
- A frequently encountered diamond defect;
- The cost of the sets is relatively high.
Thus, the material told everything about diamond embroidery: from the history of its origin to modern development and gaining popularity in the middle of the last century. This is quite an interesting class of handicrafts, which rightfully earned its recognition.


