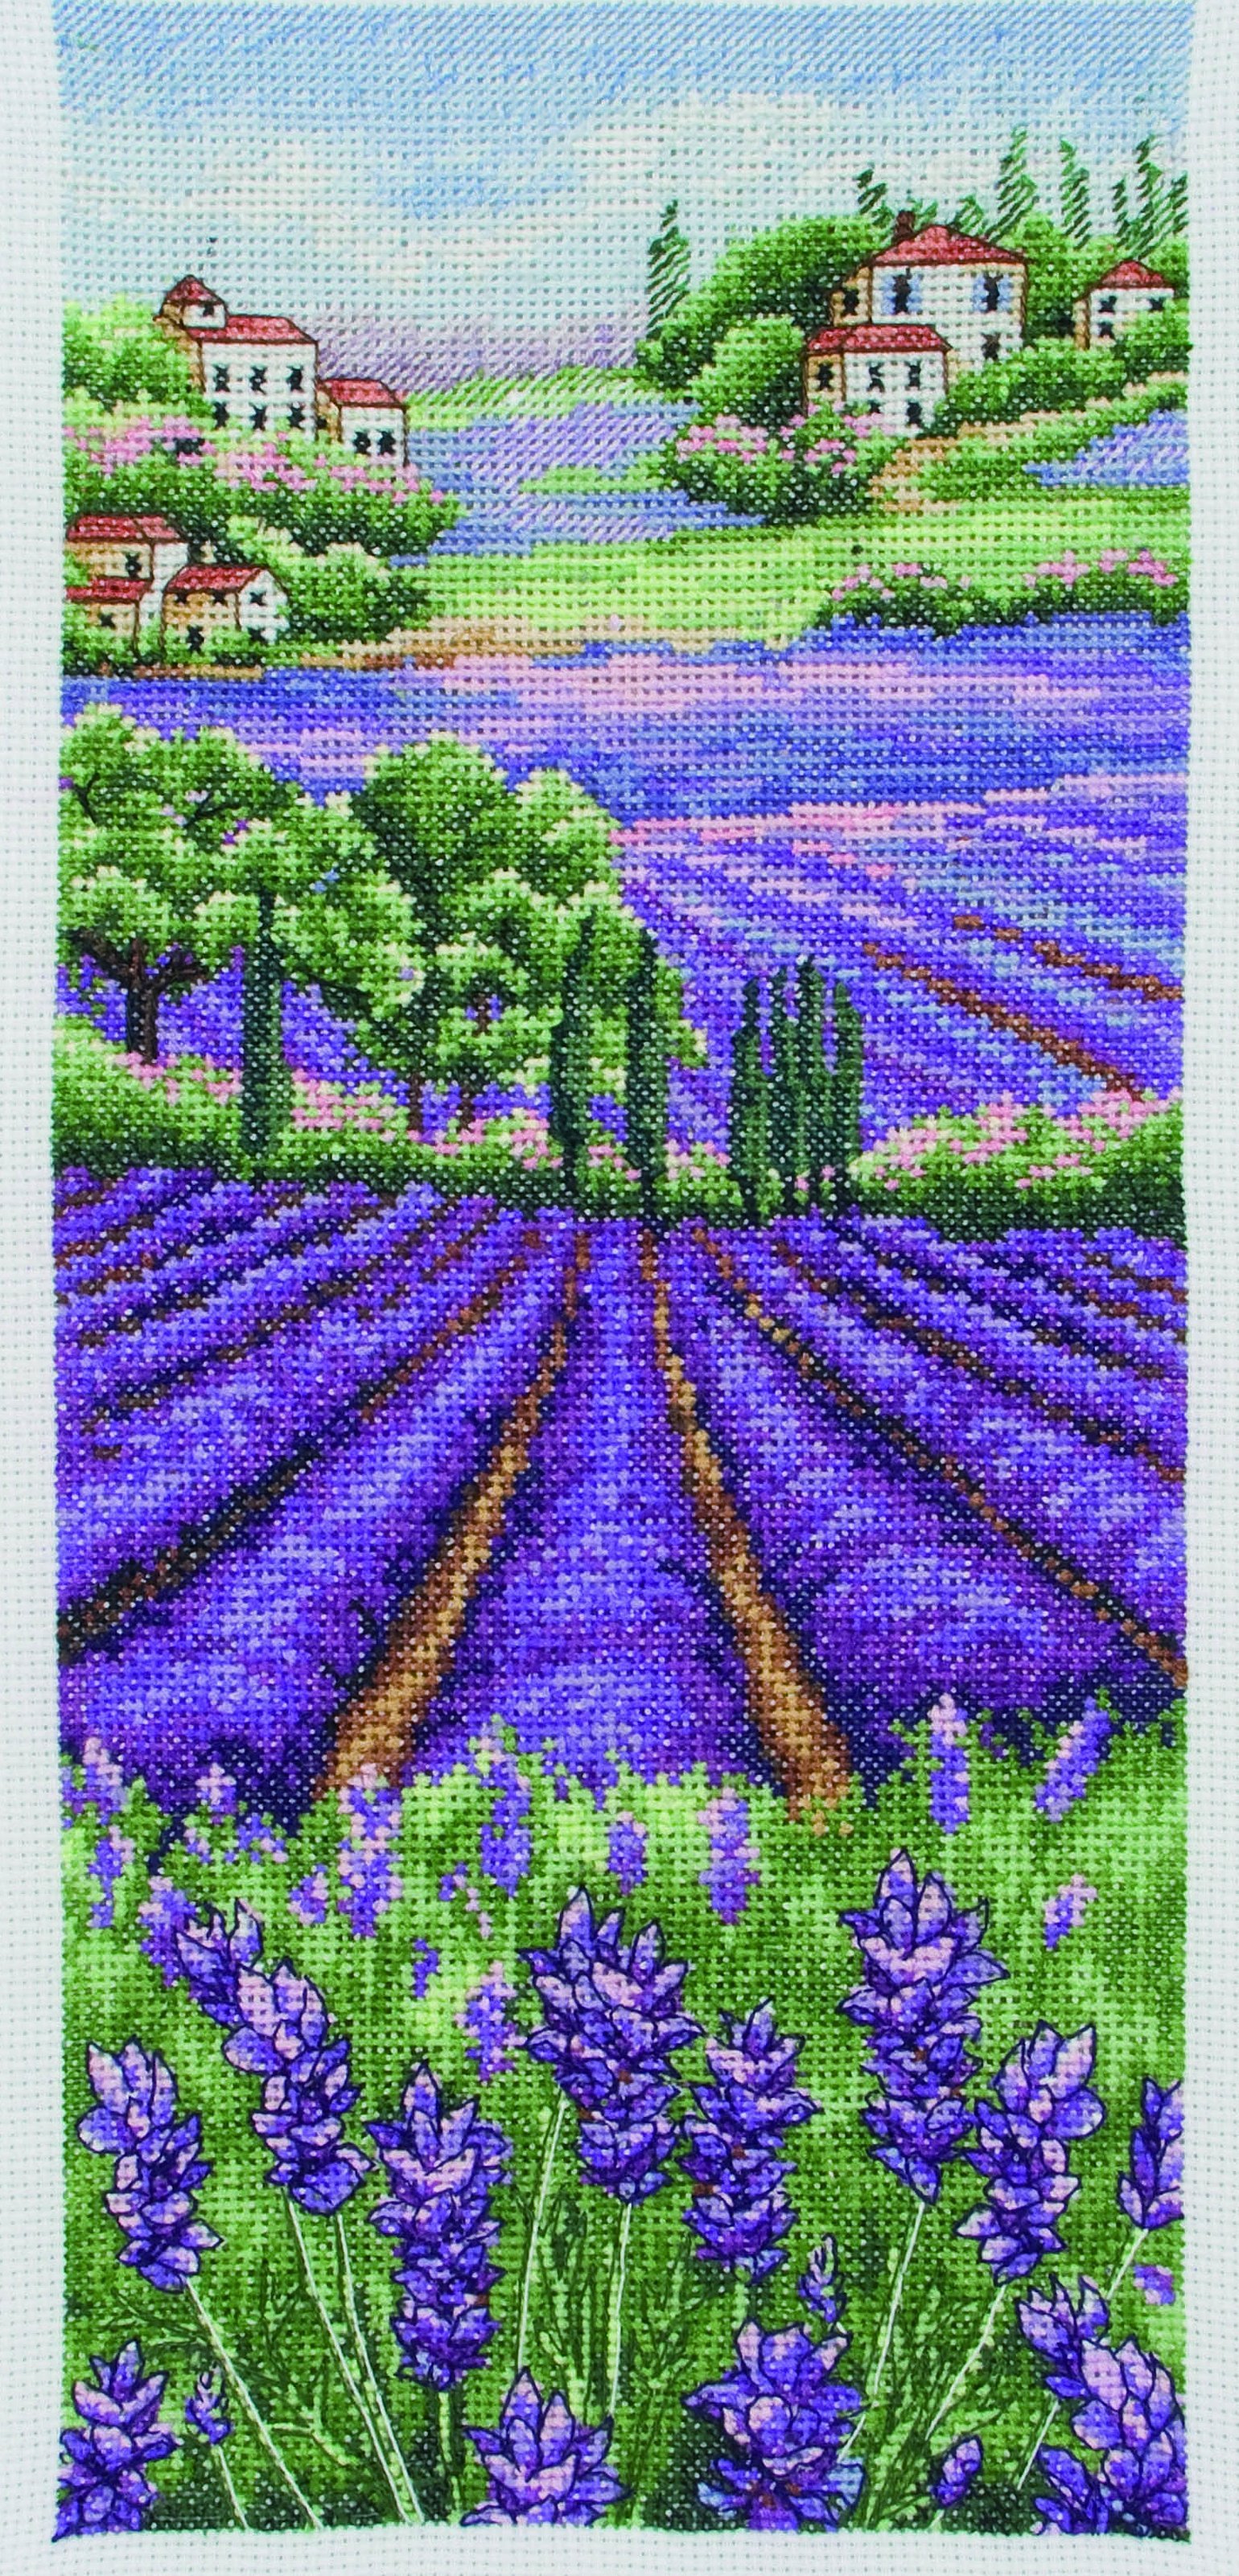
Creating an attractive lavender design will take the needlewoman about 2 hours, but it can perfectly complement the home interior or become a wonderful gift. The main thing is to be able to precisely stick the needle into the fabric, leaving the smallest trace. It is especially important to approach the choice of the embroidery pattern, tools and color scheme of the threads with which the design will be created. Embroidery in pastel colors looks especially beautiful. This is a pleasant gift for a loved one for any holiday.
Necessary tools
Craftswomen are divided into 2 types:
- Having everything they need at home. All they need to do is open the cabinet where the needlework tools are, and they can start embroidering without wasting time.
- A beginner girl, most often they are just starting to get interested in embroidery, so they do not have stocks of fabric, threads. Therefore, before starting to create a drawing, they need to visit the store.
For embroidery of wild flowers it is recommended to use thin threads of 26, 24 or 25 numbers. The outer contour is created with threads of 13-15 numbers.
List of tools needed to create embroidery:
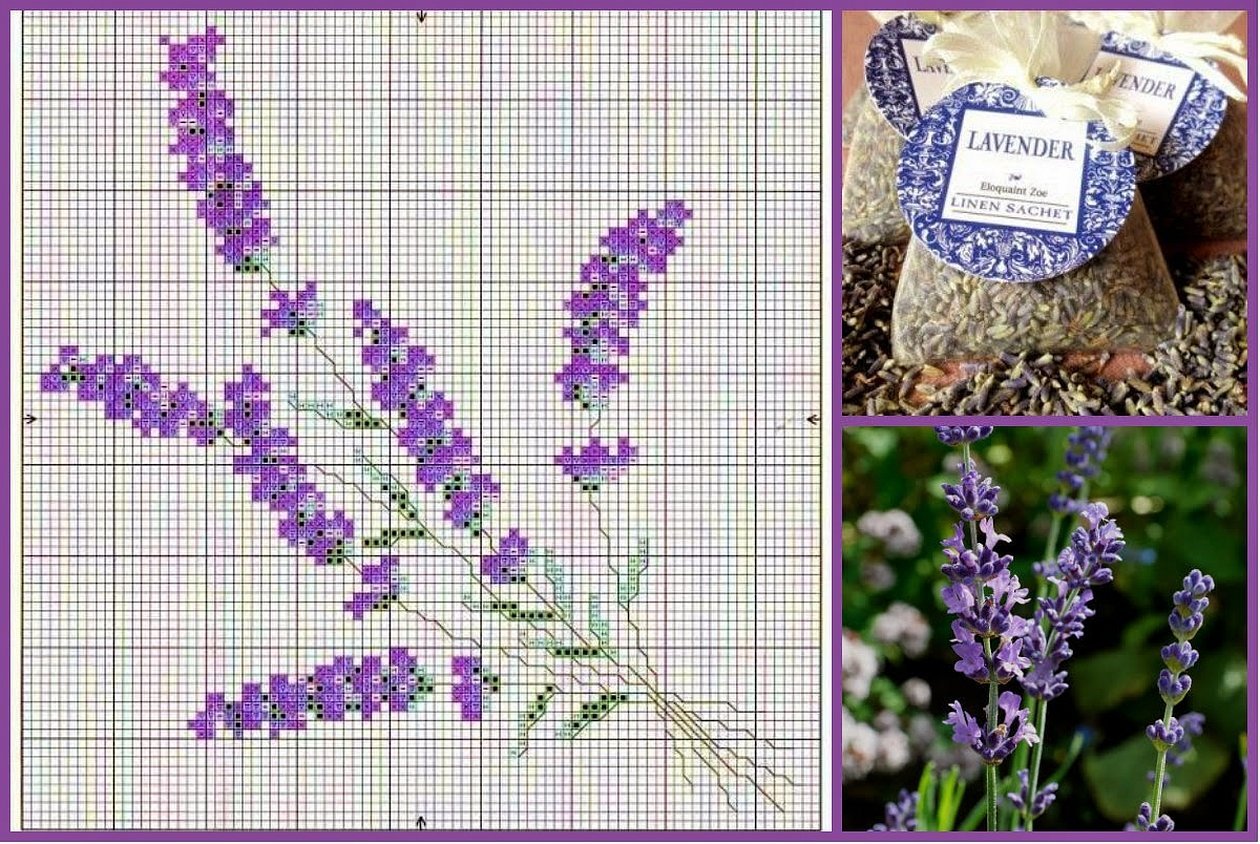
- A diagram with a marked image. It is recommended to transfer the drawing as accurately as possible, so that the embroidery will turn out faster and better.
- A special pencil used to mark the material. It is prohibited to use standard stationery.
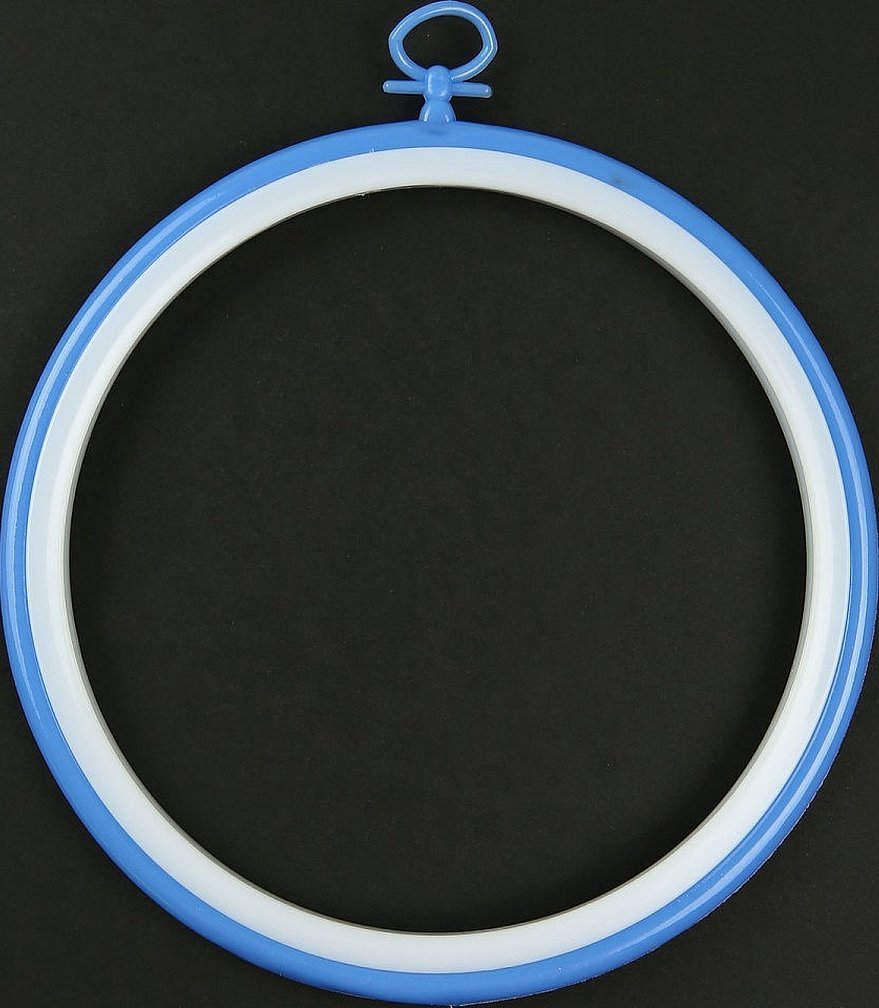
- Embroidery hoops, set of different sizes.
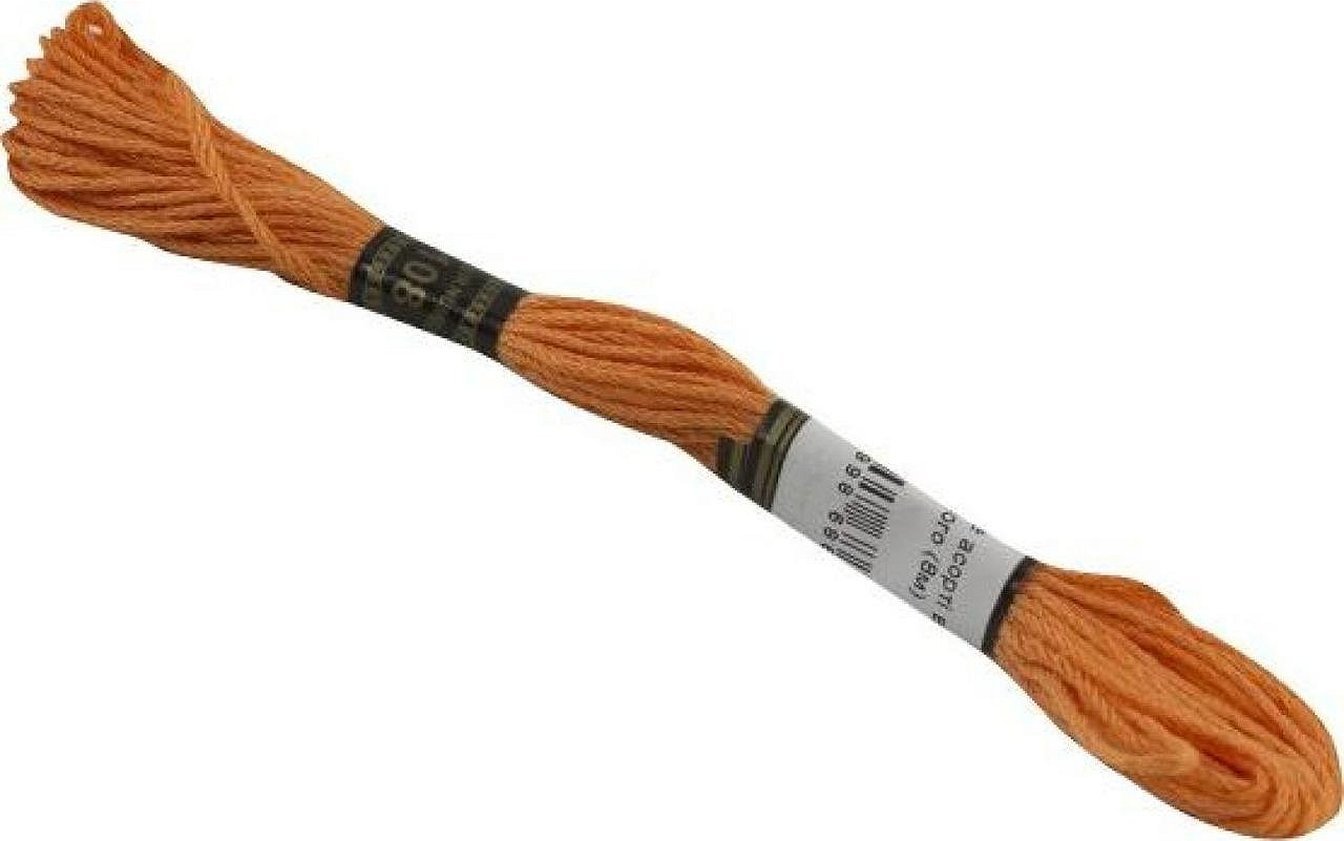
- Lavender floss threads to create the design.
- Needle number 24-26, which will allow you to make precise strokes.
The floral outline is made from the finest threads, while the general background and borders are made thick.
Important! You need to be especially careful when choosing a pattern for embroidery.
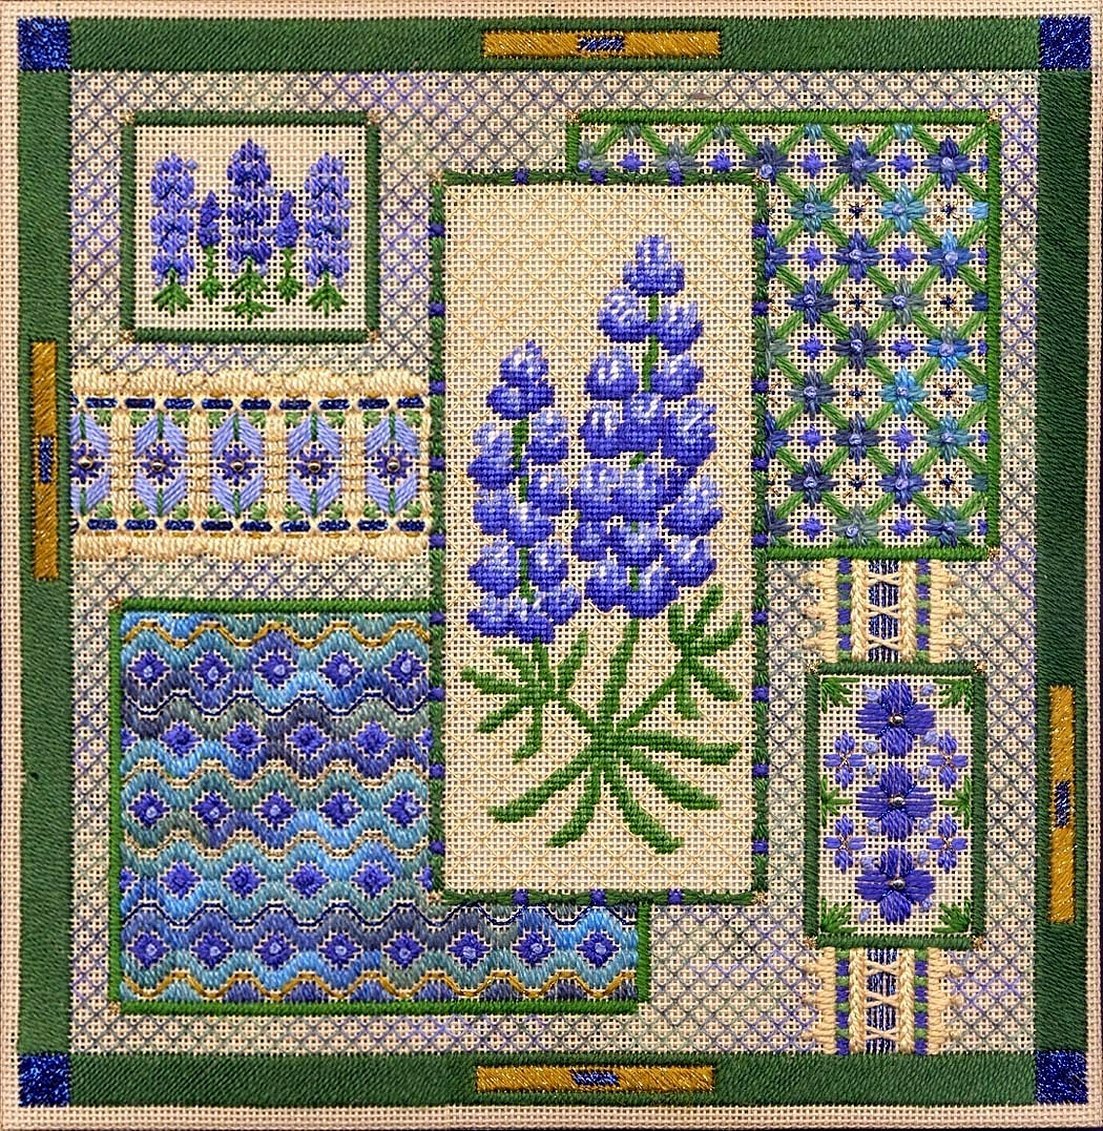
Cross stitch execution
One of the most common mistakes among beginners is the incorrect correlation of the chosen pattern and material. When embroidering lavender with a cross stitch with a professional pattern as a base, it is better to carefully monitor the ratio of the sizes indicated in the cells.
It is especially difficult for a novice craftswoman to draw a diagram from a picture.
Please note! The possibility of errors can be reduced by using a special computer program.
The services help to correctly place the image on the material in a couple of minutes. As a result, the needlewoman only needs to buy the fabric of the required size.
Step-by-step instructions for cross-stitching a wildflower:
- Carefully transfer the pattern onto the canvas.
- Use a special embroidery marker to apply the design.
- Branches and leaves are drawn with thin lines, flower buds with thick ones.
- Start embroidering crosses, changing colors one by one.
- Wash marker off fabric.
With the right tools and correct measurements, the result is excellent embroidery.
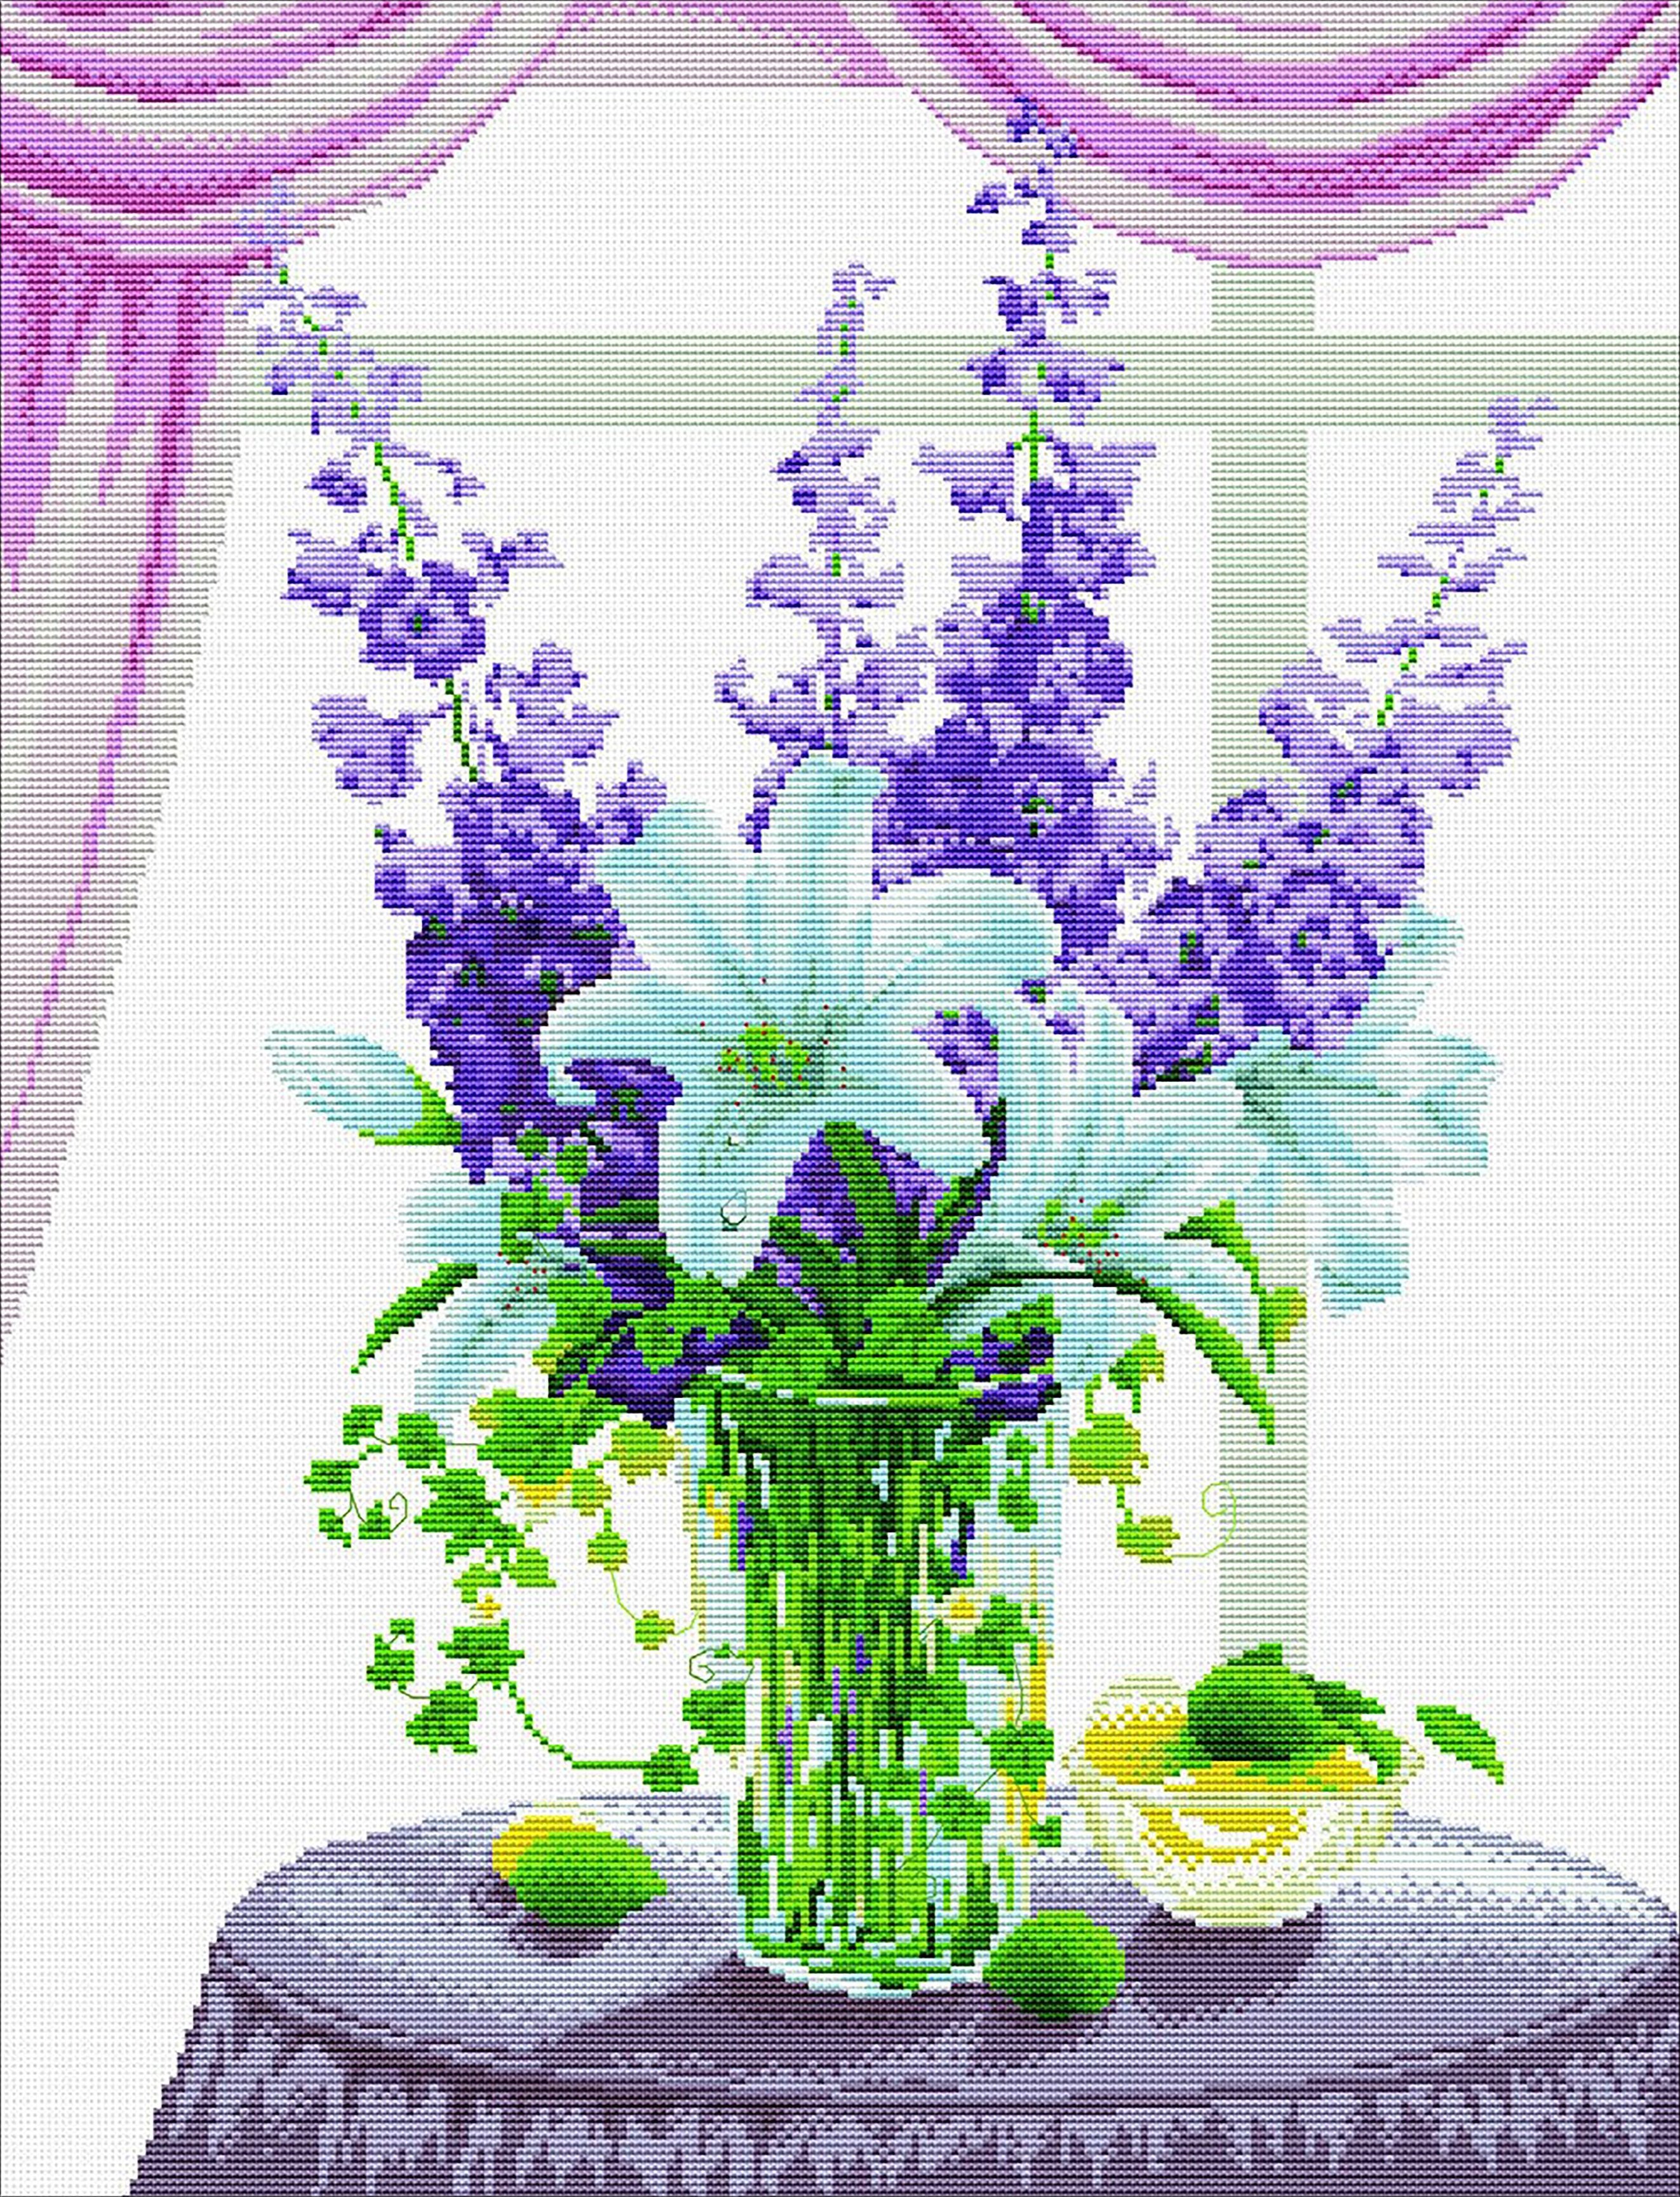
In a vase
Wild flowers look especially aesthetically pleasing and beautiful in a vase or pot. This design is suitable for embroidery on a tablecloth, bed linen, or towel.
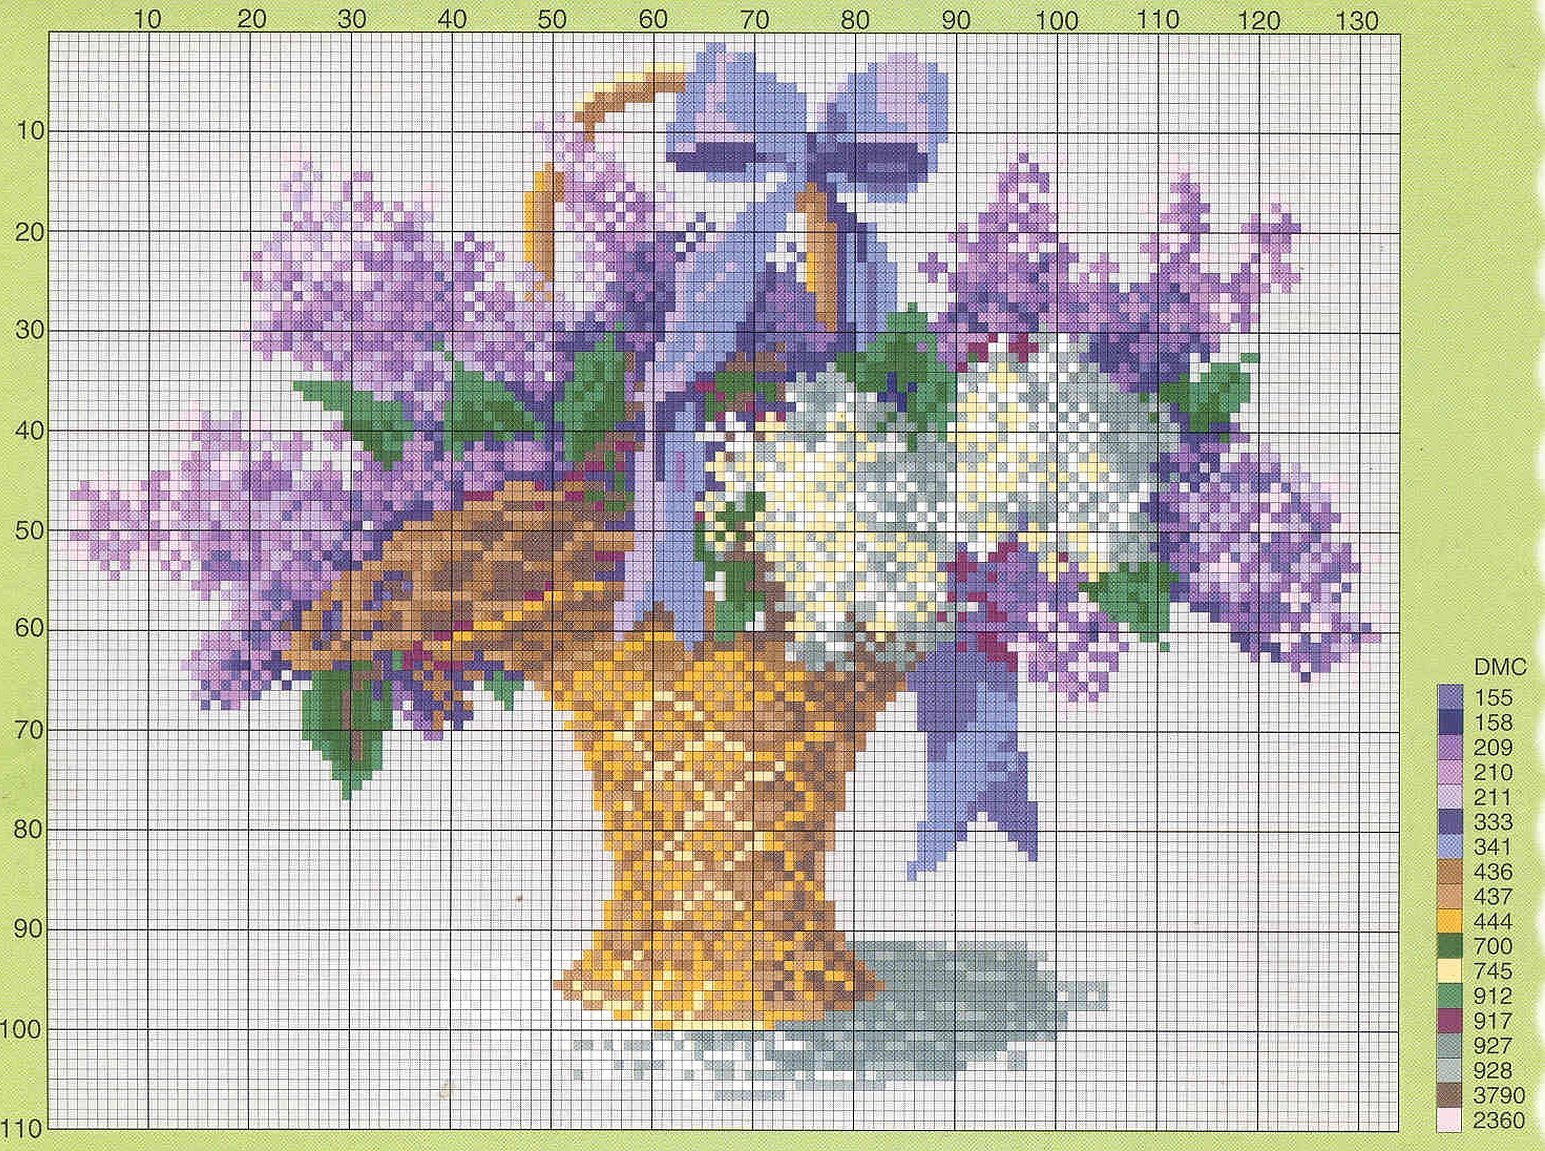
In the basket
It is also common to embroider wild flowers in a basket. Such a pattern emphasizes the purity, closeness of the picture to nature. This pattern can be found on clothes, napkins, and also as a decorative interior decoration - a painting.
Rules
When creating embroidery, you need to pay special attention to every detail.
Basic rules:
- Start the design from the center of the fabric.
- First of all, the outlines of the flower are embroidered.
- Constantly check your drawing against the printed diagram.
- First embroider the flowers, only then move on to the leaves and branches.
- For buds, it is recommended to fold the floss 2-3 times.
- Do not secure the threads to the front side of the fabric with a knot.
- Make the background with needles number 14-16 in accordance with the color saturation.
- Harmoniously combine thin and thick threads.
Decoration of work
After completing most of the scheme, you need to pay attention to creating additional decorative elements. In this case, it is better to adhere to the features of the image and the appropriateness of the decor.
Please note! In some cases, empty space looks more attractive than a cluttered composition.
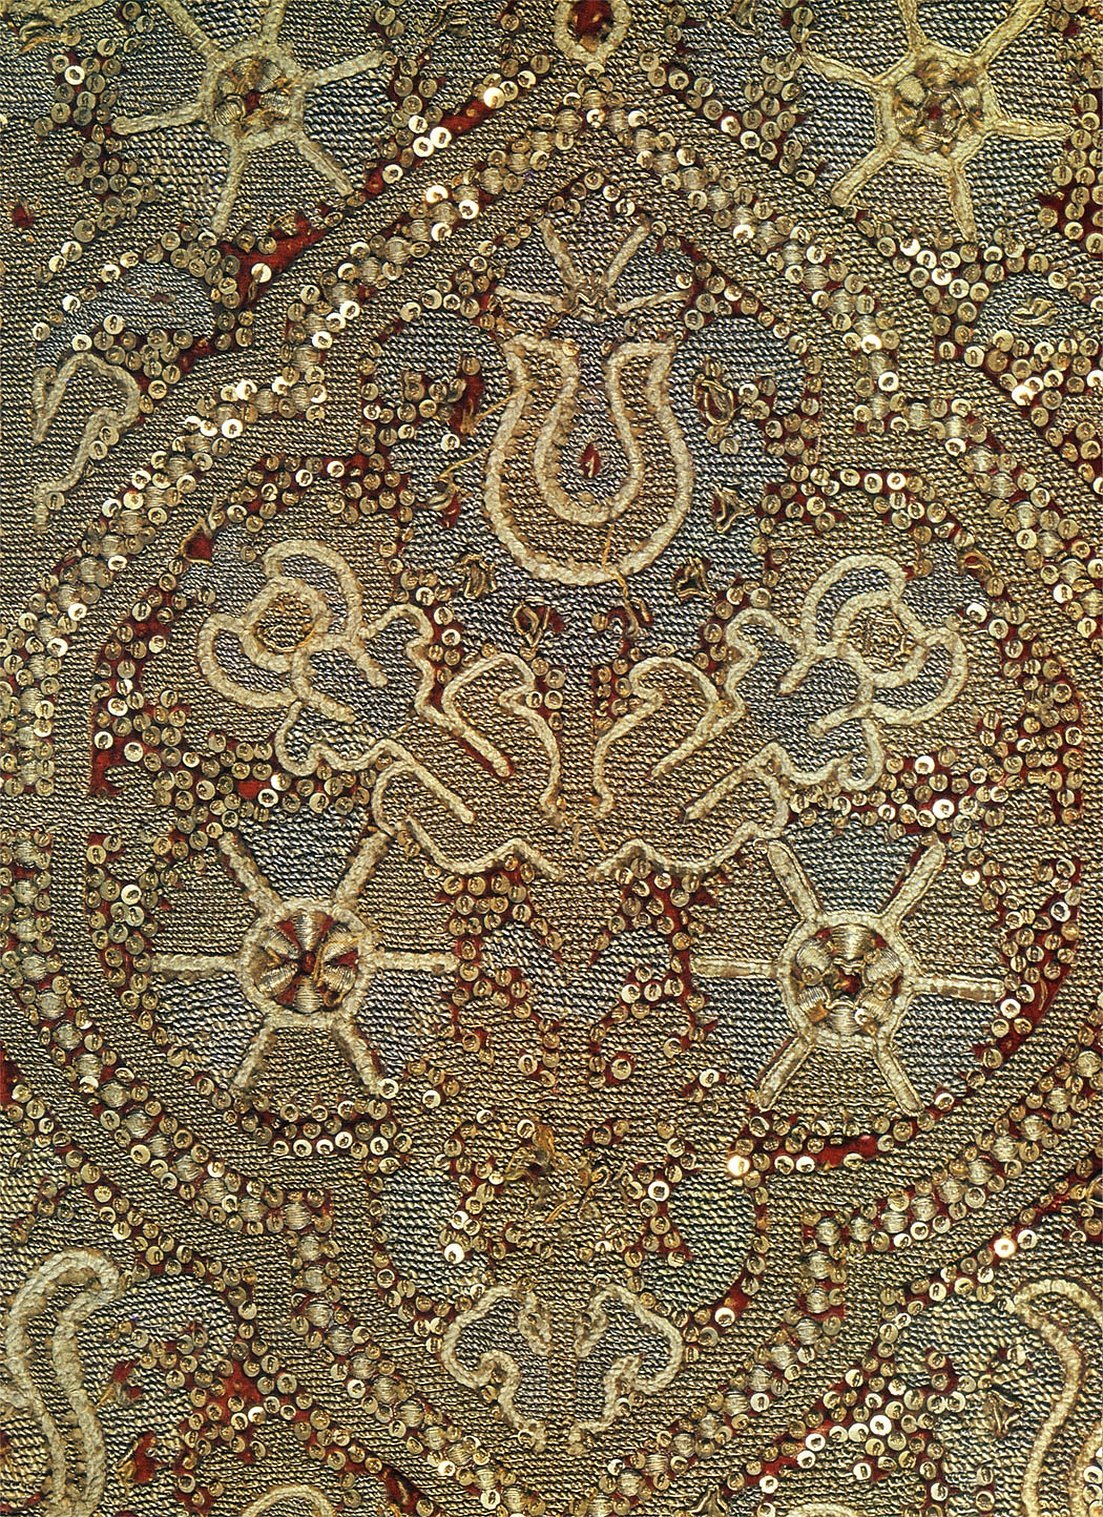
Below are some recommendations that will help beginners and professionals navigate the large assortment of various decorations. Lavender bead embroidery will definitely attract the attention of strangers.
Recommendations:
- Using beads will add effect to your work.
- Choose non-bright shades for decoration, it is better that they do not stand out from the picture.
- Use threads with gold or silver plating. This will especially help to emphasize the important detail of the image in the work.
Lavender embroidery satin stitch
Step by step instructions:
- Transfer the pattern onto the canvas.
- Embroider flowers using the lazy daisy stitch.
- Embroider the stems using the stem stitch.
Important! It is recommended to perform the "lazy daisy" stitch by folding the thread 3 times. For the stem stitch, it is enough to fold the thread 2 times.
How to make a lazy daisy stitch:
- Bring the needle and thread out to the outside.
- Insert the needle into the exit point, leaving a small loop.
- Bring the needle back to the outside, inserting it into the loop.
- Pull the thread through, insert and secure the loop into the hole.
- If you want to get an open loop as a result, you do not need to tighten the thread.
- When pulled too tightly, the loop snaps shut, resulting in a large stitch.
To create a chamomile flower using this method, you need to start embroidering the petals from 1 point.
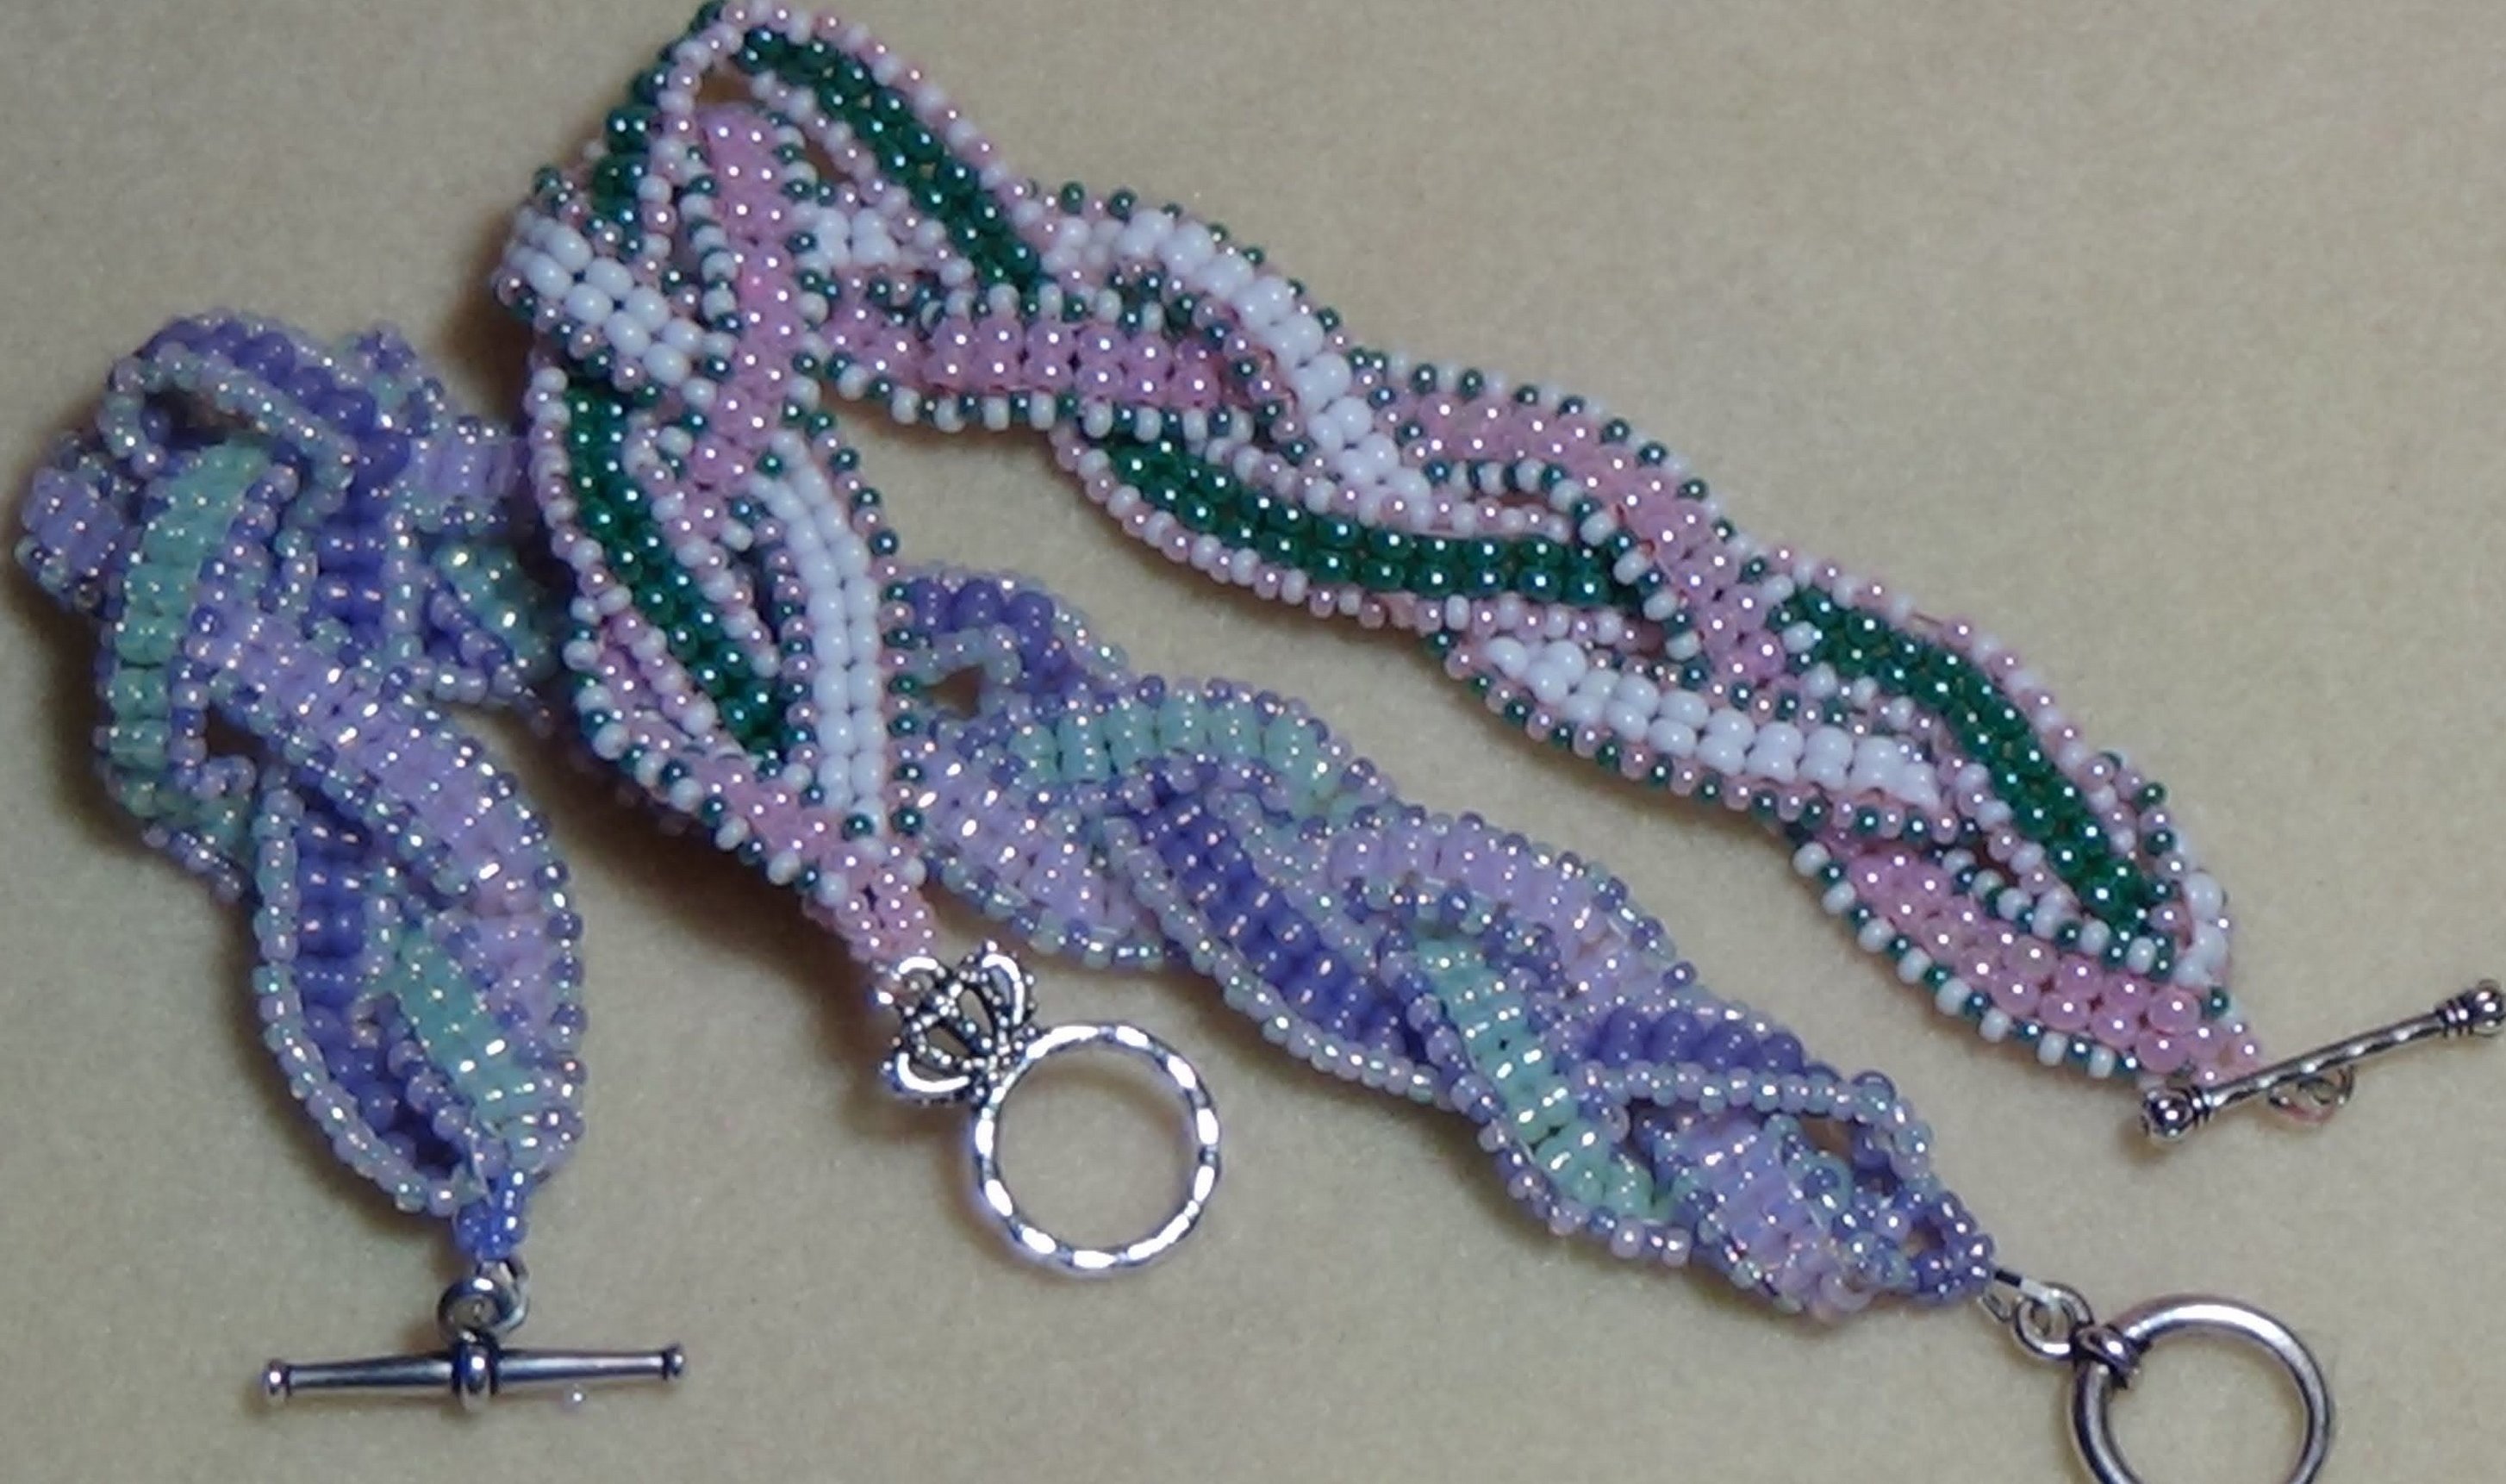
Lavender ribbon embroidery
This method is especially suitable for the novice craftswoman.
Tools:
- Hoops of different sizes.
- Several silk ribbons in 4 shades, width 0.5-0.7 mm. Ribbon colors: 3 shades of purple, 1 green.
- Sharp scissors.
- Canvas for embroidery.
- Mouline threads. Color - green.
- A needle that has a wide eye.
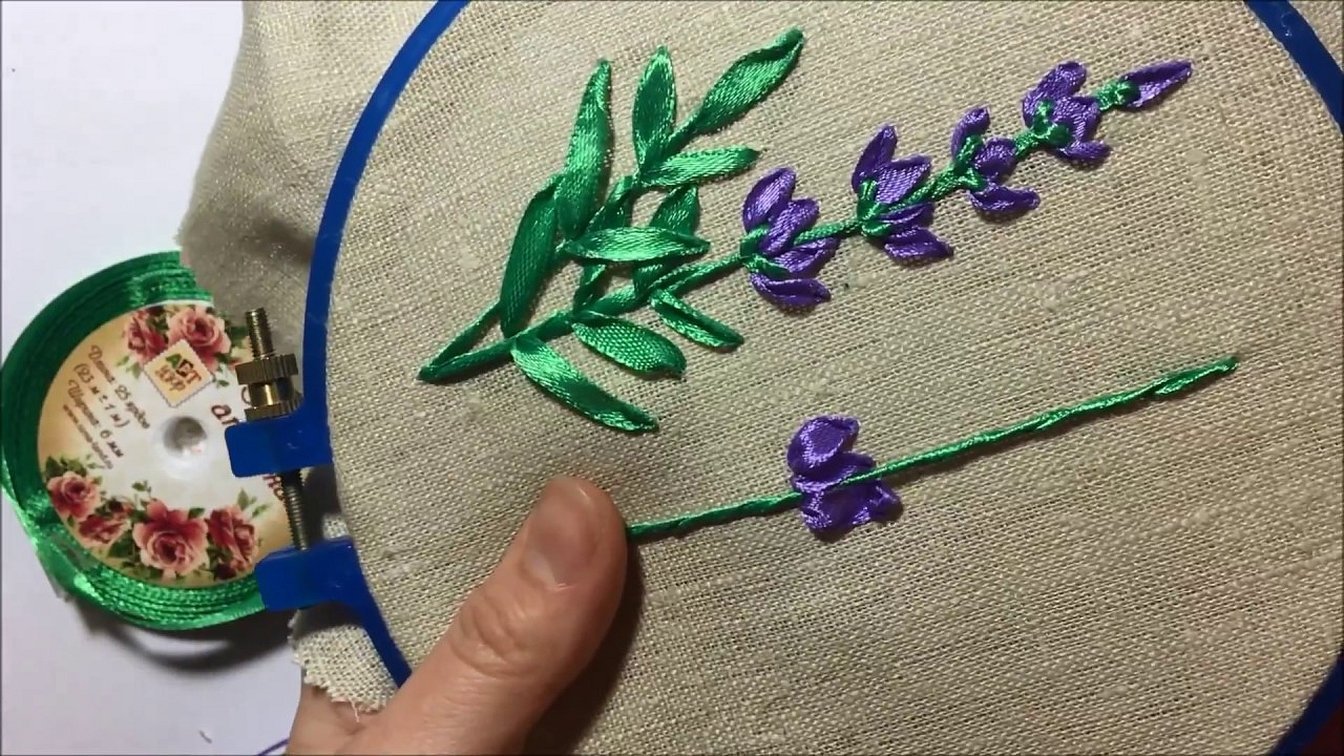
Ribbon embroidery "lavender" for beginners step by step:
- Stretch the canvas onto the hoop.
- Embroider the stem of the flower with green thread using stem stitch.
- Thread the ribbon through the eye of the needle.
- Tie a knot and stick the needle down the future stem.
- Bring the tape up.
- Prick the tissue 1 cm higher than the previous puncture.
- Place the petals on both sides of the stem.
- Bring the needle out from the bottom up, make the 2nd injection in the middle of the tape.
- Move the tape down.
- Embroider 6 to 8 petals on the stem from the sides and 1 on top.
- Embroider leaves using green ribbon.
- Perform the fix procedure.
- Tie the bouquet with a lilac ribbon.
Lavender embroidered with ribbons looks especially beautiful and attractive.
The article examines in detail the methods of creating lavender embroidery for both beginner needlewomen and a great master. Previously, French girls loved to embroider such a pattern. When doing embroidery, it is better not to rush, since an extra stitch can lead to a change in the overall pattern. For this reason, it is recommended to allocate more than 2 hours to complete the work.


