A hat is an indispensable accessory in a man's and woman's wardrobe. It not only protects from the sun, but also completes the image. This article discusses what embroidery on baseball caps is and how to do it yourself.
Embroidery on caps
Embroidery on baseball caps can be done on a variety of fabrics, cotton, denim, velour and other durable fabrics are very popular. Each fabric has its own technique, so the logo or inscription will look neat and aesthetic.
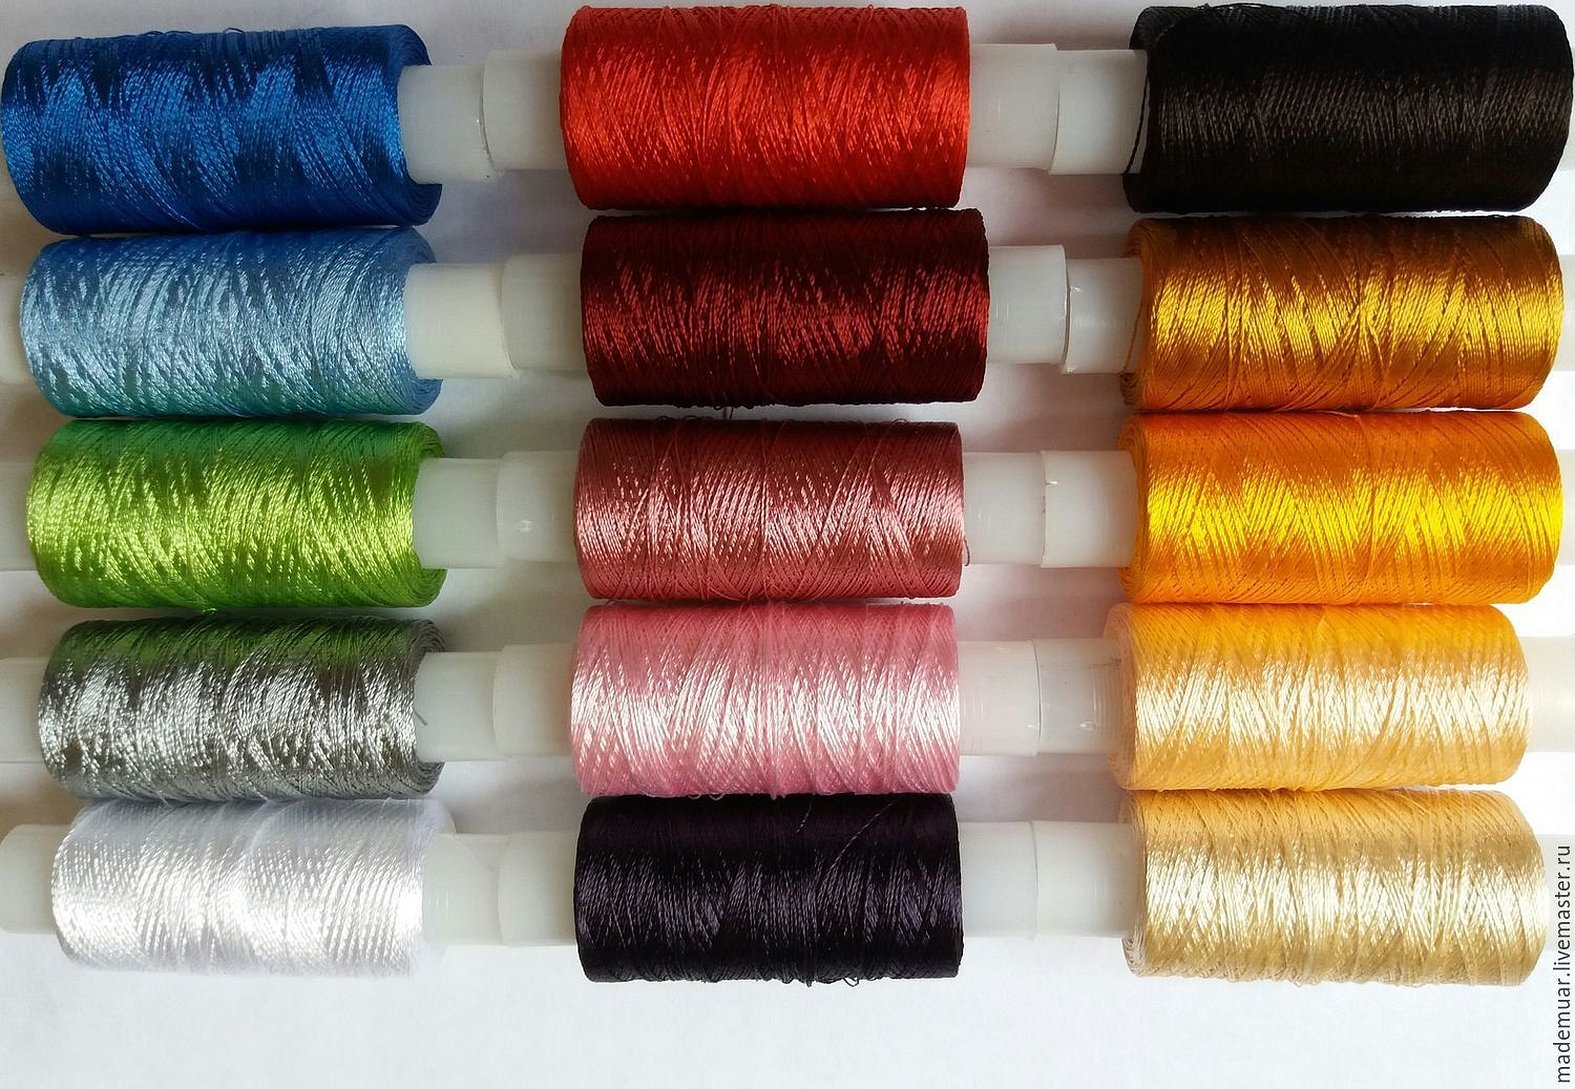
The standard size of the design is embroidered using 8-10 shades of thread. If desired, you can choose metallic, glow-in-the-night and ultraviolet threads.
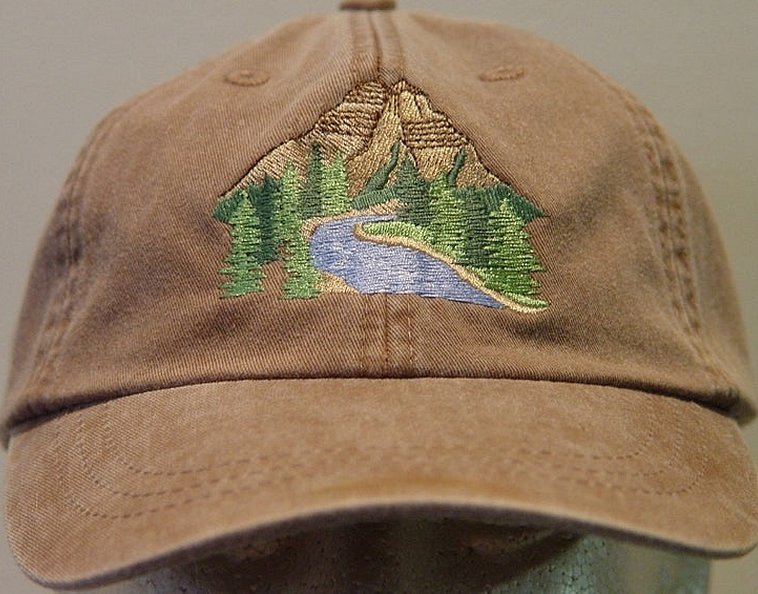
For a more original design, 3D or volumetric embroidery is used. A relief design on a baseball cap will attract people's attention and emphasize the headdress itself. Below is a detailed description of which part of the headdress is best for placing the inscription.
Where on the cap can embroidery be done?
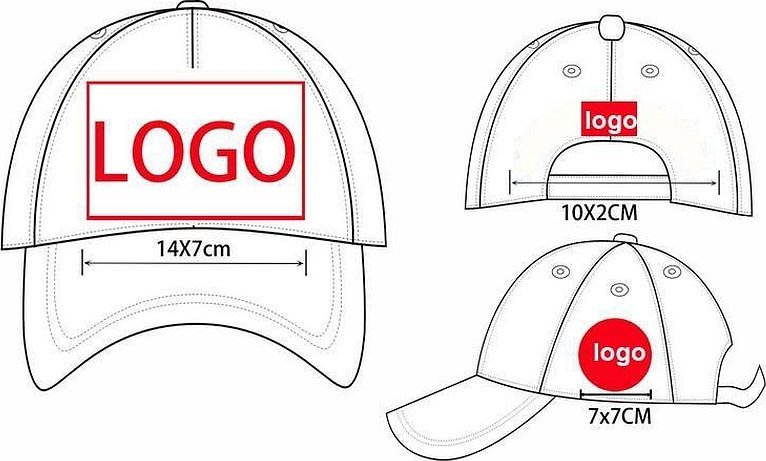
There are four main points where the design is done. These are the front and back, as well as the left or right. On the front of the baseball cap, you can choose several points for application: a small or medium-sized design will look great right in the center of the cap. For side placement, two inscriptions are usually chosen so that they look symmetrical. On the back side, you can make a design above the hole for adjusting the size of the hat. In fact, it can be placed on any part of the hat, it all depends on the personal preferences of the person.
Where is the logo most often placed?
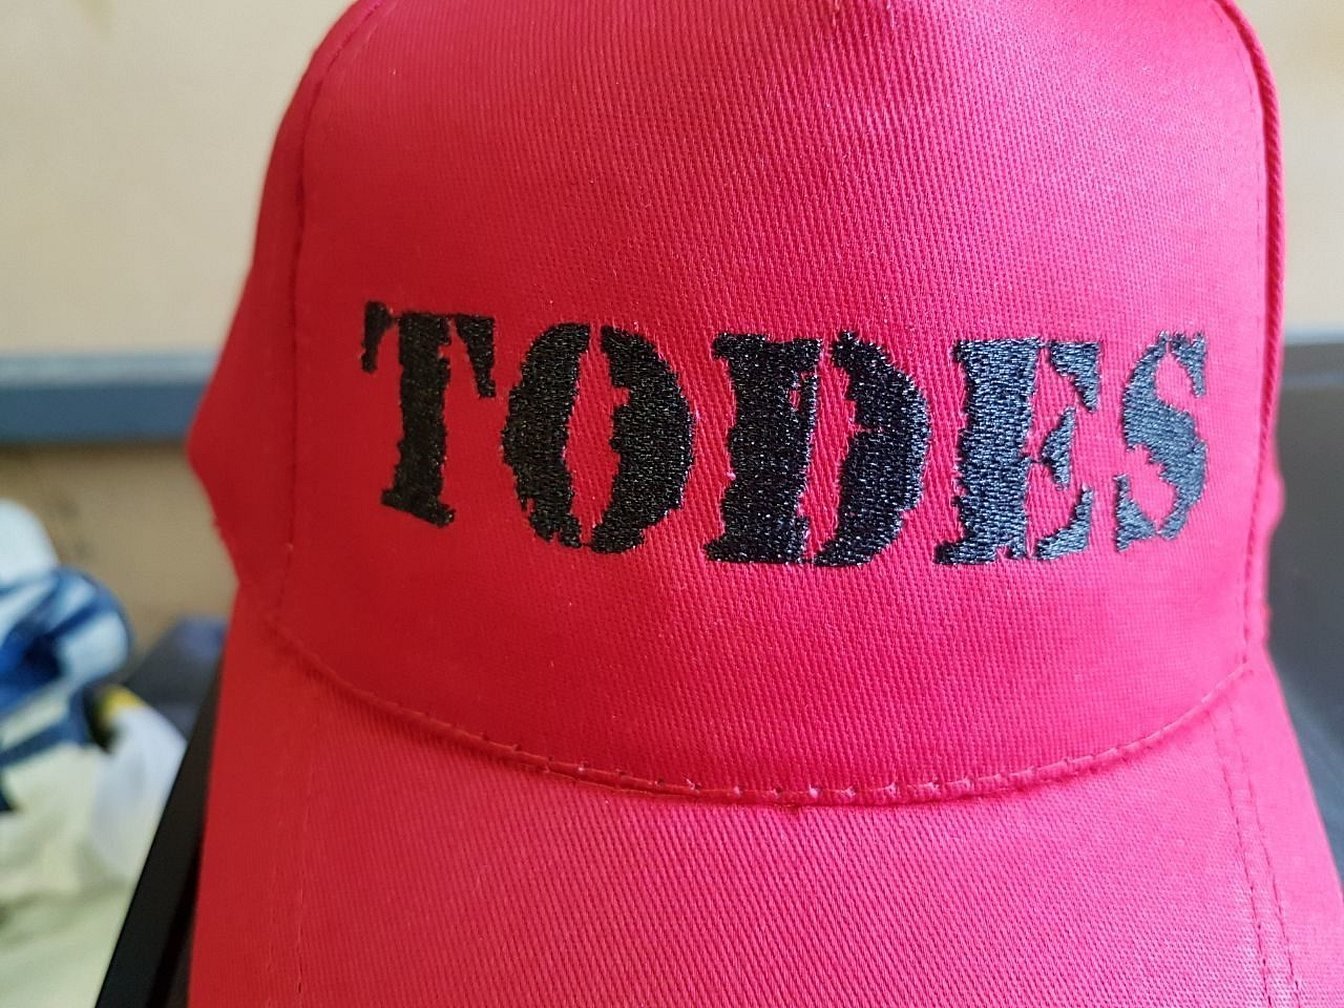
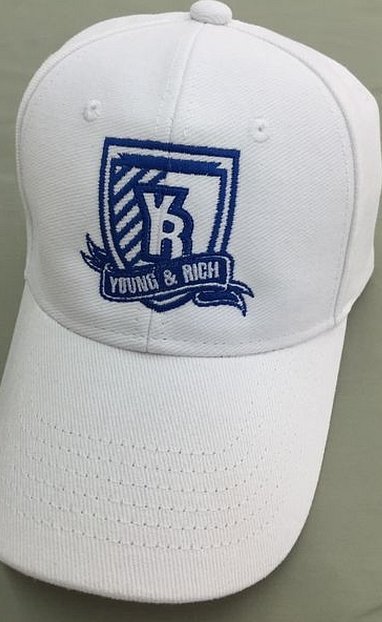
The most popular placement option is, of course, the forehead. This way, the logo or drawing will be visible to everyone and will attract attention.
Sometimes the designs are applied to the cap's visor itself, which looks quite original. Some apply the logo equally on both sides so that it can be seen from any angle.
Computer embroidery technology
To embroider a baseball cap, you need to follow the step-by-step instructions.
So:
- First of all, you need to come up with a drawing or inscription, make a template. For each inscription, you need to select the type of thread, color and thickness;
- the next step is to hoop the cap. The piece is secured in the hoop, and to thicken the base, you can use a lining made of cardboard or non-woven fabric;
- the process of embroidering a design. This is done using computer technology. You need to set the thickness of the yarn, the type of stitch, and the rest;
- final finishing. It is necessary to check the quality of the stitching, trim off any excess threads, if any.

Embroidered baseball caps
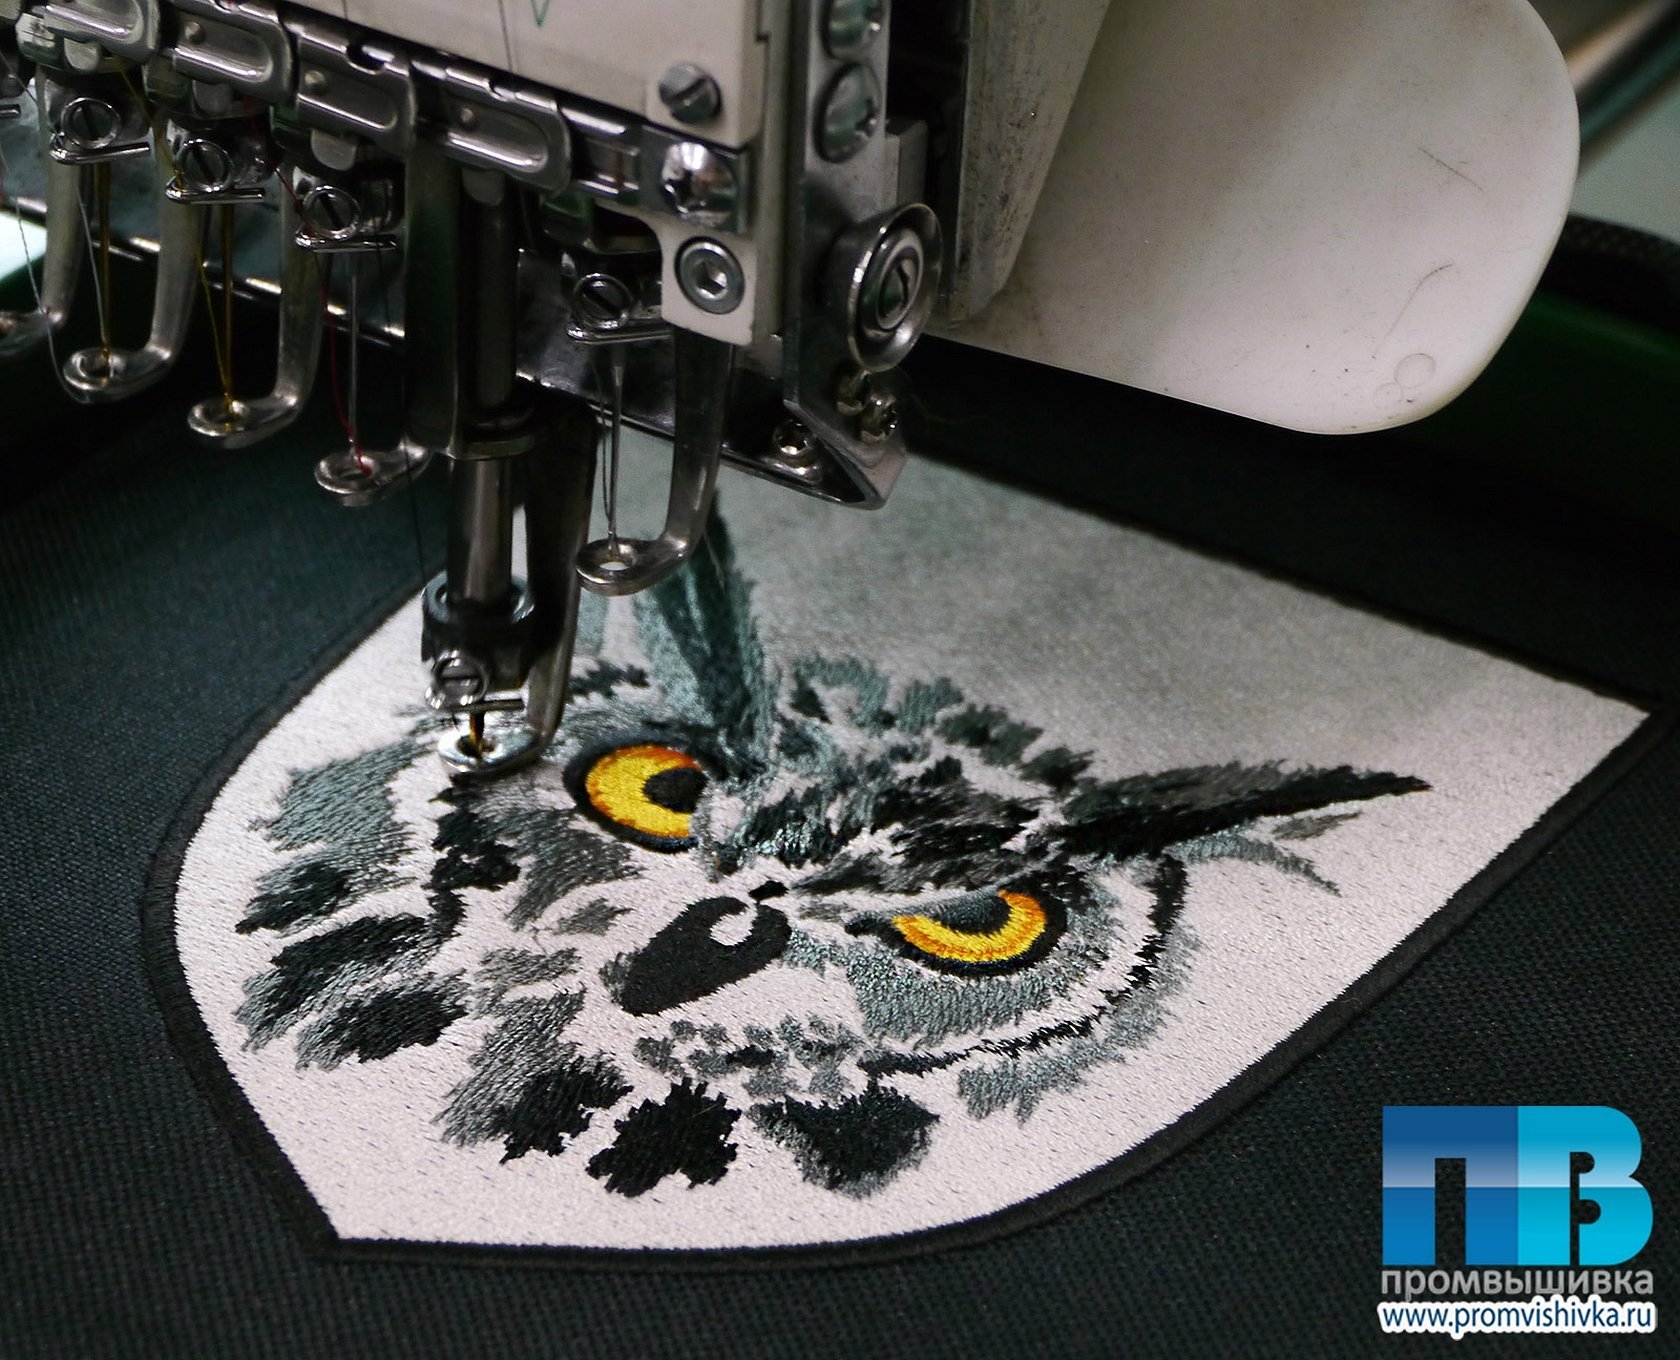
Modern, multi-purpose, automated equipment is used everywhere to produce the design on caps. Computer embroidery is characterized by fast productivity, accuracy and precision of production.
When contacting a special embroidery production company, the design is given to a designer who must finalize it and place it in the machine. The layout program specifies all the steps and work that will be performed using the machine.
All options and settings must be set by the operator, namely: thread selection, color, thickness, etc. The software in the machines must be constantly updated to be able to produce high-quality inscriptions.
Since the cap has a round shape, the embroidery machine must be equipped with a special oval shaft on which the headdress is installed. Then, using special indicators, the machine needle will move along an arcuate line specified in the machine settings. This technique helps to make drawings in various points of the baseball cap: in the center, on the visor, on the side or behind.
The studio can not only do embroidery on baseball caps, but also sew headwear at once. This will increase the accuracy of the work performed, because the product will be sewn specifically for the stencil.
How to make embroidery on a cap
Embroidering a cap with your own hands is quite easy. For work you will need the following tools and materials:
- cap;
- threads of your choice, preferably thick;
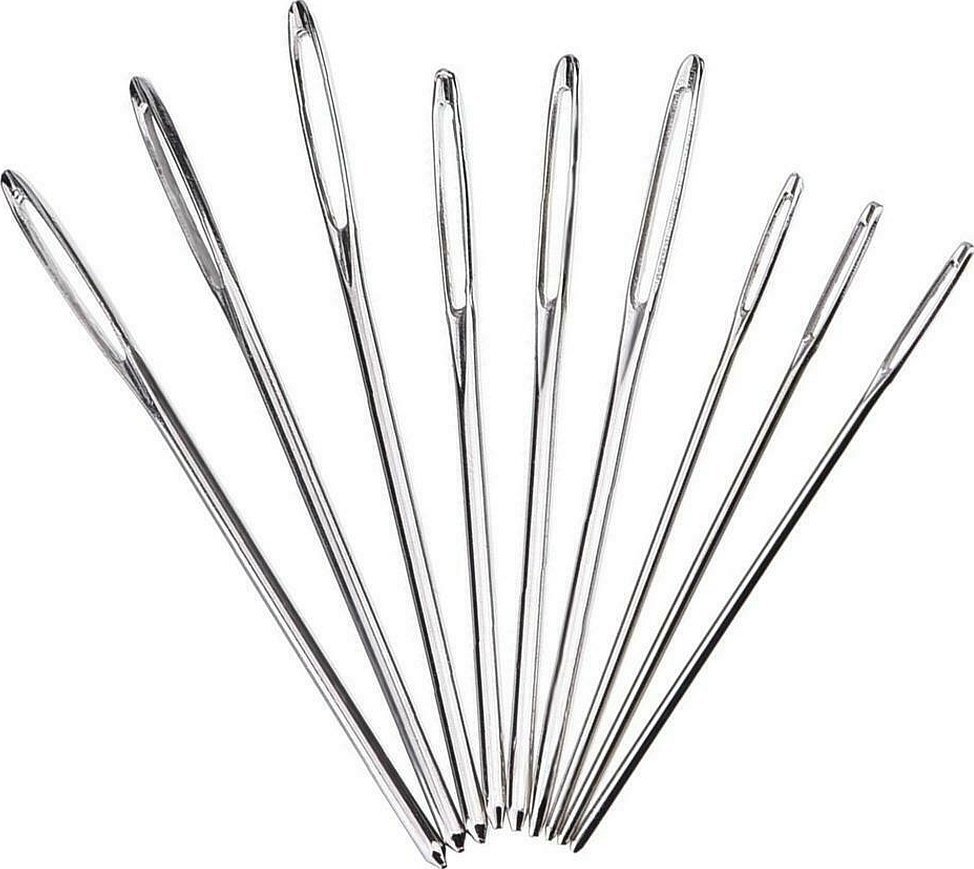
- embroidery needle;
- cardboard lining;
- scissors;
- stencil.
Work process:
- First, you need to draw an inscription or find a drawing on the Internet;
- You can transfer the finished drawing onto the cap using carbon paper. But you need to do it carefully, because carbon paper does not wash off the fabric;
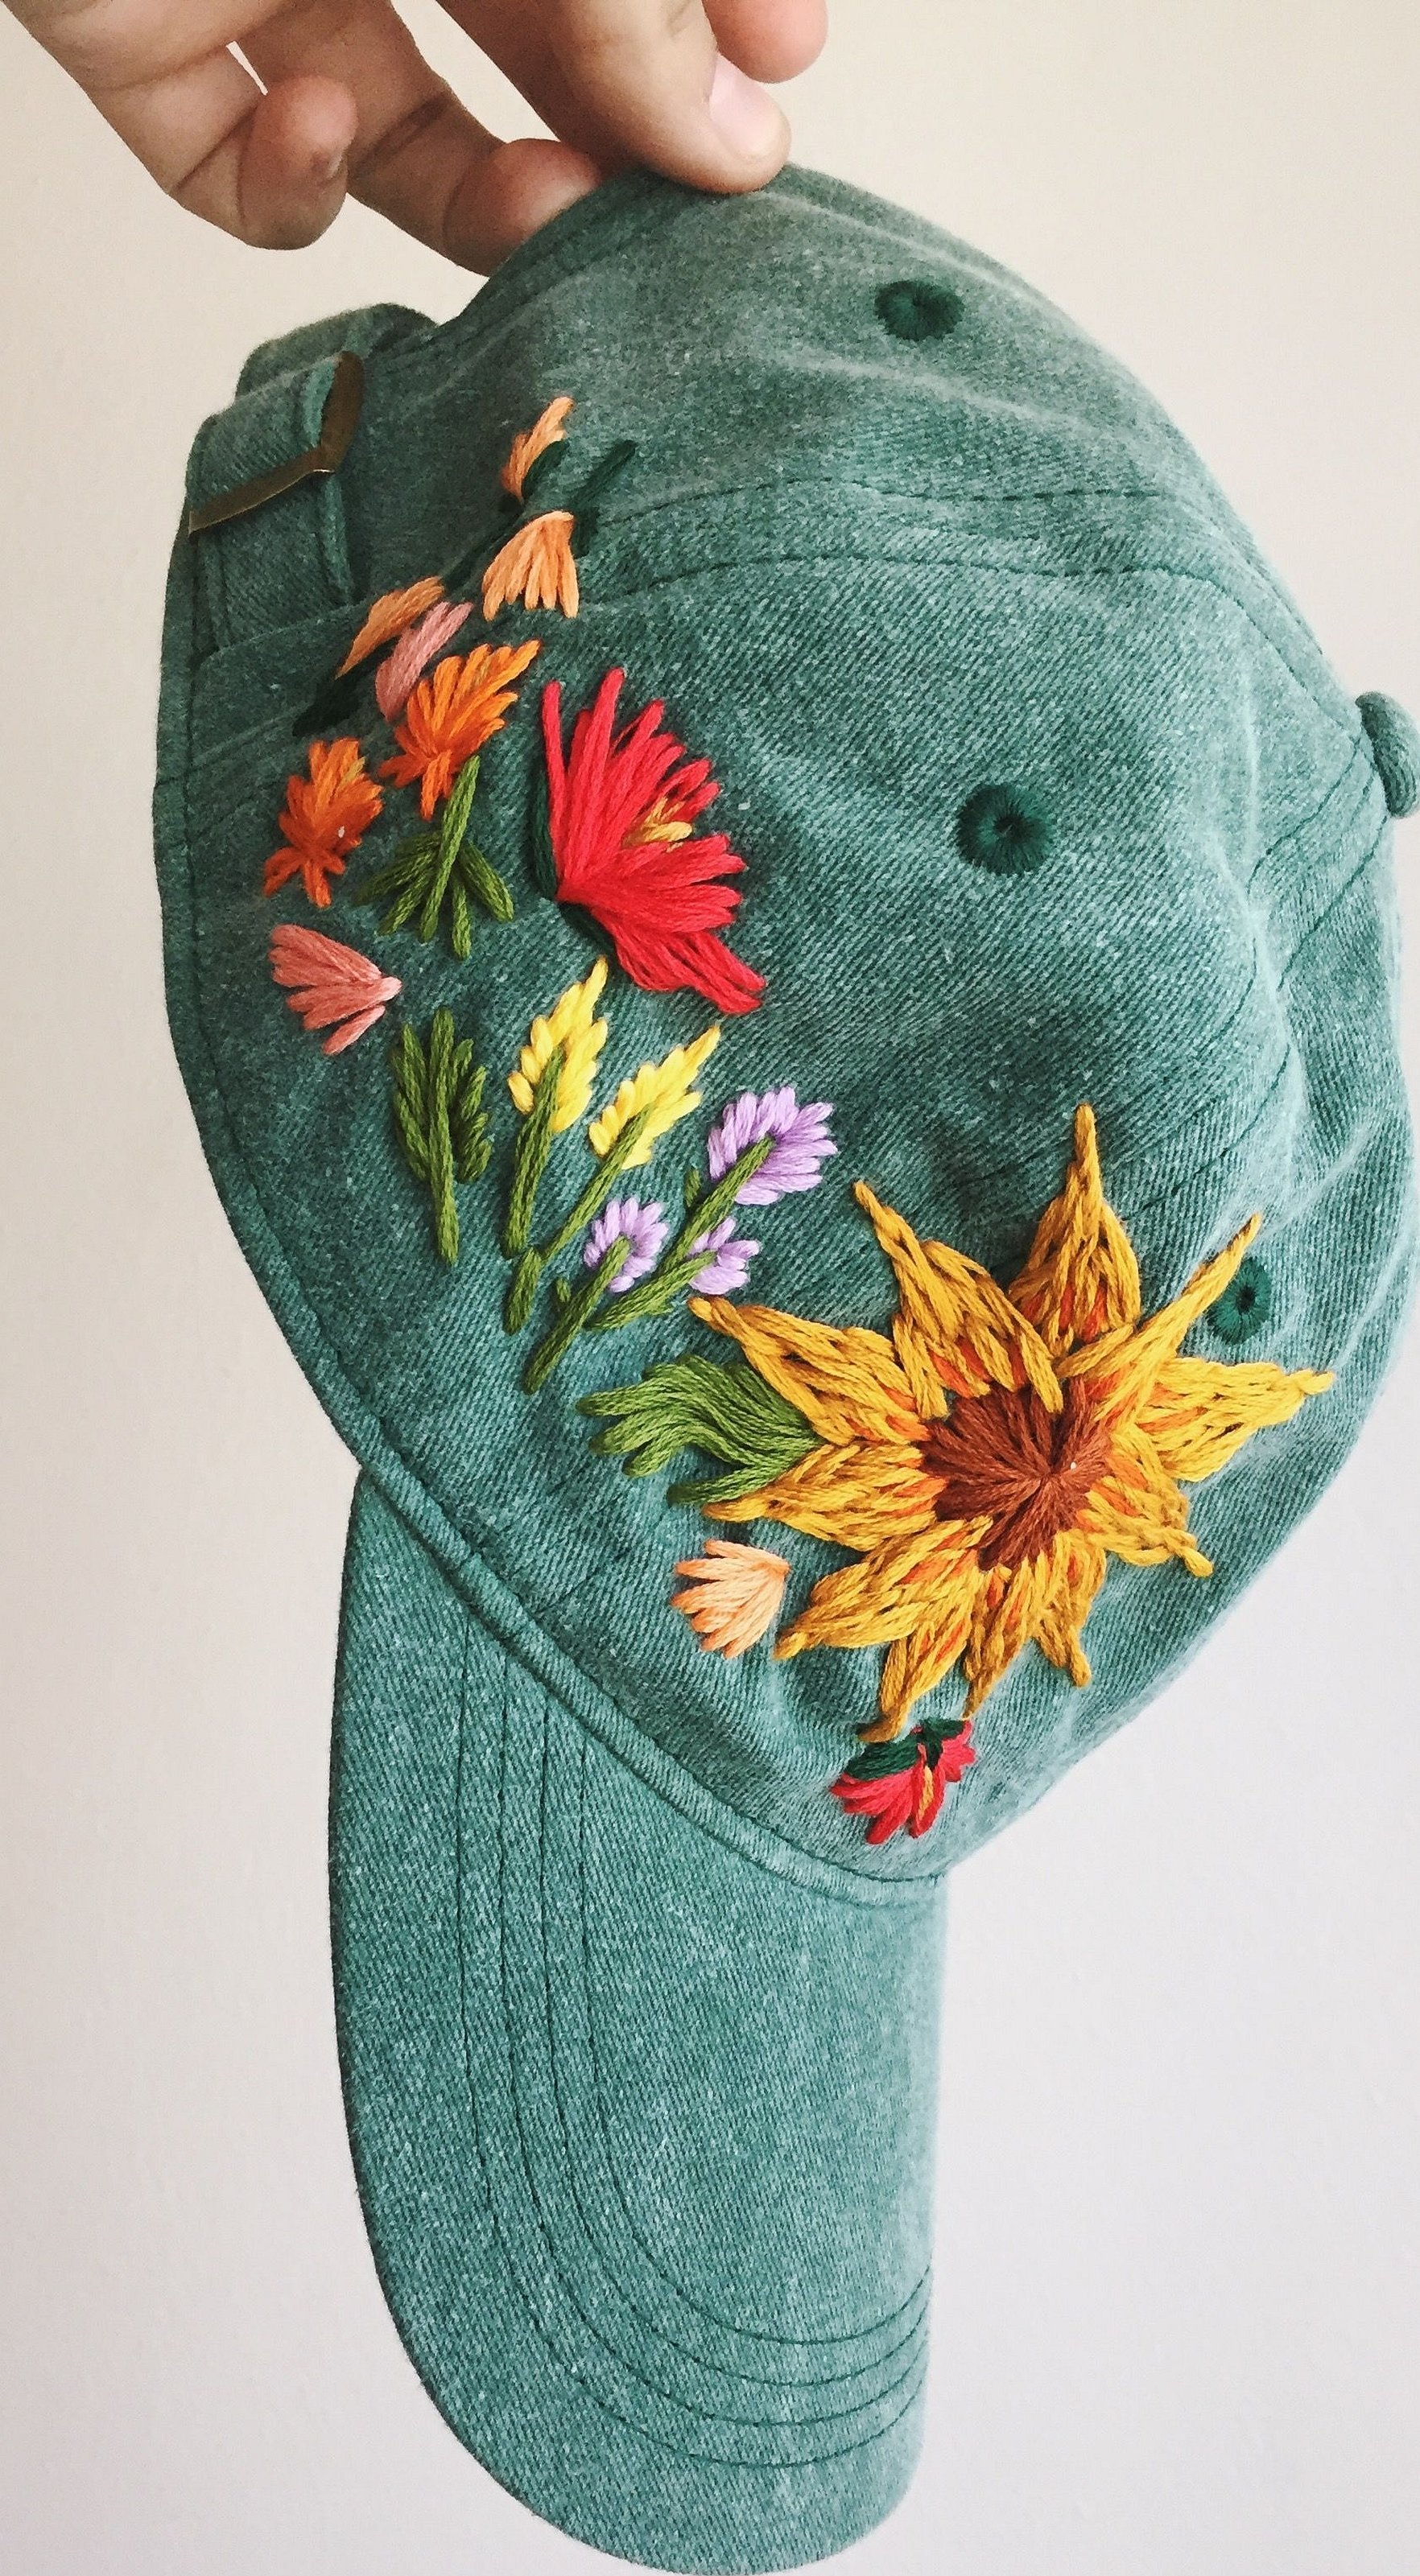
- Next, you need to thread the needle and begin to fill the space of the inscription or pattern with neat and small stitches;
- Finally, you need to finish the cap. Cut off excess threads, and if desired, you can decorate the headdress with fur or beads.
Attention! For work you need to purchase only high-quality tools.
Very often you can find low-quality threads. They will be cheap, but there is a risk that they will start to crack after the first wash. Bad yarn immediately loses color. To check the threads for quality, you need to put the spool in warm water. If the water is colored, then it is better not to use such threads for embroidery on clothes.
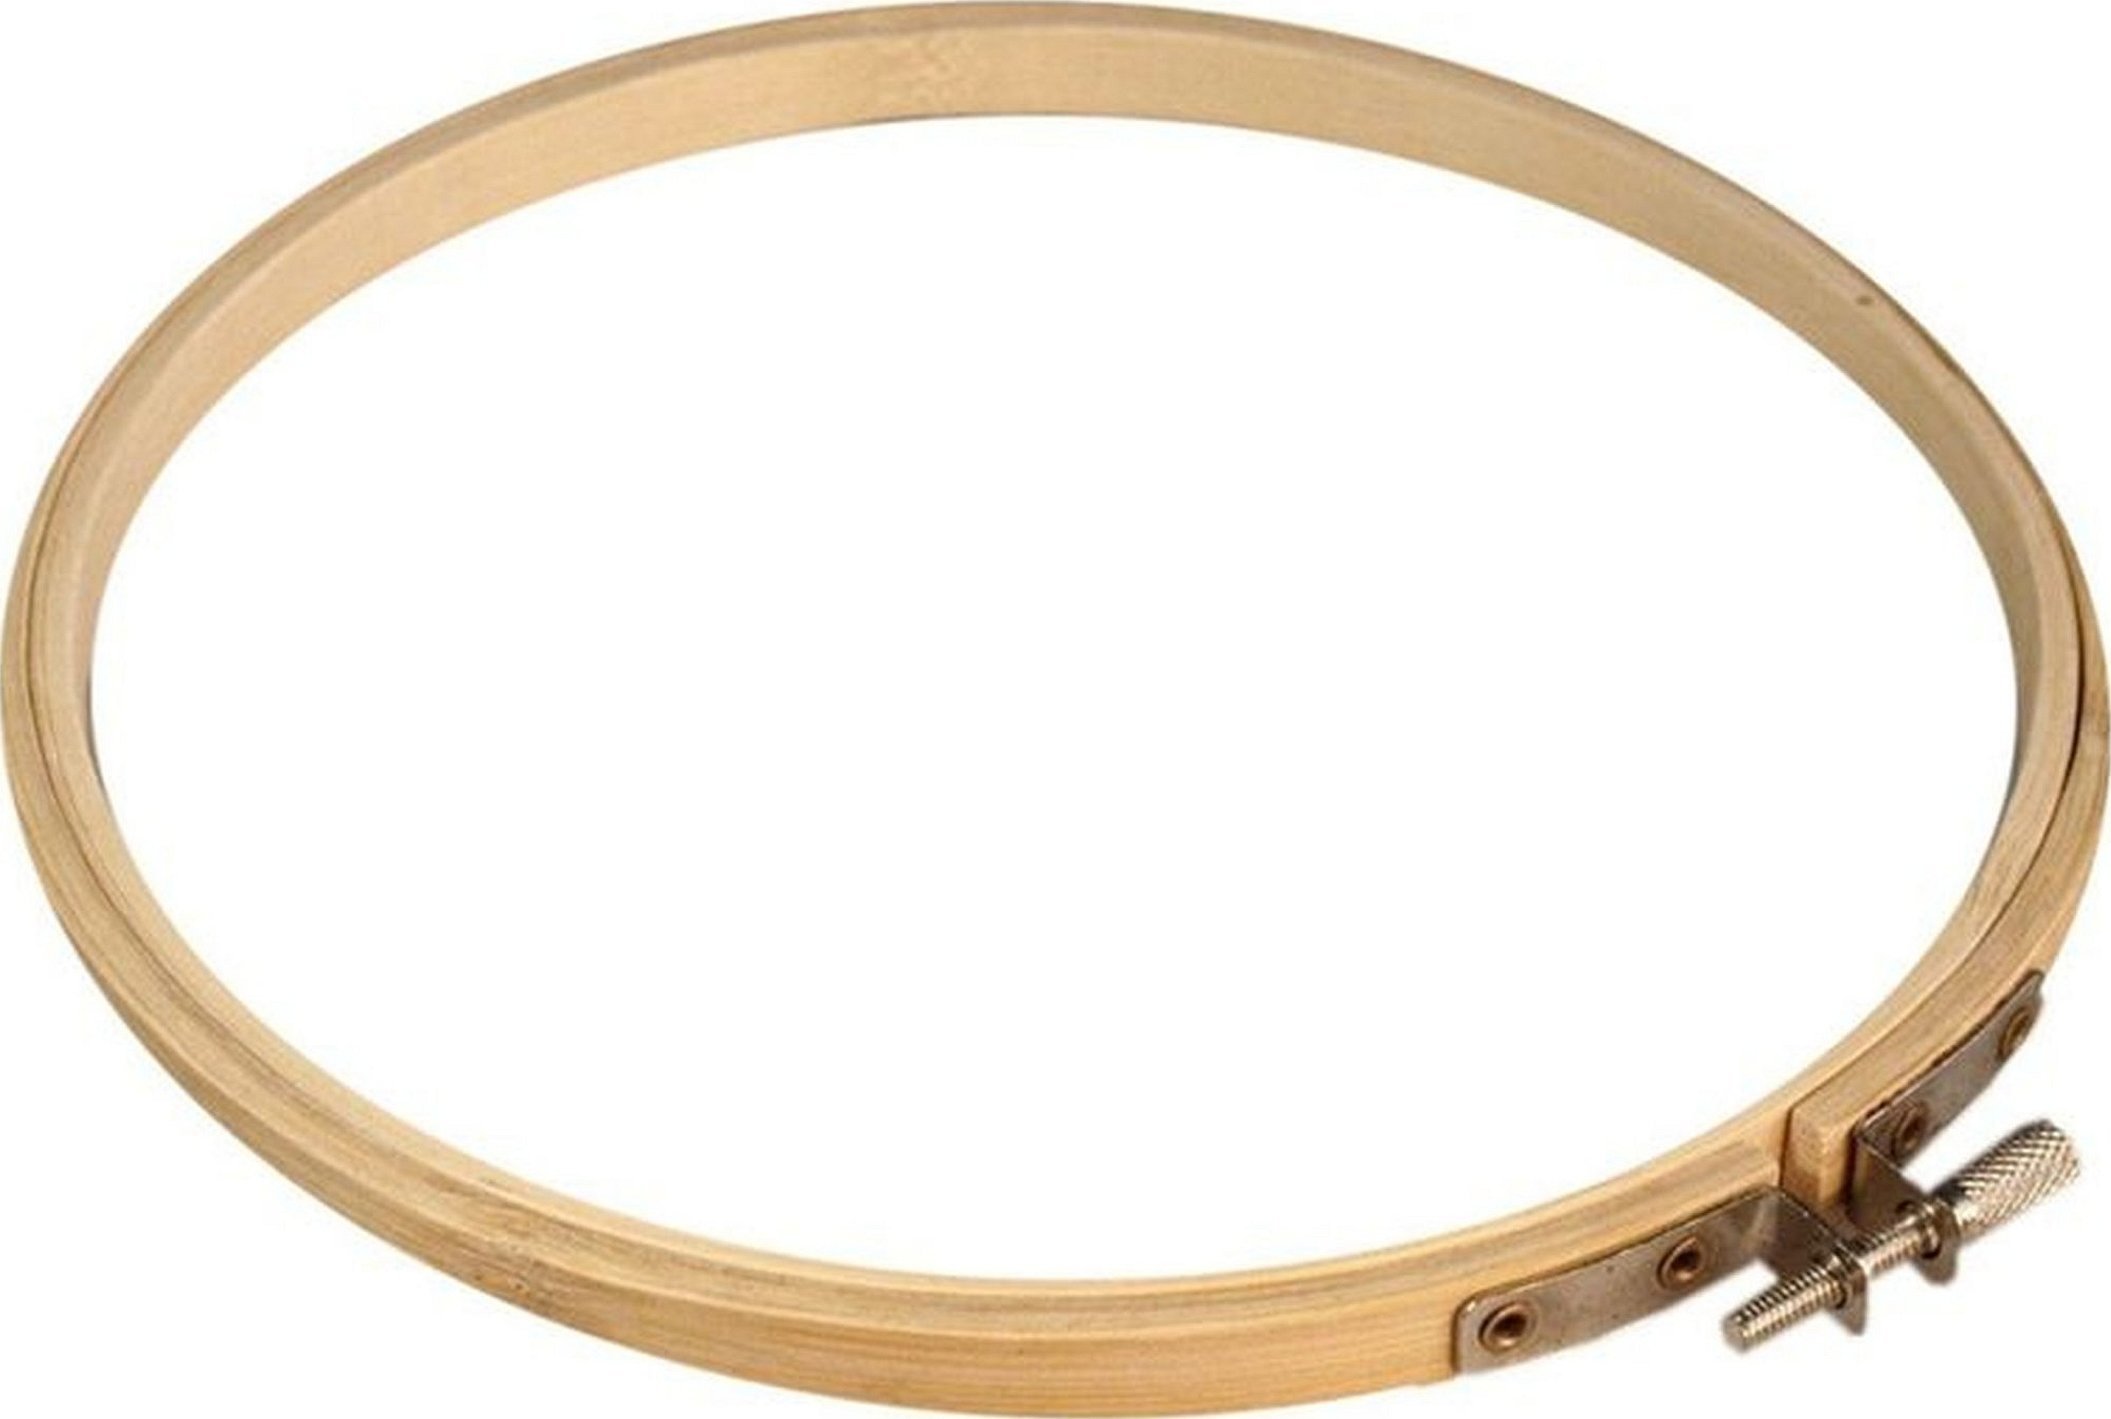
It is essential to use a hoop, especially for beginners. This will help prevent the product from slipping in your hands and will make the work much easier.
Embroidery should be done only in a well-lit place, because the work puts a lot of strain on the eyes. If you neglect this rule, then after a few months of active work your eyesight will begin to decline.
For your information! Experienced seamstresses recommend washing the garment before starting work so that it shrinks. This way, the embroidery will be easier to apply to the dense material.
Usually, for logos or inscriptions, it is recommended to use satin stitch embroidery technique. It completely fills the space and looks beautiful.
If the embroidery was done by hand and not by machine, then you need to wash it carefully. It is not recommended to use a temperature above 80 degrees and too high revolutions, because the threads can fray or burst over time. For washing, it is better to choose only gentle powders and conditioners, preferably liquid ones. Dry only at room temperature. You do not need to iron the caps, sometimes you can process them with a steamer.
If a person has difficulties with a sketch, then it is possible to make a personal logo with the help of special editors. The essence of the program is that a person takes some stencil from the proposed ones and refines it in the editor. The most popular program is "SmutDraw". Quite an easy interface, completely in Russian and has many interesting additions. Very often used among designers.
The application is free for any operating system. You can also use the "Krita" service for work. Its advantage is that you can choose absolutely any canvas size. It will be interesting to work in such a program not only for adults, but also for children. This is a kind of virtual drawing.
In conclusion, it should be noted that sewing baseball caps with a pattern is something that can be done in any studio. But if a person has enough experience, then you can make the inscription yourself, just choose good threads and sit over your cap for a couple of hours. And before work, it is advisable to watch several master classes to choose the type of stitches for the cap.


