The history of this craft dates back to Ancient Greece. At that time, girls wove ribbons into their hair, and then began to decorate clothes and carpets with them. Gradually, this handicraft moved to other countries of the world. This article talks about what ribbon embroidery is and what a beginner needs to know.
- Differences between silk and satin
- Determining the size of the fabric
- Selection of needles for embroidery
- How to insert tape into a needle
- Ribbon embroidery technique
- Twisted stitch
- Loop stitch
- Stylish Sunflowers from Kanzashi Ribbons
- Features of ready-made kits
- How to learn to embroider ribbons beautifully: tips and reviews
Differences between silk and satin
You can learn to embroider with ribbons yourself with the help of various master classes. You can buy ready-made embroidery kits in stores, which will make the learning process much easier. Fabrics for embroidery can be different, such as silk, satin or synthetics.

By sewing them together, you can get original compositions with a touch of realism. Satin ribbons can be used on all types of material that can be pierced with a needle.
Silk is a natural fabric, and satin is made of synthetics. Silk wrinkles quite a lot, so it should be stored unfolded in a chest of drawers. Also, the fabric requires proper care, quickly fades and sheds when washed. When laying out on a surface, it is necessary to carefully iron out creases.
Satin materials are combined with organza, chiffon or lace. And for silk, you need to take openwork fabrics, which are quite expensive.
Therefore, for beginners it is recommended to give your choice in favor of satin material, it is easier and faster to work with it. This fabric is very easy to lay on the canvas. If the fabric is very rough and hard, then before work it can be washed in the machine.
For beginners, embroidery can be done with ribbons of different widths, depending on what kind of picture needs to be done. Work should be done with thin satin rags, they pass through the fabric more easily and do not distort the pattern.
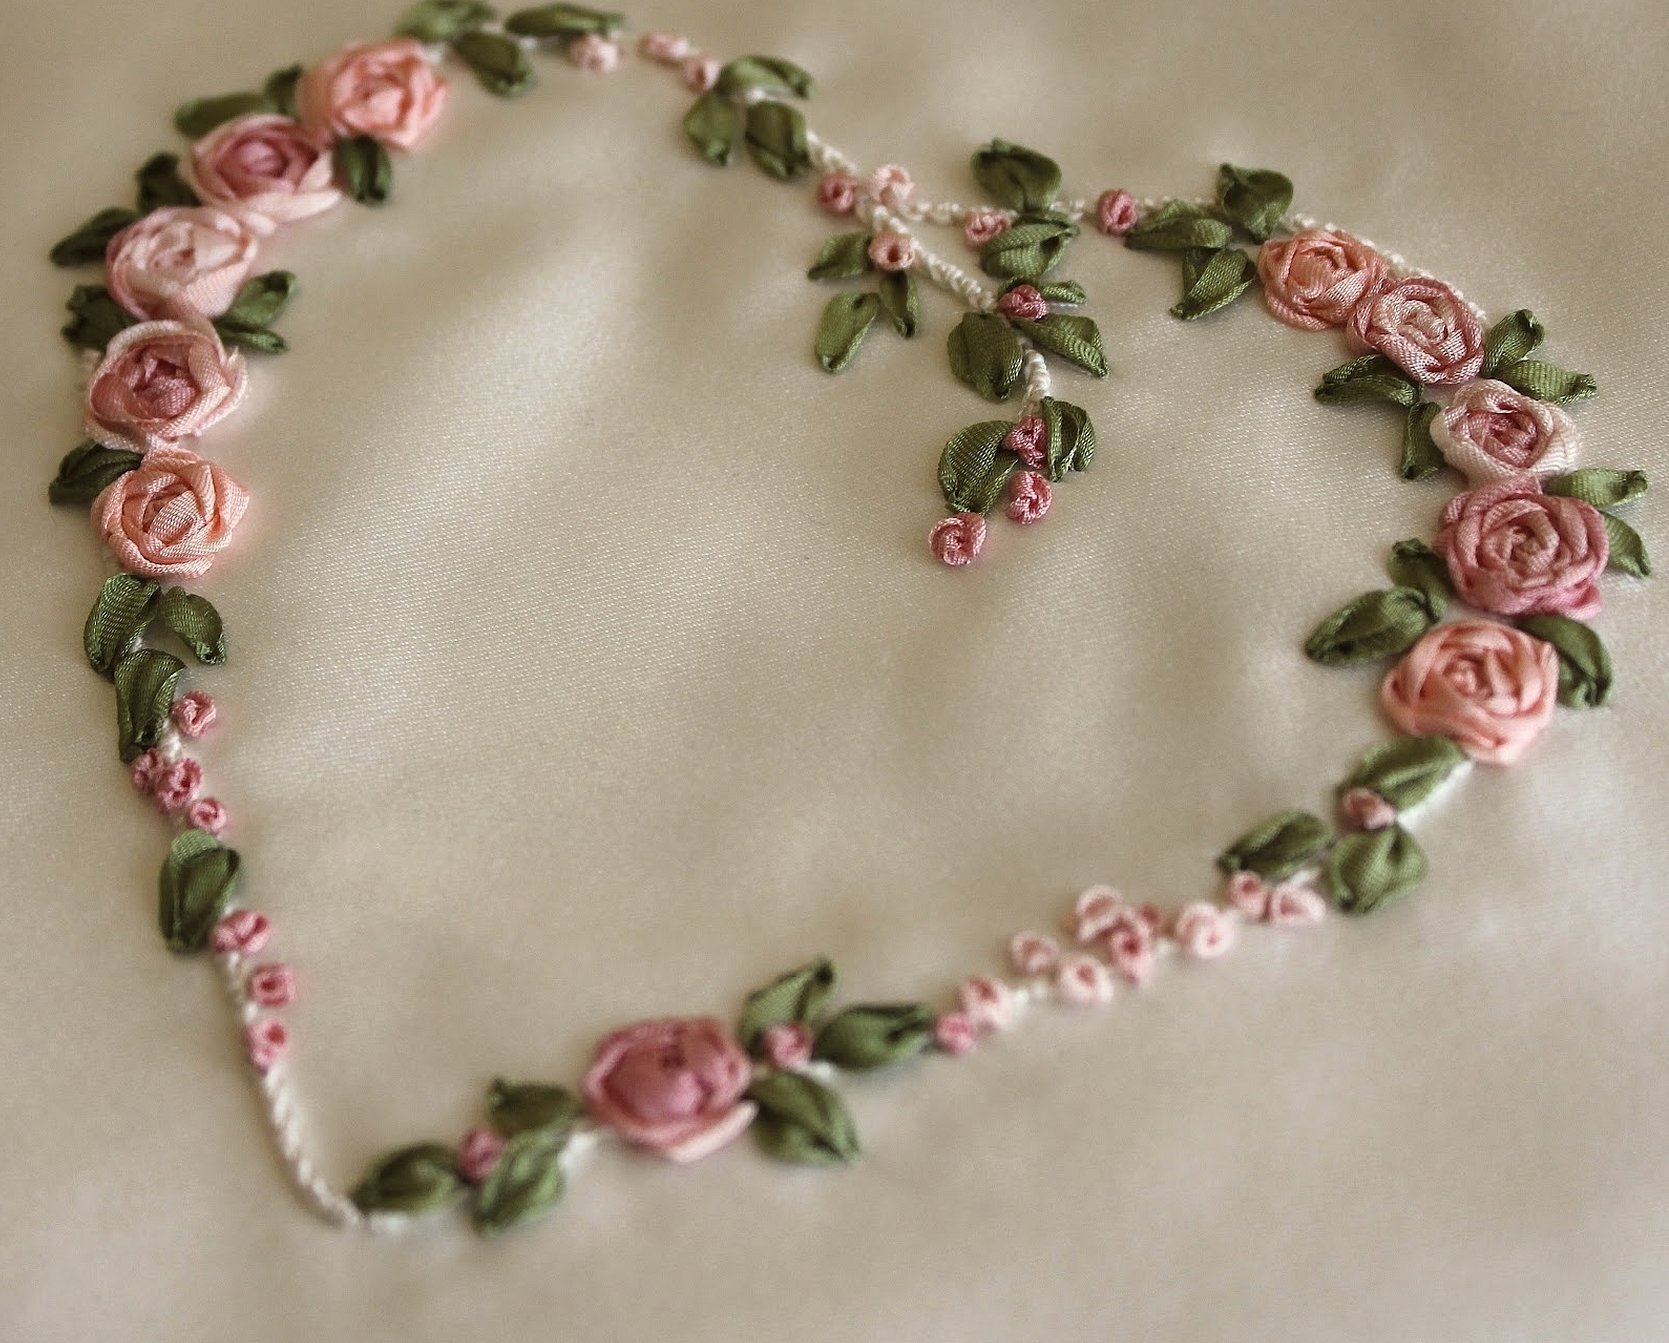
They can also be twisted into flowers or small details. They are usually sewn on with hidden stitches, giving the finished product even more sophistication and beauty.
Using French knots, you can add volume to the product. This embroidery method will be one of the key ones in the process.
Attention! Satin is made from polyester fibers, which is why the craft will keep its shape for a long time.
Determining the size of the fabric
The size of the embroidery ribbon should be such that its ends hang down from under the hoop. For example, for a frame with a diameter of 40 cm, the ribbon size should be 50x50 cm. Because if the fabric is smaller, the material will constantly slide off the holder, which can spoil the design of the craft.
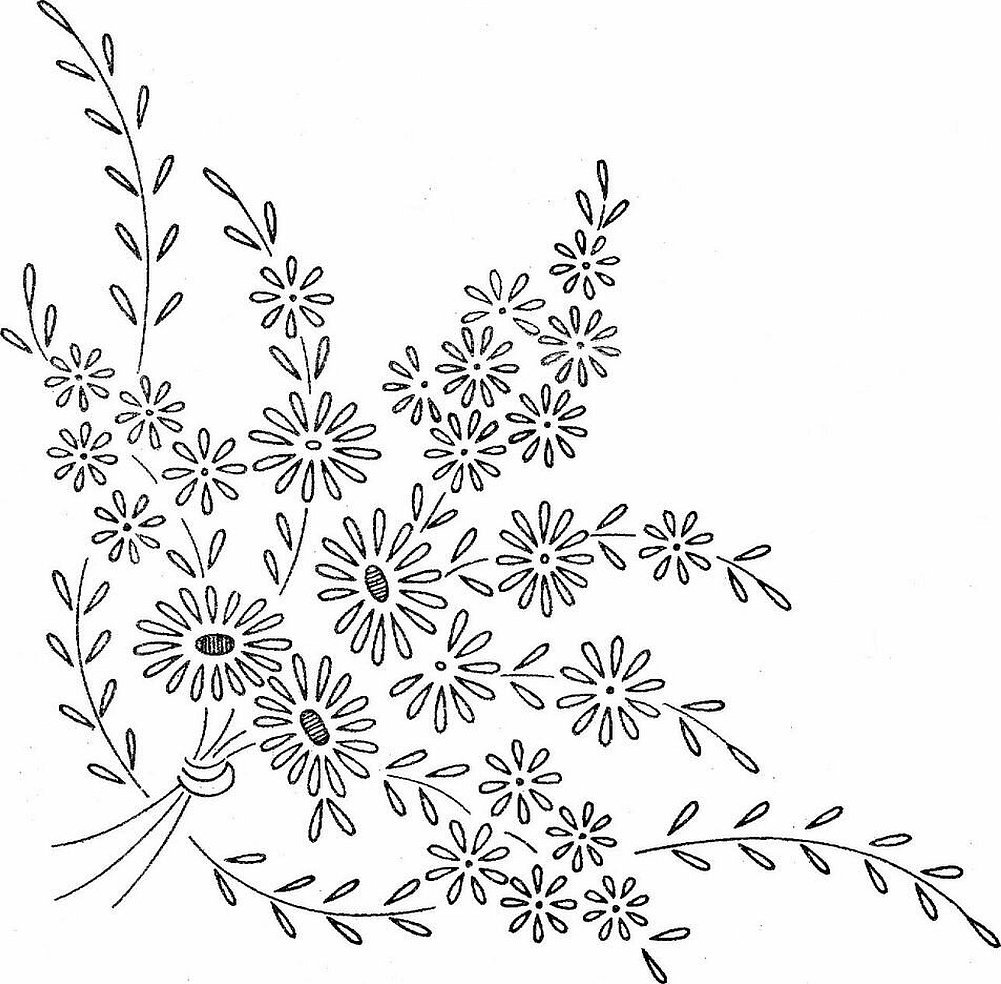
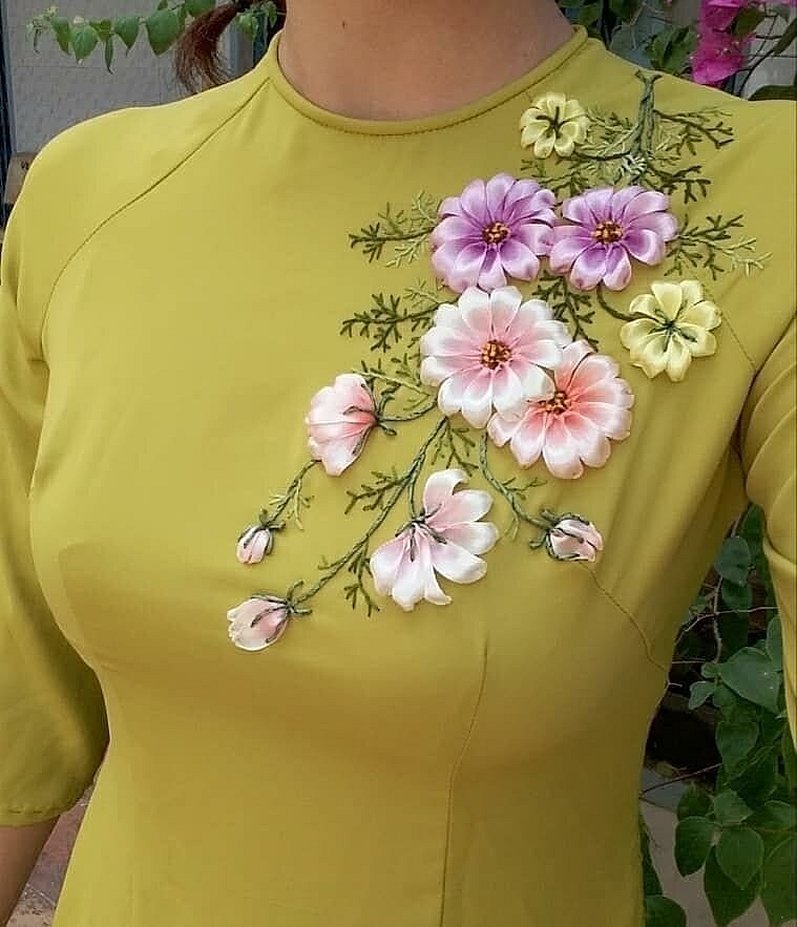
It is not recommended to take too large a piece of fabric for canvas, it will be inconvenient to work with. If you need to do a large job (for example, ribbon embroidery on a shirt, dress or sweater), it is advisable to do it on separate elements, and then assemble the entire product at the end. The technique of ribbon embroidery involves preliminary marking of the outline on the fabric of the future pattern using a disappearing marker. But most craftswomen use ready-made motifs.
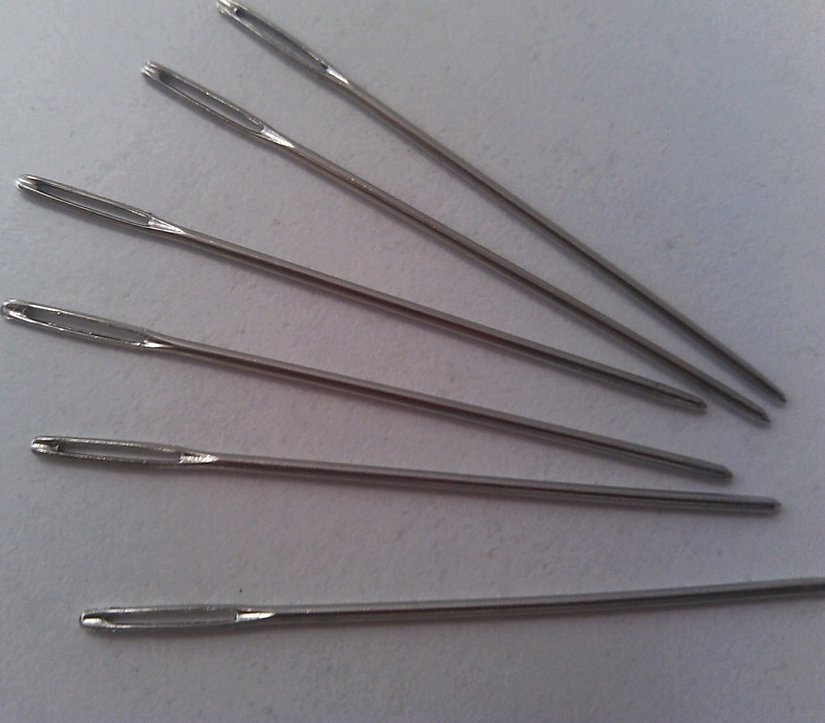
Selection of needles for embroidery
When working with satin, it is quite important to choose needles with a wide eye for the material. It is advisable to have a separate needle for each thickness of ribbon.
This will help reduce the embroidery time. The most popular needles for working with ribbons are "Sinelle". Such a tool has a sharp end, a strong rod and a large eye. Needles of sizes 13 - 23 are used. For denser materials, you can use tapestry needles with a blunt point. To decorate the fabric with rhinestones and beads, you need to use a beading needle, it is thin enough to use beads of any size. You can also use gypsy needles and classic sewing needles with a large eye.
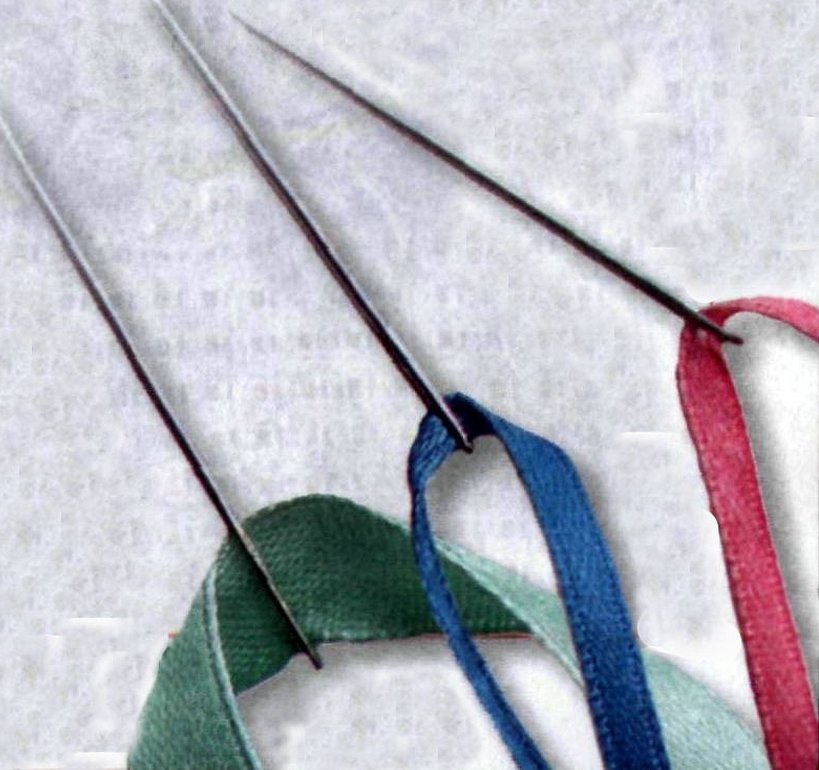
How to insert tape into a needle
Before trying to embroider the first stitches, you need to learn how to thread the ribbon into the needle correctly. To do this, you can watch a video tutorial or study this section.
So, first of all, you need to cut one end of the satin ribbon. To prevent it from becoming shiny, you need to burn the end with matches. Insert the cut end into the eye of the needle and, making an indentation of 2 cm from the edge of the ribbon, stick the needle into the center. You will get a kind of sail. Next, you need to take the needle with your hand and pull it all the way to the edge that was burned.
Ribbons up to 5 mm wide are usually tied with a knot at the end. Ribbons larger than 5 mm are recommended to be fixed at the end with a flat "pillow" knot. Fold the singed edge of the ribbon several times (the width will be about 1 cm) and prick it with a needle into the resulting "pillow" in the middle.
Ribbon embroidery technique
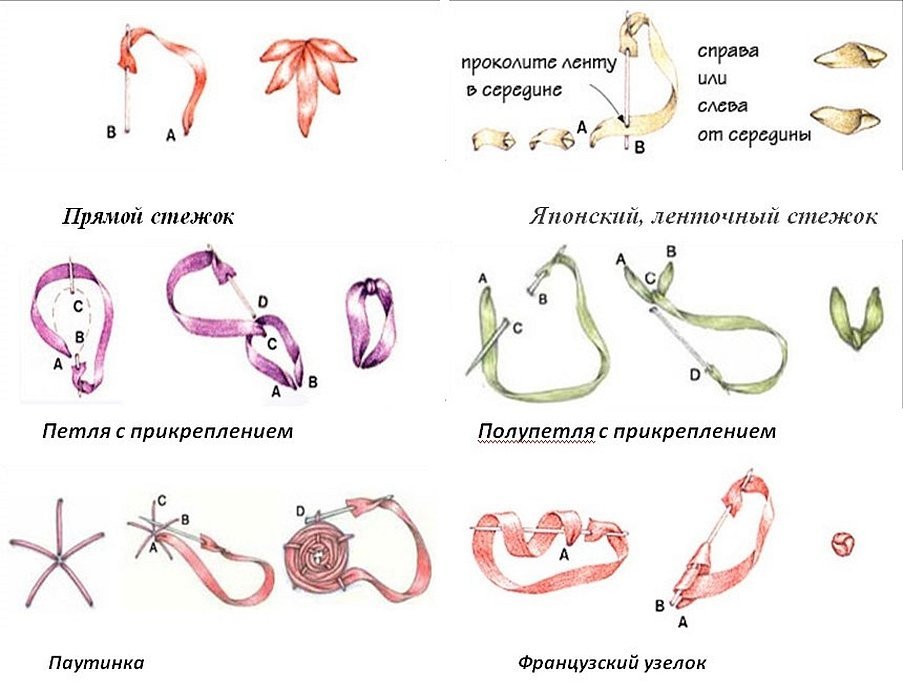
Below are two basic techniques that beginner needlewomen use when embroidering with satin.
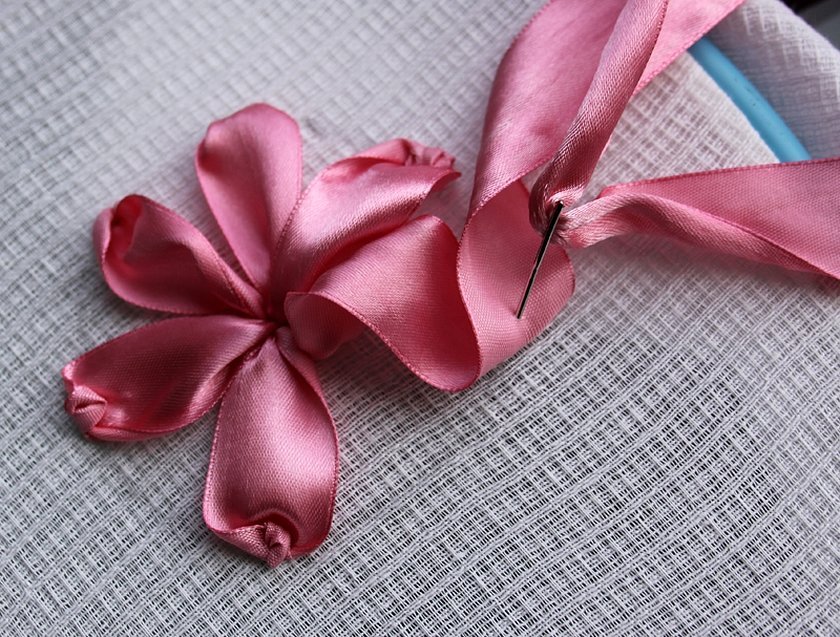
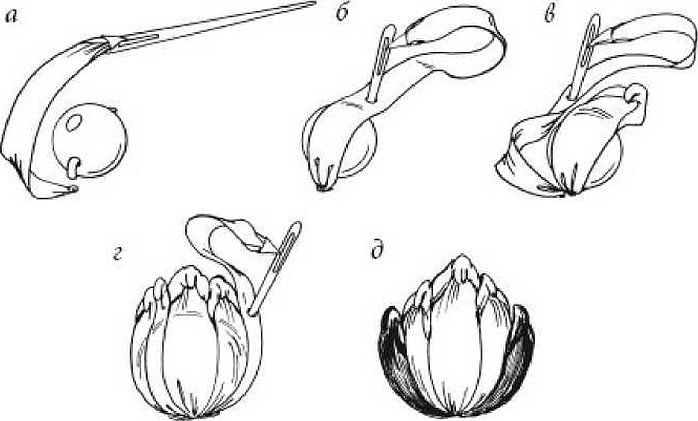
Twisted stitch
MK for performing a stitch:
- the needle must be brought out to the outside of the fabric;
- next you need to make a loop in the direction from left to right (clockwise), and then press it with your fingers;
- then you will need to puncture the needle on the inside, slightly to the left of the point where the ribbon comes out, and pull it out in the middle of the loop;
- tighten and secure the tape.
This method can be used to create simple patterns, hearts or flower slippers.
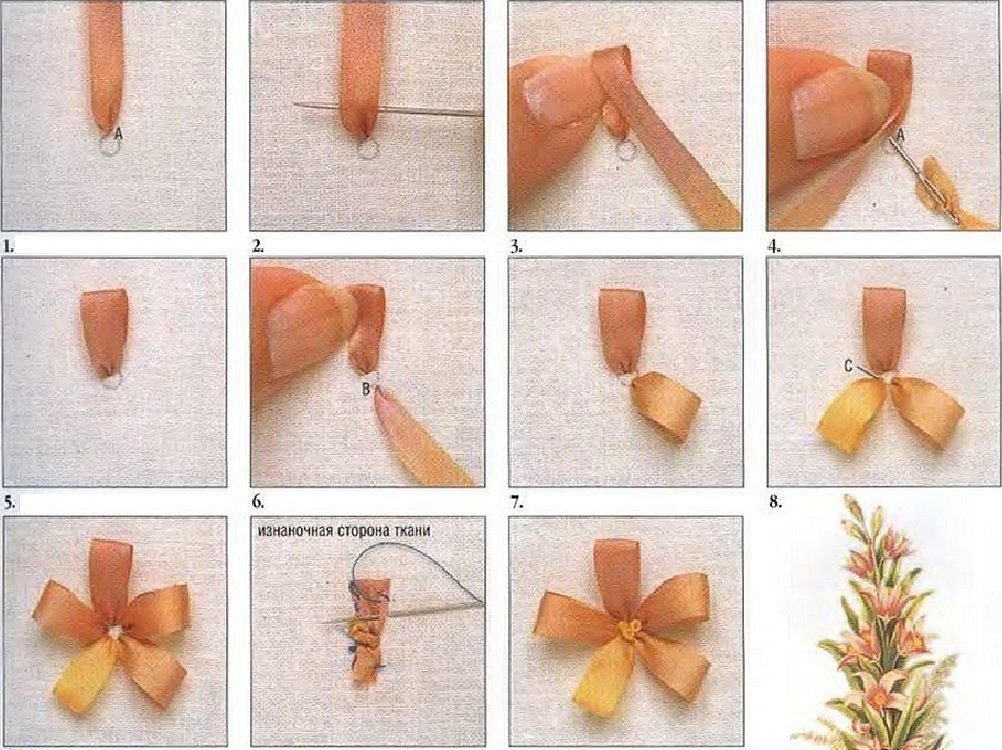
Loop stitch
How to make a tie stitch:
- a needle with a ribbon of the desired color must be fixed on the inside of the craft, and then pulled up and to the left, forming a small loop;
- after this, make a puncture slightly to the right of the previous one, and also hold the tape with your fingers;
- then the needle with the tape must be pulled out to the outside in the very middle of the loop. It must be immediately fixed with a small piece of tape (this process is called "attaching");
- Now you need to pull the needle out to the outside of the craft in an upward and to the right direction in order to make new stitches.
Interesting! The work in this technique can be done in any convenient direction. Very often this technique is used to trim the edges of crafts. The ribbon should be no more than 7 mm wide. The stitch is more voluminous than the first one.
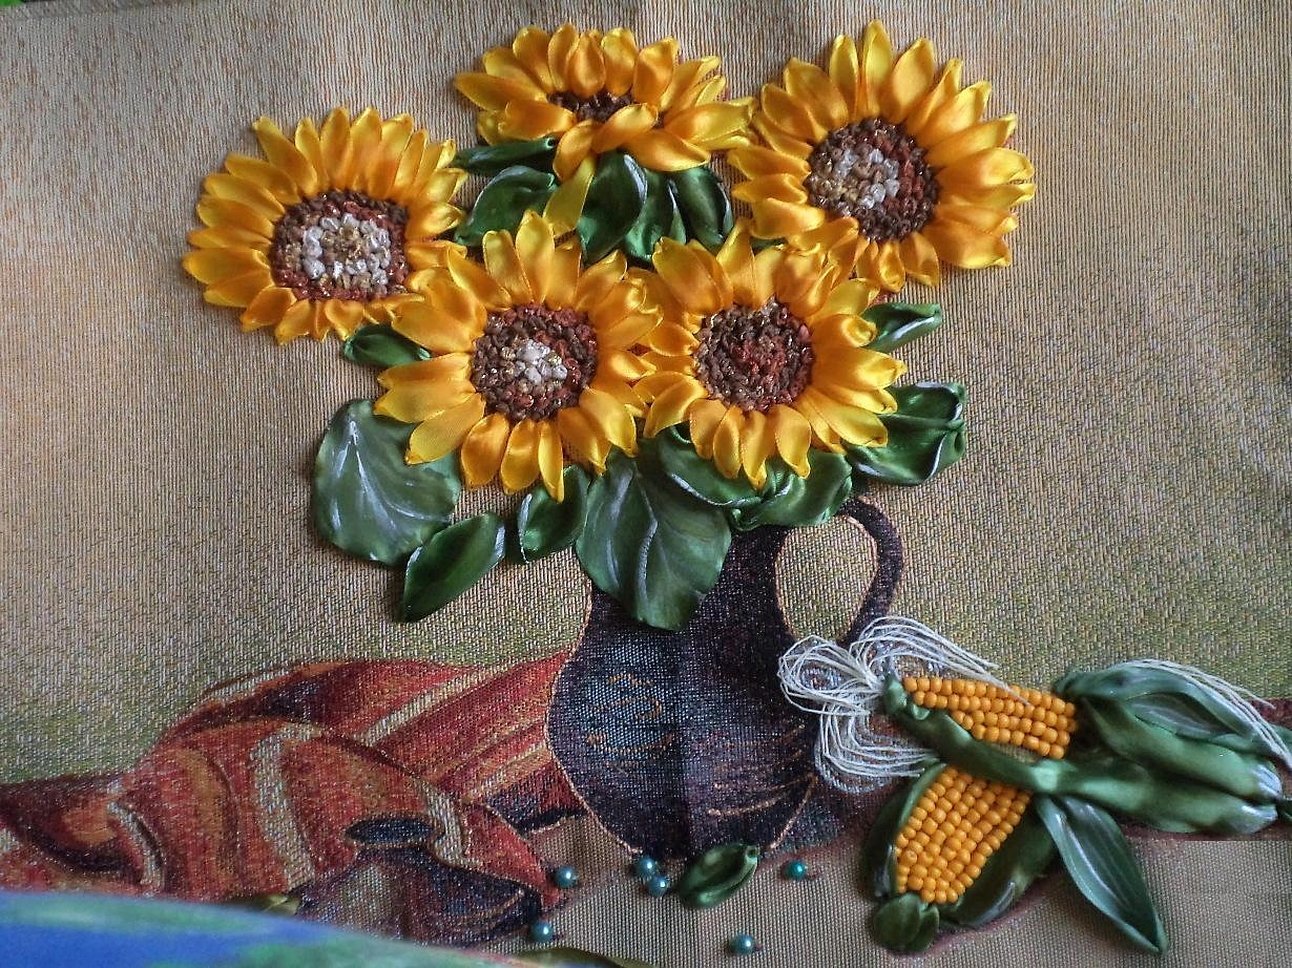
Stylish Sunflowers from Kanzashi Ribbons
To make such a product you will need the following materials and tools:
- scraps of yellow satin ribbon 6 cm long and 2 cm wide;
- green ribbon scraps 7 cm long and 2 cm wide;
- a piece of black and green felt fabric;
- materials for decoration;
- pincushion;
- any base for a hair clip.
Step by step instructions:
- Each strip must be folded in the middle. The wrong side must be inside the strip. Cut one side diagonally with manicure scissors, moving from top to bottom from the bend point to the border of two opposite sides.
- Set this point on fire to secure the corner at the top of the petal. Turn the flower leaf with the cut facing away from you. Cut it, while the set on fire upper corner will be closed. The lower corners need to be curled forward, forming a beautiful elongated petal, similar in shape to an envelope.
- Glue the lower corners together in the same way. Make petals from yellow ribbons using this pattern. Make a round blank from felt for the base of the sunflower in the kanzashi style. Divide the yellow leaves in half.
- Glue the first part of the petals with the bottom layer at the edge of the felt fabric. Now you need to glue another similar layer, it will be more lush. Move the petals of the second layer relative to the first. Next, you need to take the green satin. The edges also need to be processed with fire.
- Bend the strips in the center and cut each piece diagonally. Take from all the parts those that are connected into "sails". Glue the green "sails" to the back of the felt. The easiest way to get the center of the flower with seeds is to make stitches from black threads along the ribbon. Tie a knot on one side of the thread. Now you need to pull the strip so that it is as tight as possible.
- Prepare the parts for assembling the sunflower. Glue the core into the middle of the sunflower and decorate with silk braid or lace. Glue green felt fabric to the back and attach a hair clip.
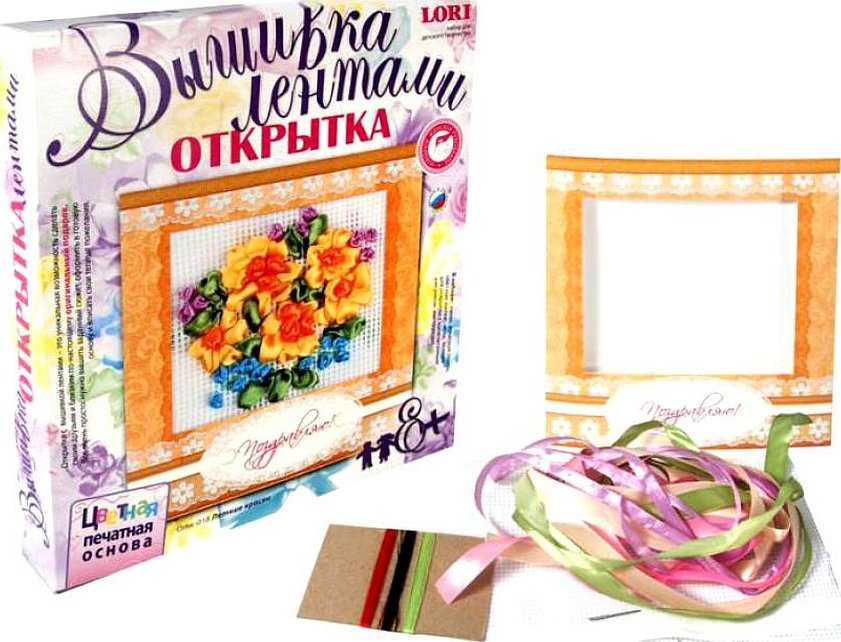
Features of ready-made kits
Beginner craftswomen will not be able to independently select all the necessary tools and materials, so it is better for them to buy ready-made kits for ribbon embroidery. They contain a ready-made pattern, instructions, fabric of a suitable color and needles. You can also choose a pattern you like. To begin with, it is recommended to take small, simple patterns, and then, when sufficient experience has been gained, you can move on to more complex patterns.
How to learn to embroider ribbons beautifully: tips and reviews
Yana, 22: “I mastered the art of ribbon embroidery in my second year of college. It calms your nerves very well and helps you learn to focus on small details. I learned from various video tutorials on the Internet, so it was quite difficult at first. For beginners, I would recommend studying ready-made kits. Because at first, I personally bought everything myself, and sometimes the colors of the satin did not match the pattern itself. But over the years, I learned to combine the shades correctly.”
Maria, 31: “During maternity leave, I started to get bored at home. So I decided to take up handicrafts, but I didn’t know what hobby I might like. I saw several crafts with embroidery in this technique on the Internet and fell in love with them. I took the course using different videos, studied the types of stitches and fabrics. From the first days, embroidery was very easy for me, although I had problems with choosing the material. I would recommend everyone to do ribbon embroidery only in daylight. My eyesight got a little worse because for the first few months I embroidered in the evenings when my daughter was sleeping.”
Lyubov, 54: “I have been doing various handicrafts for a long time, I like to embroider with satin stitch, cross stitch and ribbons. I often decorate sweaters and shirts for my grandchildren this way. It turns out very beautifully and the children are happy. Professionalism in this area will only come with experience. At my age, I never stop learning new types of stitches or patterns, because this embroidery technique changes very quickly. Therefore, I would advise people to never stop learning and not be afraid that they will not succeed, because everything is possible.”
In conclusion, it should be noted that ribbon embroidery is quite an interesting and useful hobby. In this way, you can decorate clothing items or decorative pillows. It is important to purchase only high-quality materials so as not to spoil the craft later. For beginners, it is better to use simple drawing ideas, such as daisies, roses, lilacs or patterns with animals.


