Not long ago, things made by hand began to come back into fashion. In the old days, every girl and woman had to be able to sew, knit and embroider. In modern society, only a few have this skill, but a hand-made product with an elegant finish looks very expensive and costs accordingly.
- Features of embroidery on knitted products
- Technique of performing embroidery with honeycombs
- Italian seam
- Zigzag chain stitch
- Threading a needle
- Embroidery patterns
- Flower embroidery patterns on knitted items
- How to make Rococo roses
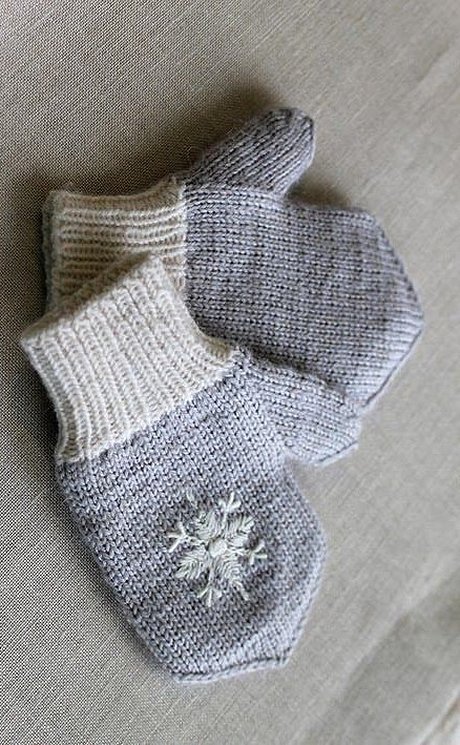
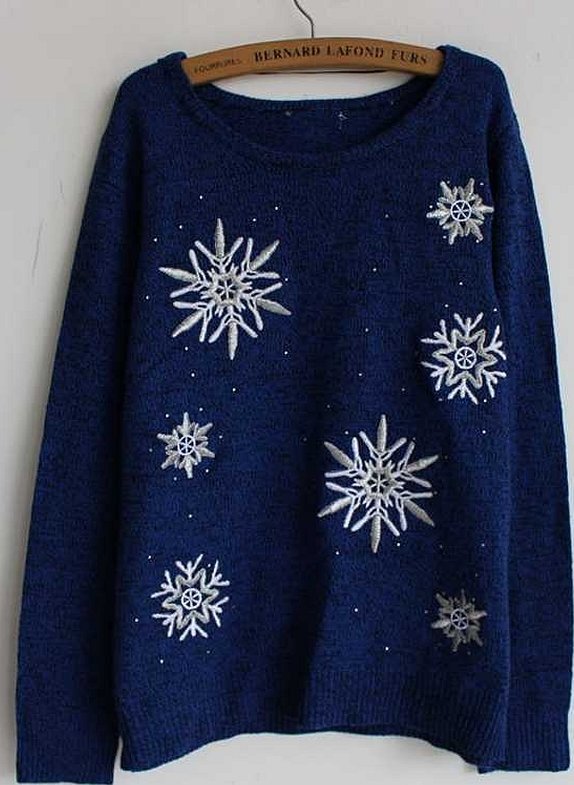
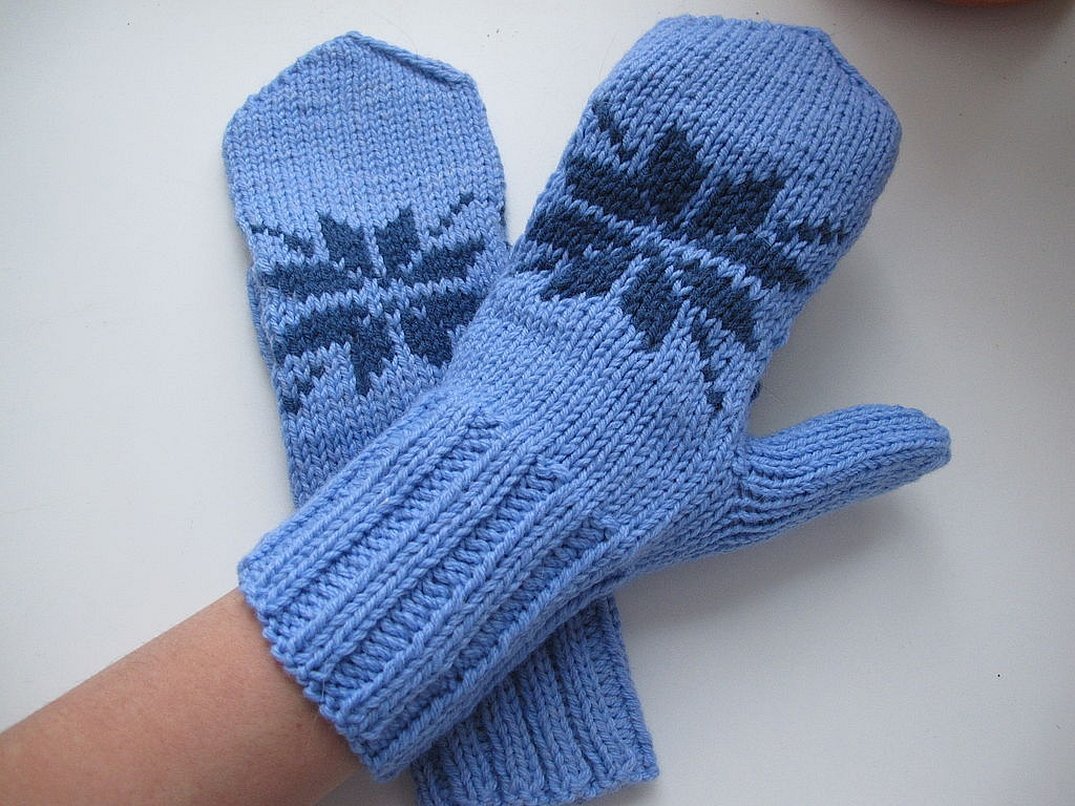
- Embroidered snowflakes on knitted items
- Embroidery of petals and leaves
- How to embroider a heart
- Examples of embroidered ornaments using the "loop in loop" method
- Beadwork
- Satin stitch sewing
- Pros and cons of embroidery on knitted items
Features of embroidery on knitted products
Before you start embroidering on knitted items, you should study the technical aspects:
- pattern schemes;
- embroidery technique;
- types of seams.
To make the item look beautiful with the trim, and not untidy, it is worth trying to apply simple embroidery to the sweater. This will allow not only the beginning needlewoman to "get the hang of it", but also to create an interesting trim on the item.
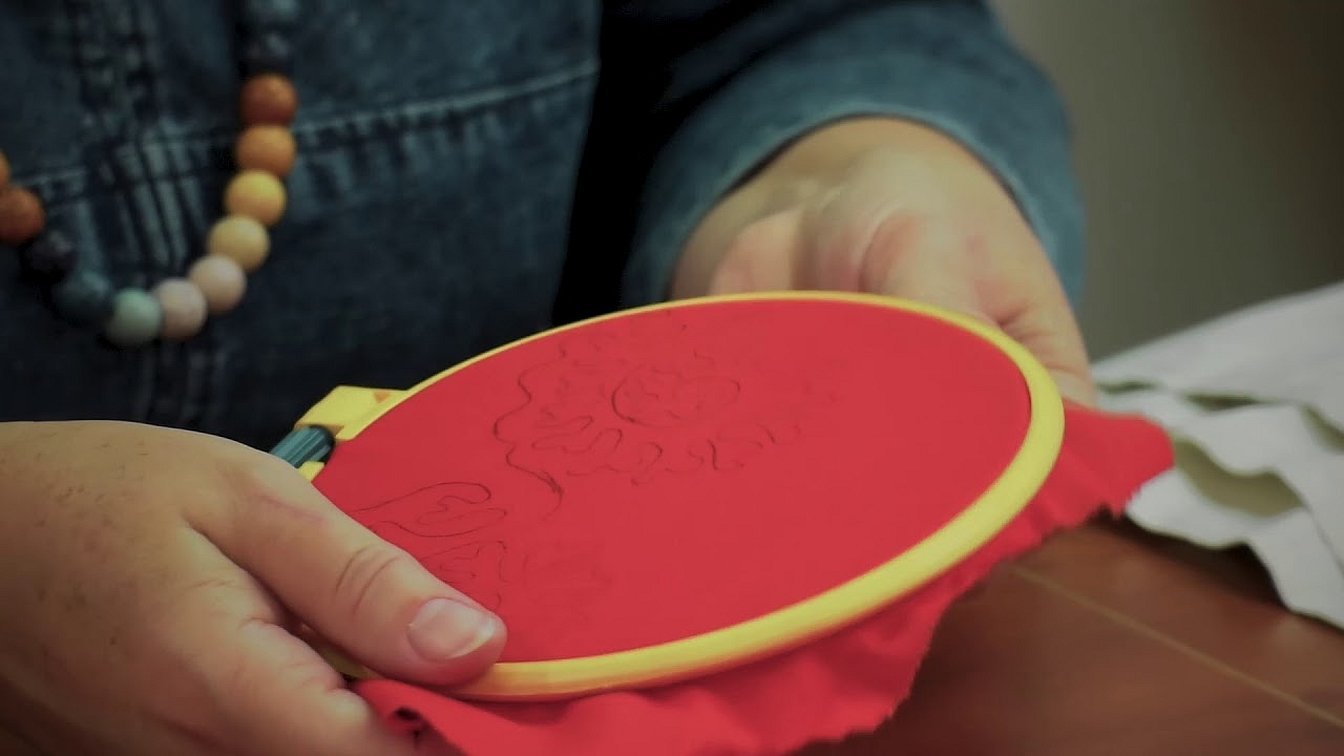
Additional information! For embroidery on knitwear, it is worth using a special water-soluble fabric. It can be attached to the item using a hoop or pins. After finishing the work, the finished product is dipped in slightly soapy water, where the fabric dissolves, and the sweater acquires an interesting pattern. This thing is very relevant for sewing numbers.
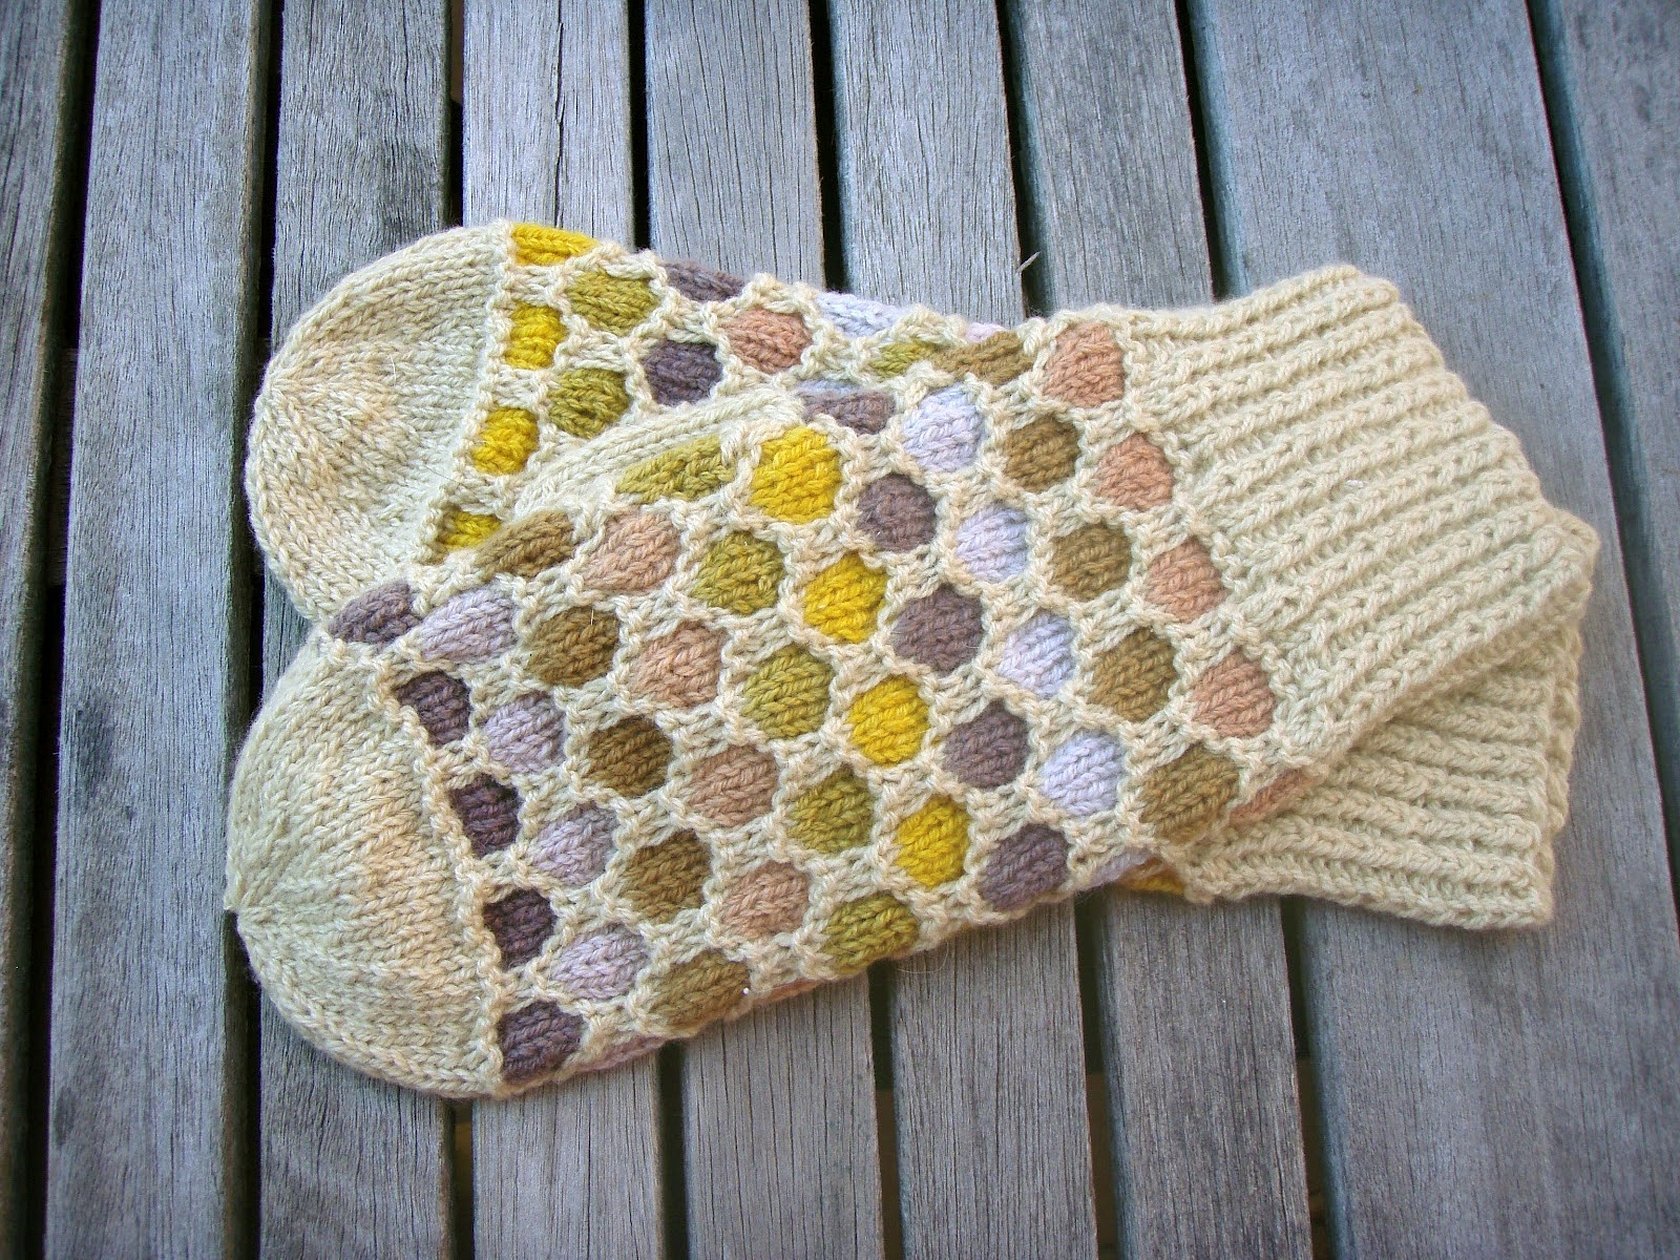
Technique of performing embroidery with honeycombs
Honeycomb is embroidery on knitted fabric that imitates lush puffs. This technique is used to trim the neck, cuffs, and bottom of the garment. Most often, threads of the same tone as the knitted item itself are used for the work.
The entire work is done step by step with small stitches. The needle is stuck into the first point, then into the second and the thread is pulled out, after that the needle is stuck into the third point and returned to the second and pulled out together with the thread. The thread must be pulled tightly, and then the last action must be repeated with the 2nd and 3rd points. After that, the needle is stuck into the last point and pulled through to the 4th and later to the 5th. The thread is pulled tightly along this fragment, after which the embroidery process continues from the fifth point. The work continues using the same technique until the first honeycomb is formed, after which the first point of the second and subsequent fragments is determined.
Italian seam
Among the huge variety of techniques for applying a pattern to knitwear, the Italian seam is considered the brightest and most elegant option for creating a unique picture on a product. Very fluffy yarn is selected for work, smooth threads do not give the chic and expressiveness that is inherent in it.
The thread is secured on the wrong side of the sweater, then the needle is brought to the front side, two loops are pierced perpendicular to the main direction. After this, the needle is inserted under the loop itself, the action must be performed carefully so as not to catch the thing itself. The thread is wrapped around the needle and again pierced into the loop, which is formed due to the crossed threads.
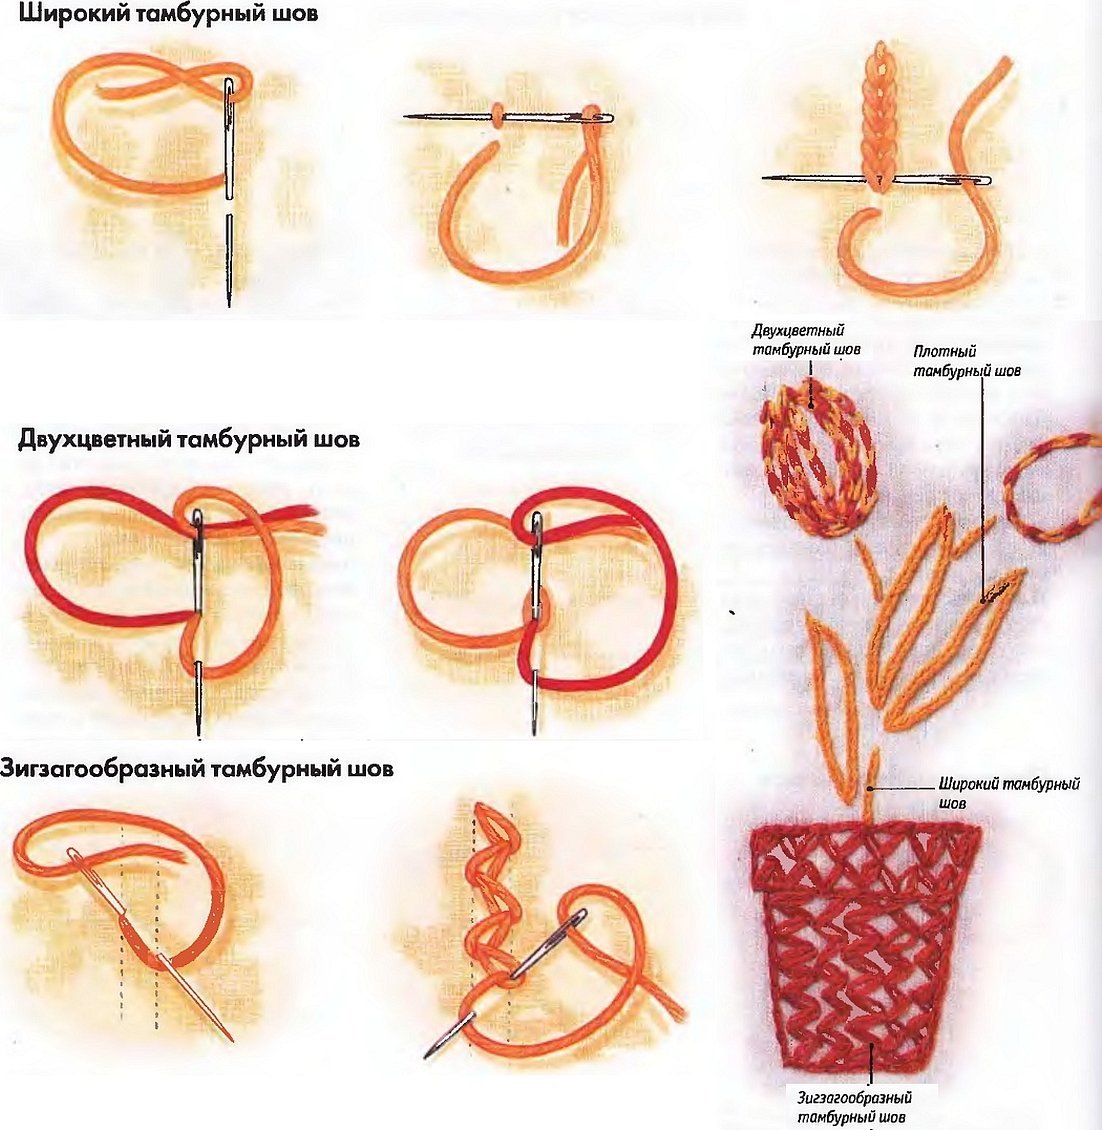
Zigzag chain stitch
The tambour stitch technique is one of the few that allows you to “apply” a crochet pattern to a knitted fabric, as well as carry out this procedure using a needle.
There are many varieties of chain stitch:
- Closed - used in Indian ornaments.
- Interlaced - chain stitch with Spanish coral motifs.
- Feathery - also called "herringbone". Used for embroidering contrasting patterns or edging complex ornaments.
- Dense - a simple chain stitch using thick thread, most often wool.
- Wide - is a clear wide line. This seam is used to highlight the outline of the picture on the product.
- Two-color - the ornament is embroidered in two colors at the same time. The result is a contrasting pattern.
- Zigzag - suitable for finishing sleeves and the bottom of a product; the fluffier the thread, the more beautiful the item will look.
In recent years, embroidery on knitted items using the zigzag chain stitch technique has begun to regain its popularity. Easily created curved lines from loops will complete the overall composition depicted on a children's sweater of any model.
To work, you need to place the thread on the canvas, visually drawing two parallel lines. The loops should be placed exactly within their boundaries. The first stitch is made from above. The needle is inserted at an angle, and then brought out on one of the lines, the thread is pulled out. A chain stitch is made. The next step is the second stitch, but it is made in the opposite direction, i.e. the thread is pulled out from the center to the other side. So, alternately, now to one line, now to the other, the needle with the thread is brought out.
Important! The main point in such embroidery is unhurriedness. The slower and smaller the stitch, the neater the work.
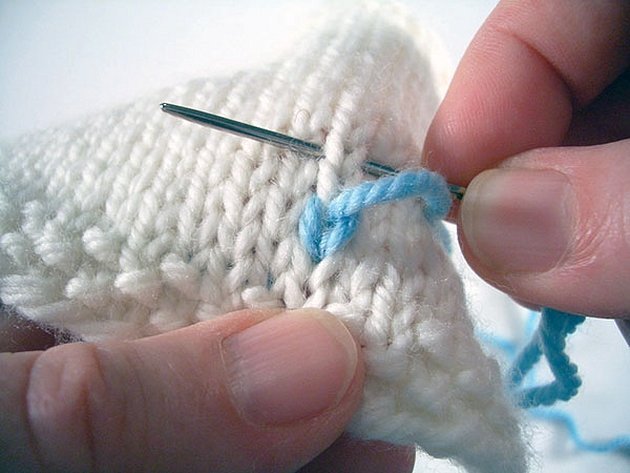
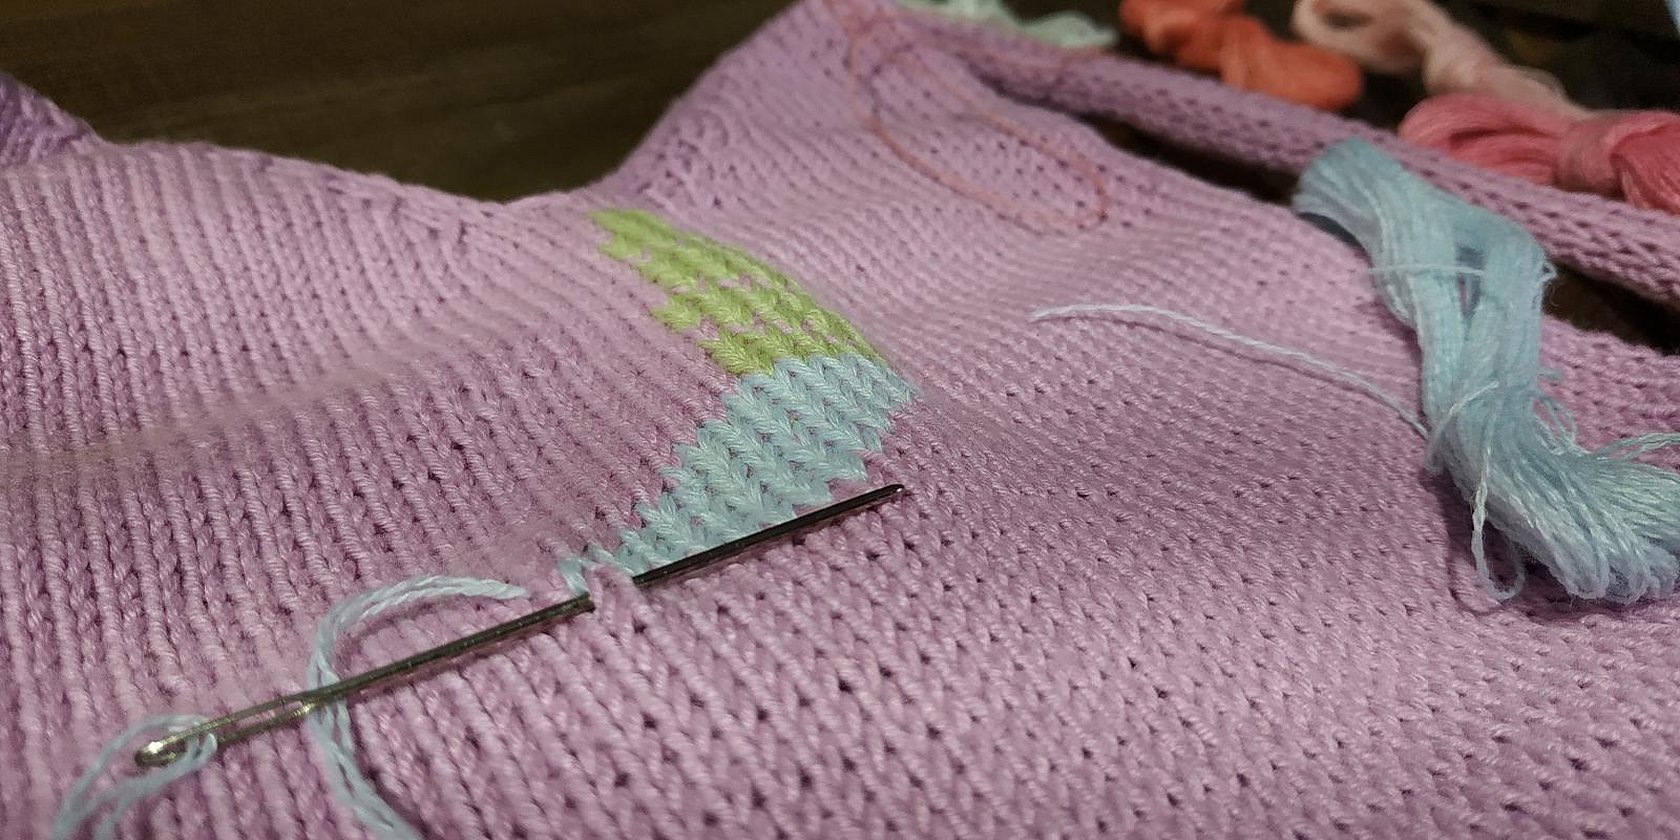
Threading a needle
Depending on the method of applying the pattern, a needle is selected for the work. For the machine there are:
- regular sewing needles;
- double needles;
- triple needles.
They are also divided into groups according to the distance between them.
For handwork, it is necessary to purchase needles with rounded tips; there are also special needles for working with wool in the assortment. They are relevant if the embroidery on a knitted product is carried out with woolen threads, especially very fluffy ones.
Not only the front side but also the back side should look beautiful, so it is necessary to thread the needle so that it does not fray, and also to hide the "tail" when finishing the work. This can be done by hiding it from the front side under the main pattern or between the loops of the fabric itself.
Tricks for needlewomen:
- It will be easier to insert a woolen thread into the eye of a needle if you tape the end.
- Mouline thread and other thin threads are threaded better into the needle if the tip is first moistened with water.
- To thread the ribbon through the eye of the needle without any problems, the edge should be treated with wax (if it is wide, soldered).
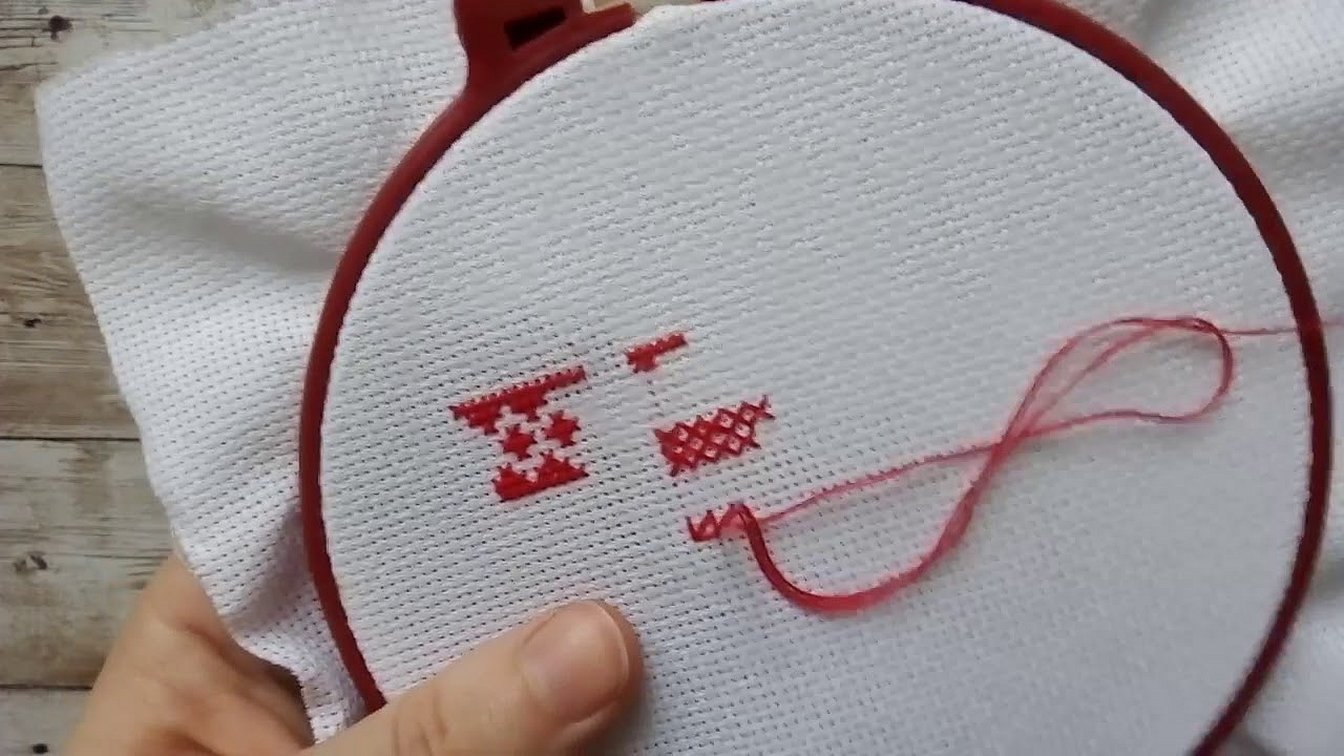
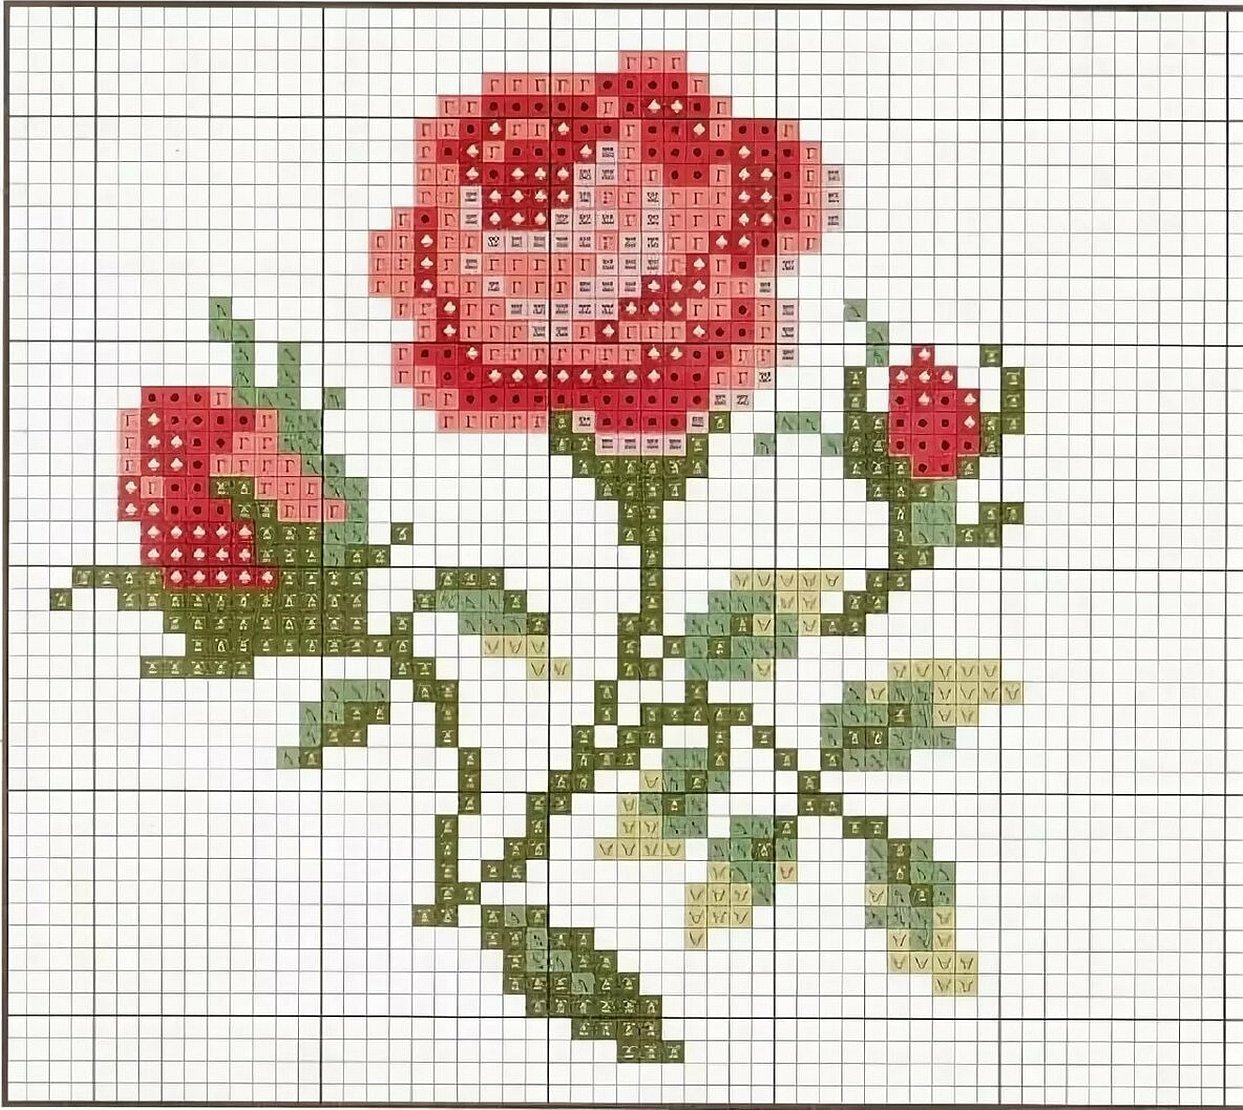
Embroidery patterns
Cross stitching on canvas is much easier than on knitted items, so even an experienced craftswoman should choose easier patterns with a step-by-step description of each stage. You can start embroidery with yarn on knitted items with patterns for a baby (the outline of a flower, a cat or a boat, the sun).
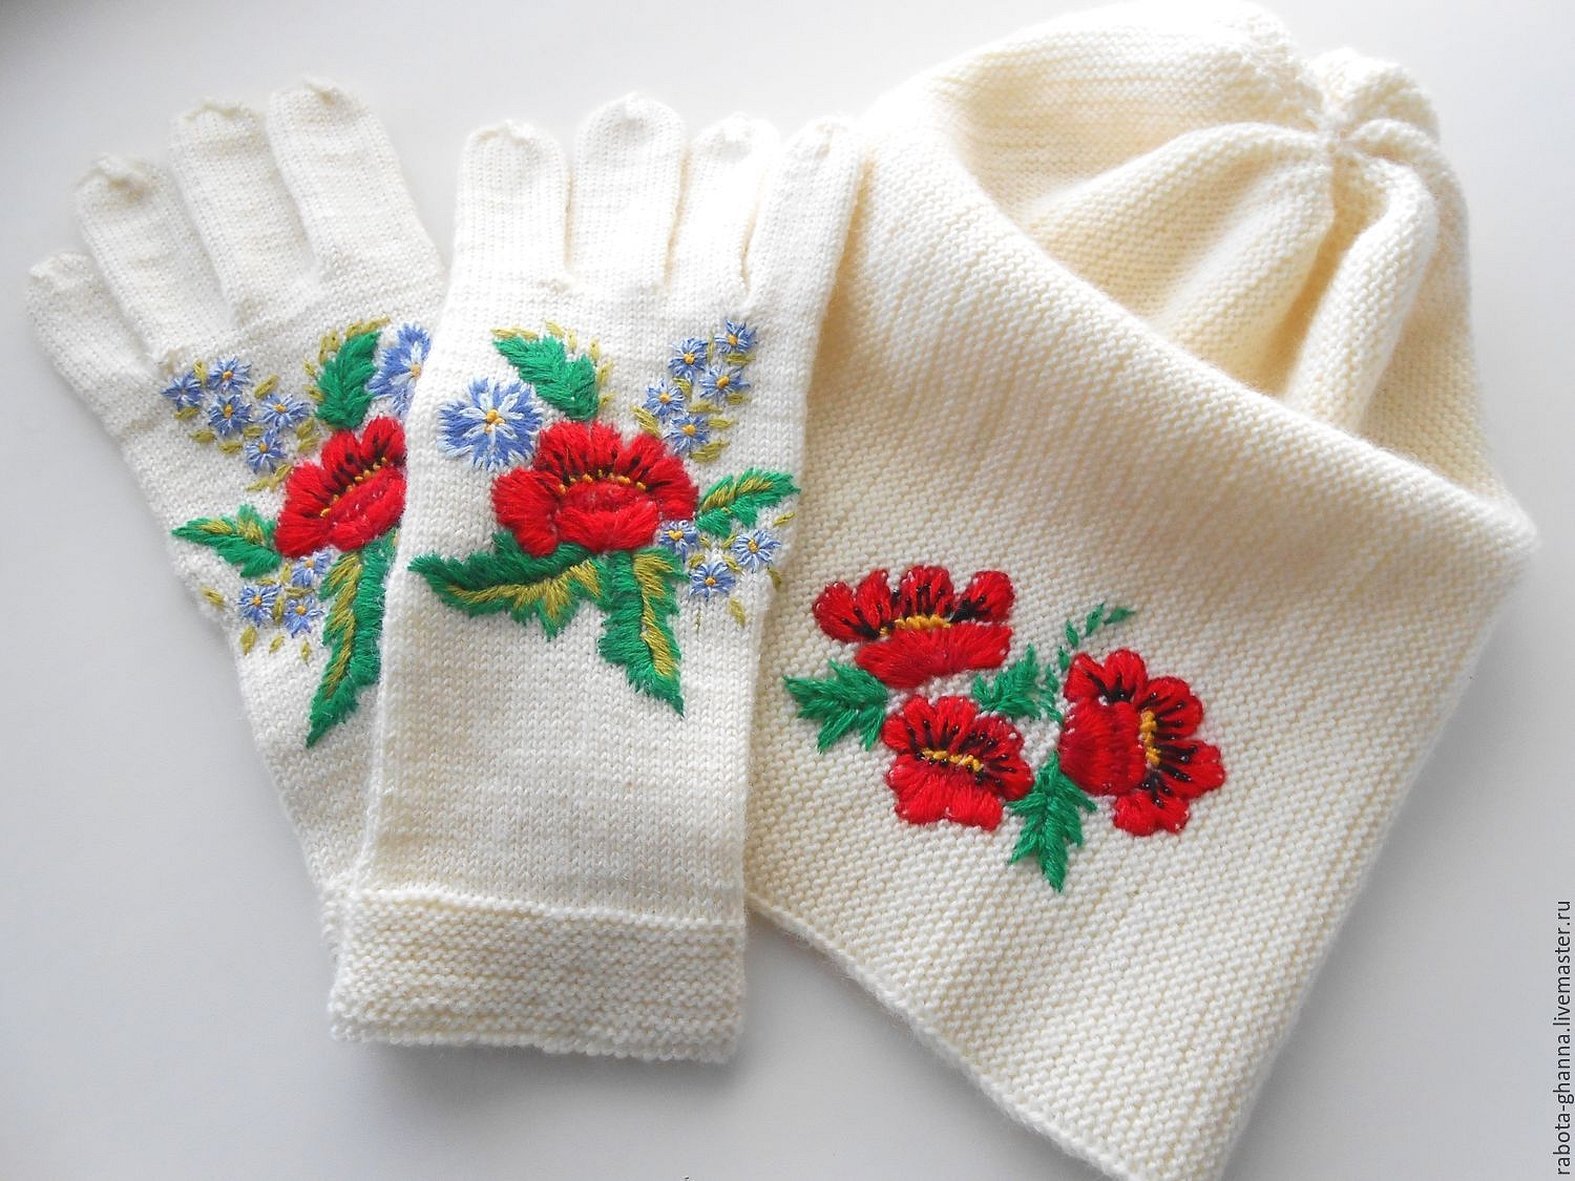
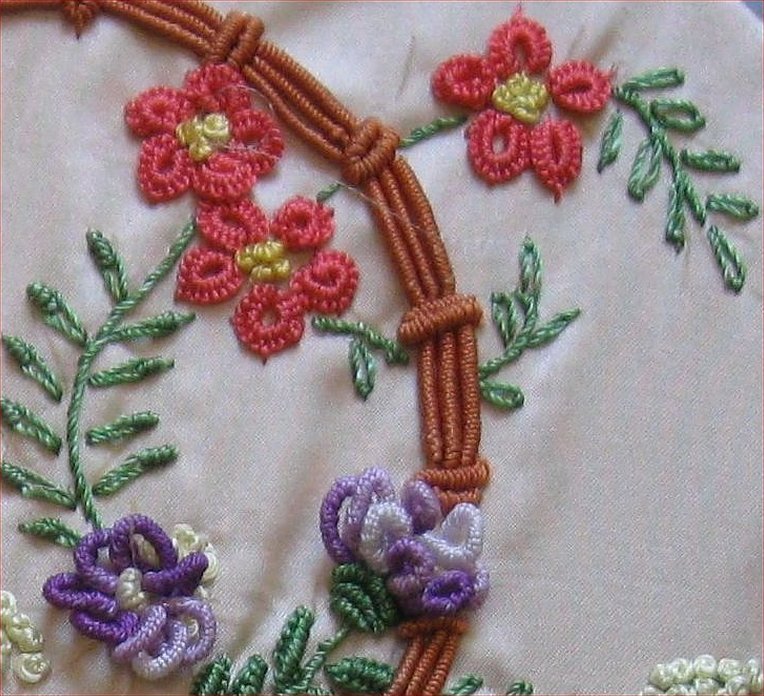
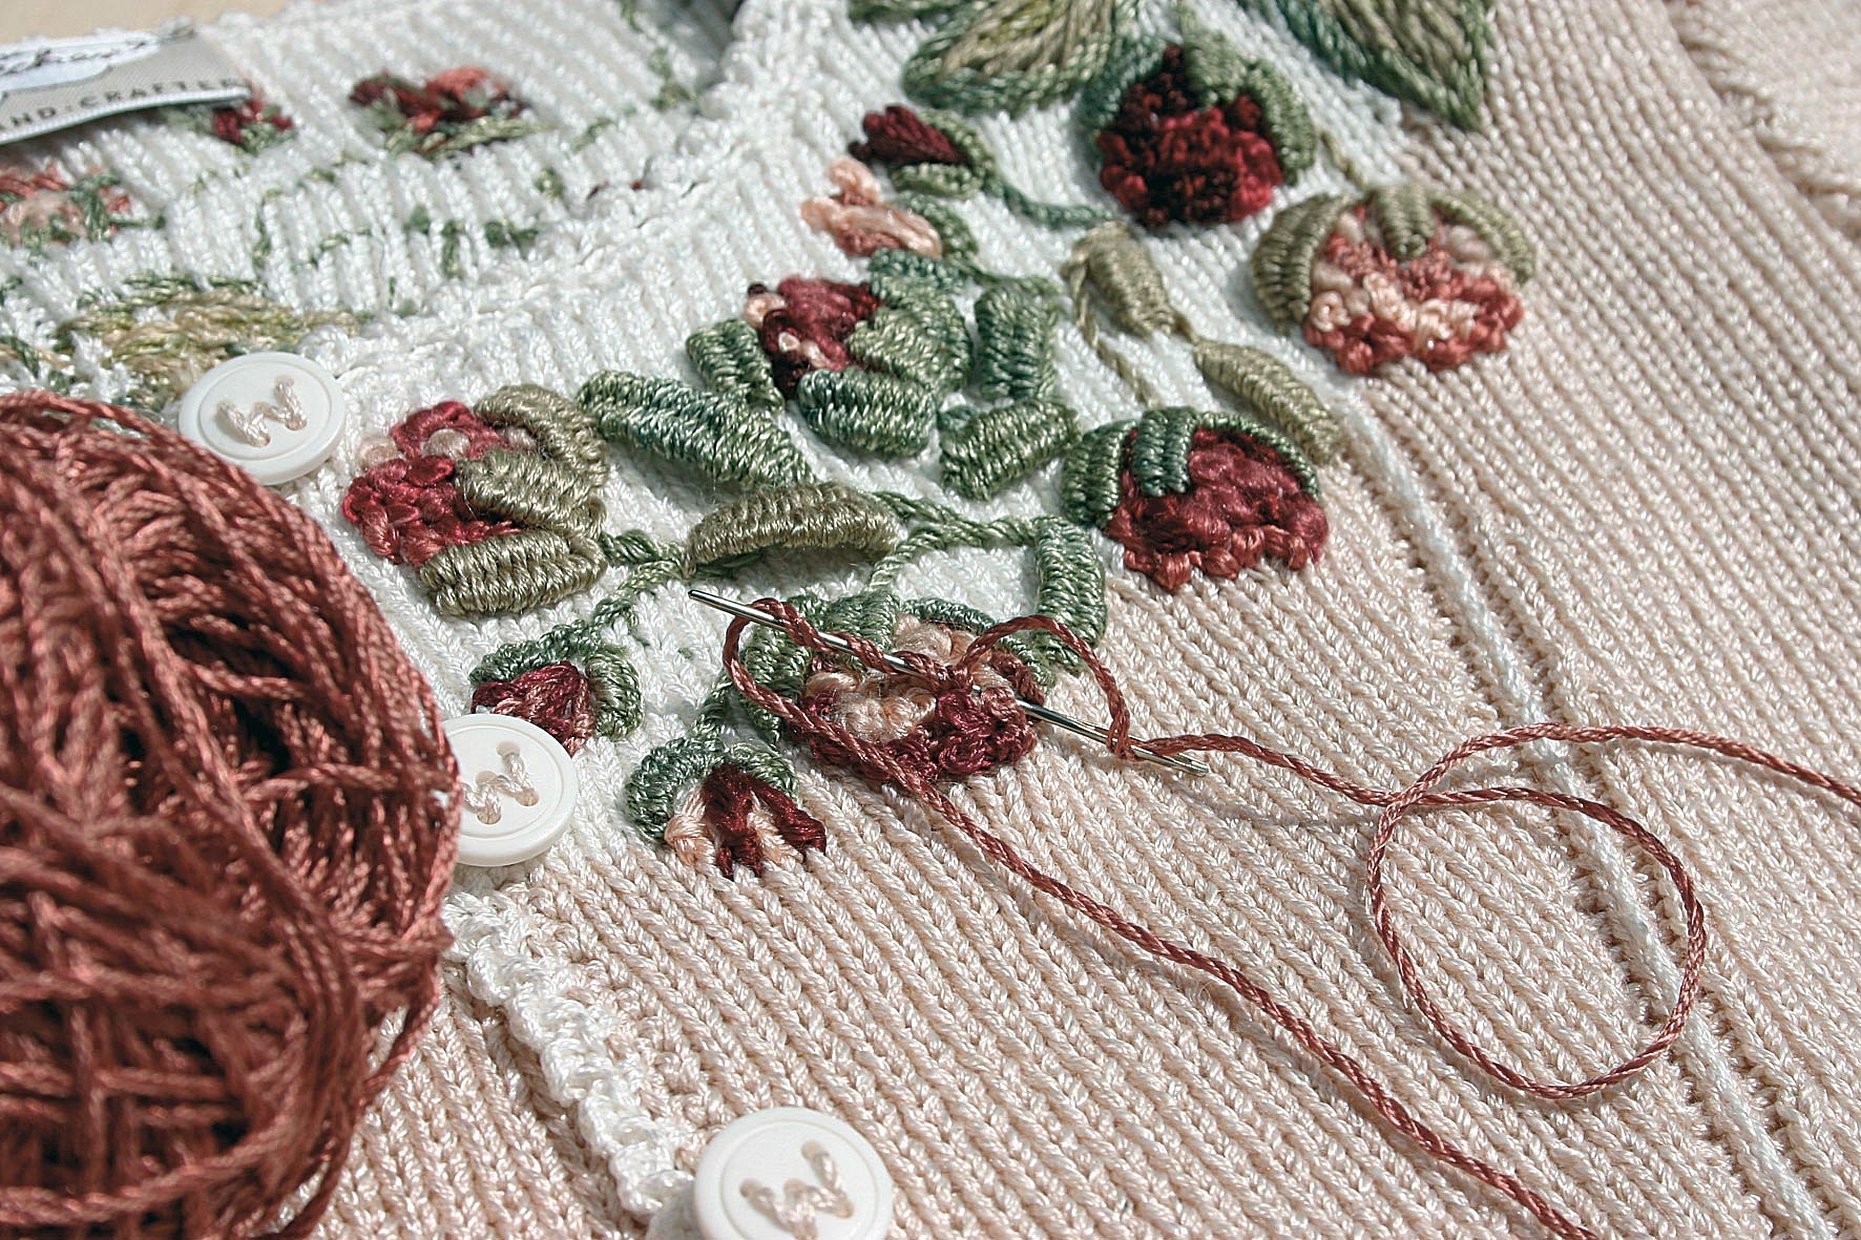
Flower embroidery patterns on knitted items
Simple floral motifs can also become an elegant decoration on a sweater, dress, hat, scarf or mittens. Embroider its contours with a cross or satin stitch.
The chain stitch will allow you to create a light but interesting pattern on a knitted product, for example: a chamomile.
For more complex compositions, it is necessary to study master classes in the form of videos or clear step-by-step photographs.
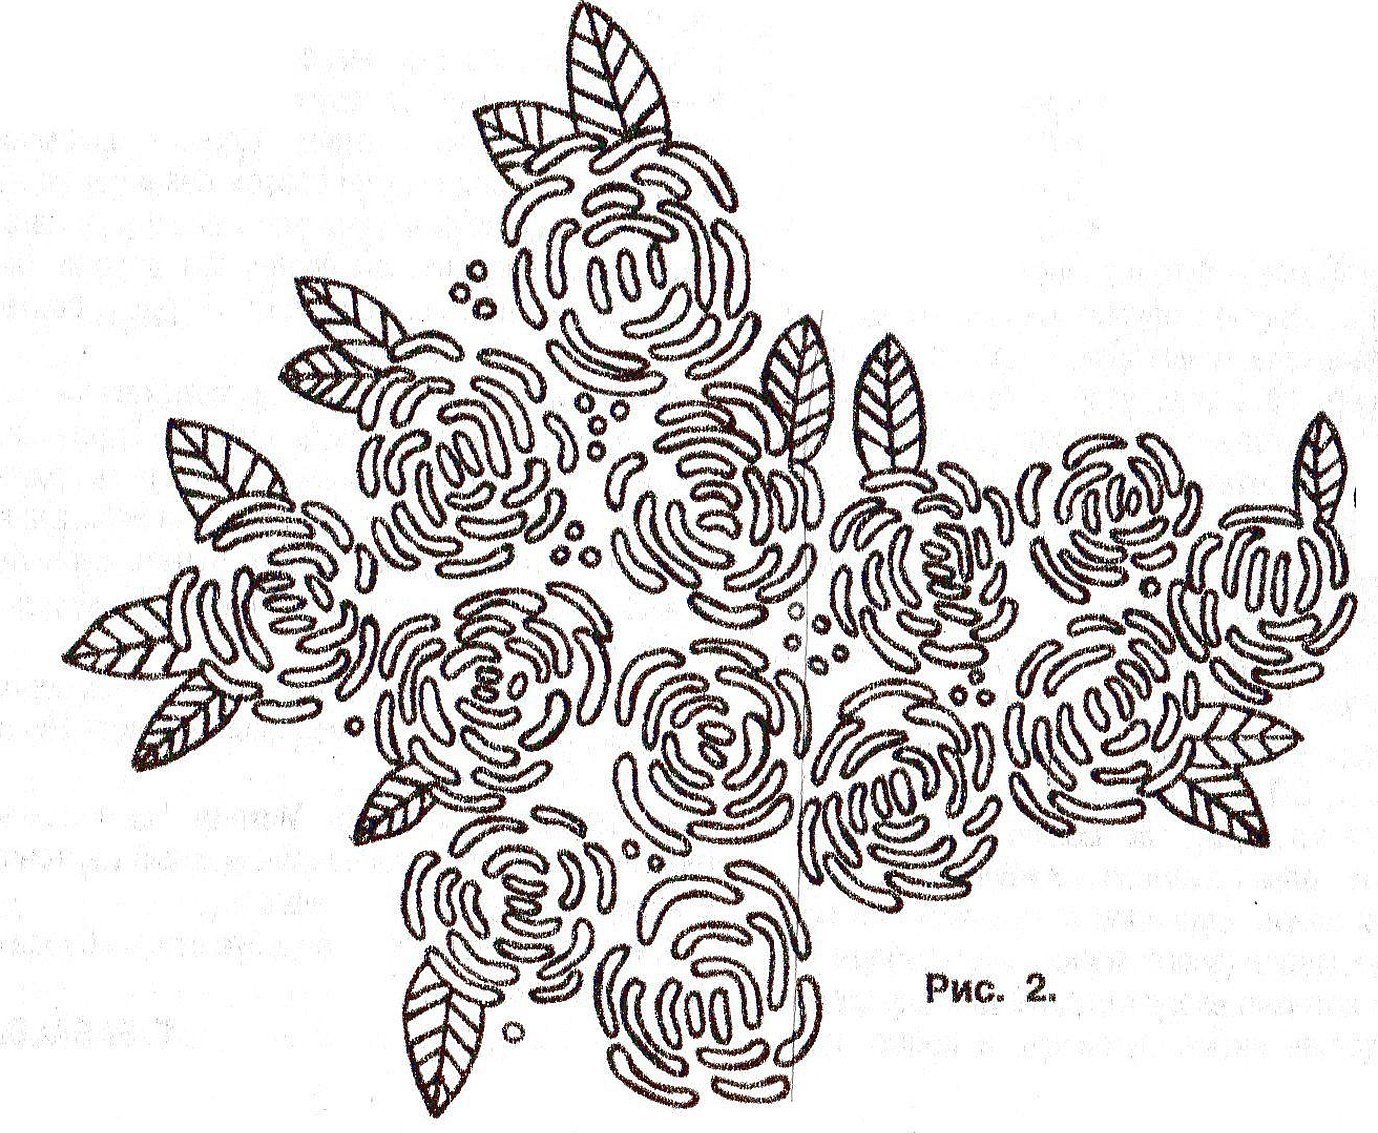
How to make Rococo roses
Embroidery in this technique is done on the front side of the knitted product. The thread in this embroidery is fixed not with knots, but thanks to a loop, into which the thread is inserted two or three times.
To create a pattern, you need to pass the needle with the thread to the front side. After that, 3 to 5 turns are made around the needle, which are fixed with a finger so that you can pass the needle with the thread into the center of the spiral and tighten it.
Option 1:
- The needle is inserted into the fabric at the first point and the toe is pulled out to the front side through the second.
- Yarn is wound onto the spout.
- Holding the turns with your finger, pull the needle through them.
- After this, a stitch is made to secure the “spiral”.
- Each turn needs to be adjusted so that they do not overlap each other.
- On the reverse side, a curl is fixed at the second point.
- The next curl is made according to the same principle.
Option 2:
If in the first version the curl looks like a stitch, then here it takes the form of a loop.
- The beginning is the same as the first time. The needle is threaded through the fabric at two points. After that, the thread is wound onto the tip.
- After this, the needle is passed completely through the fabric, pulling the thread along with it and fixing the “spiral”.
- The needle and thread are pierced at the same point where the curls begin.
- A small flower can consist of 5 to 7 such curls.
Tricolor rose
- The first curl is made according to the principle of the second option, and the rest according to the first.
- Each subsequent curl is carefully placed tightly next to the previous one. The pattern is formed in a clockwise direction.
- After 3-5 curls of one color, which close into a ring, the thread changes to a different tone.
- After 10-12 turns the tone changes again. In total, the rose should consist of 20-24 curls of three tones.
- At the end of the work, the end of the thread is clamped and hidden on the front side in the bud.
Embroidered snowflakes on knitted items
Winter themes in embroidery are often seen on winter items: scarves, hats and mittens, some people transfer this pattern to sweaters.
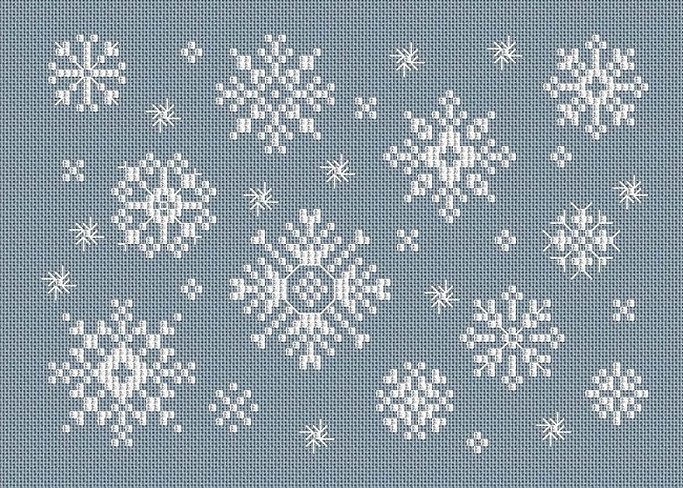
In order for paired items, as well as sets, to look neat, you should use not only a pattern and embroidery tools, but also water-soluble fabric. It will allow you to clearly apply the pattern to the items.
When embroidering a snowflake, it is worth remembering that the wider the stitch, the clearer the pattern will look.
If the pattern is applied to mittens, they are knitted like a sock - through 2 loops, so the stitch is made through two loops.
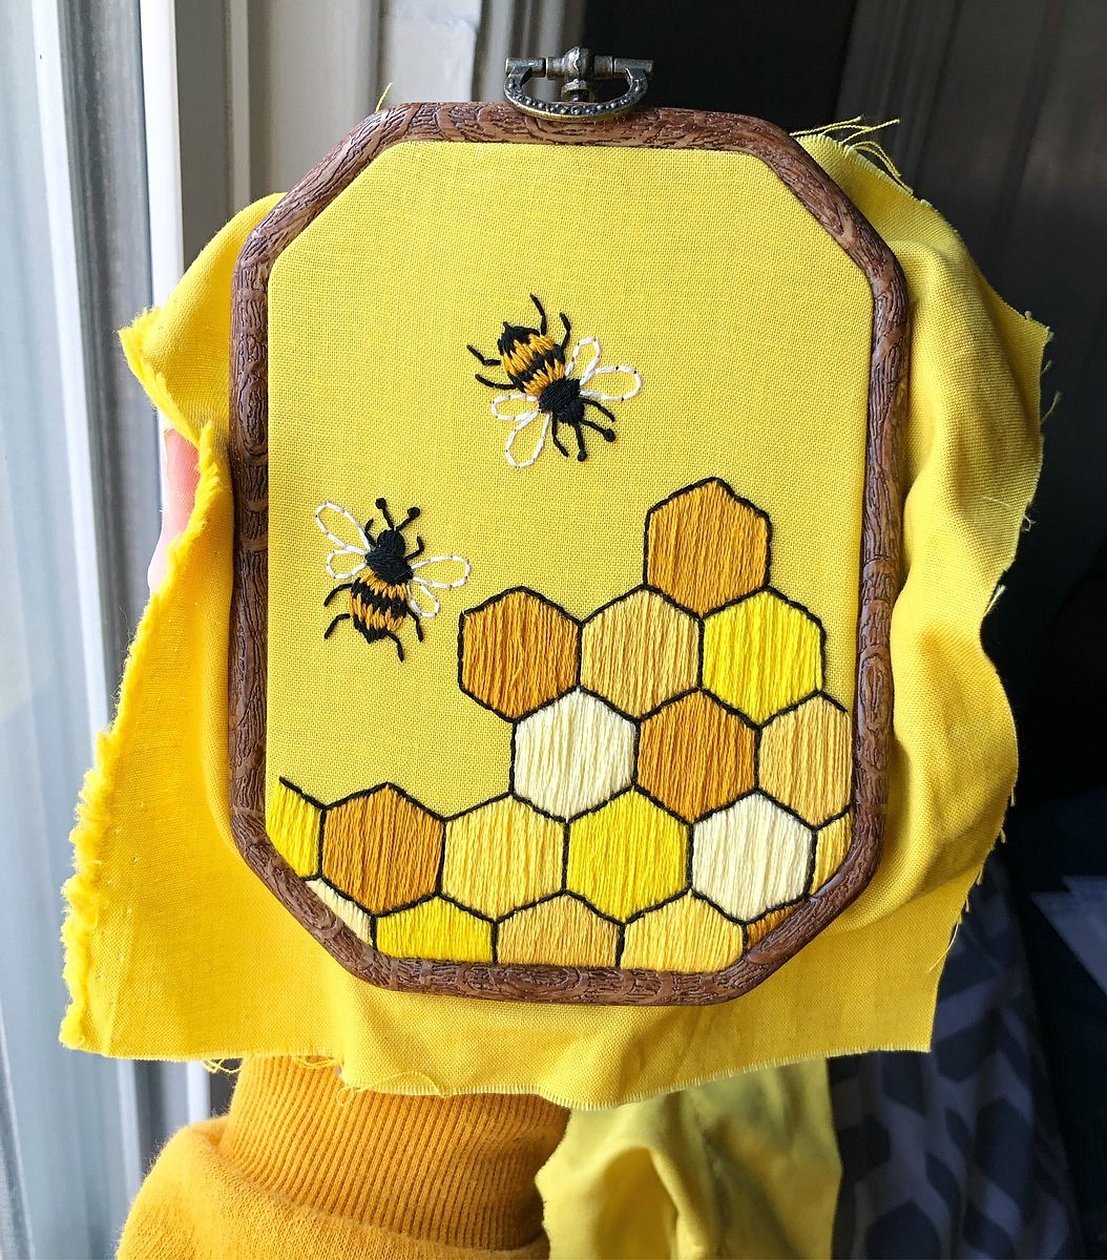
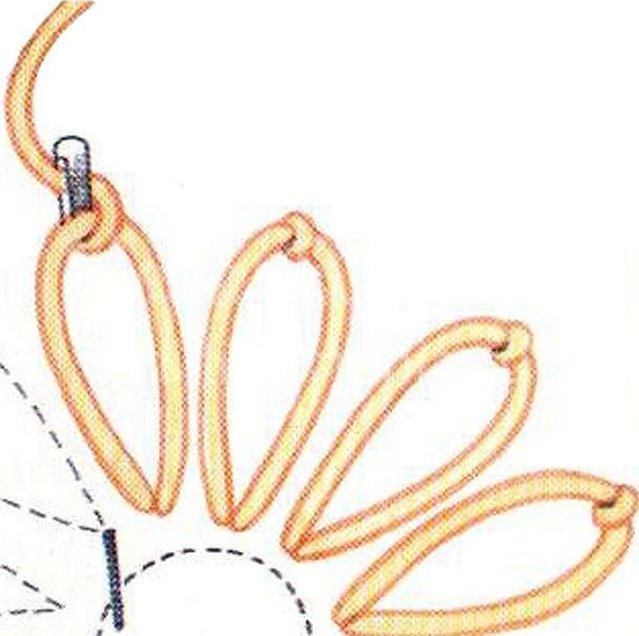
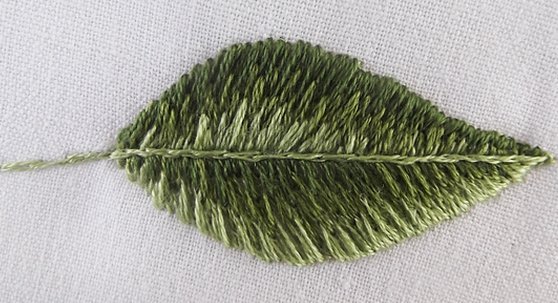
Embroidery of petals and leaves
Depending on the pattern chosen to create the knitted composition, the technique for creating petals and leaves is selected. Some craftswomen embroider designs on separate small canvases and then sew them onto the products.
Option 1 "Cross stitch":
- The center of the pattern is found and its place on the sweater is determined.
- Several crosses of the same tone are stitched around the center.
- If necessary, change the color of the thread according to the diagram. Each time, the tip is hidden on the front side under the last of the crosses of the corresponding color.
- Once the design is ready, the threads are secured.
Option 2 "satin stitch embroidery":
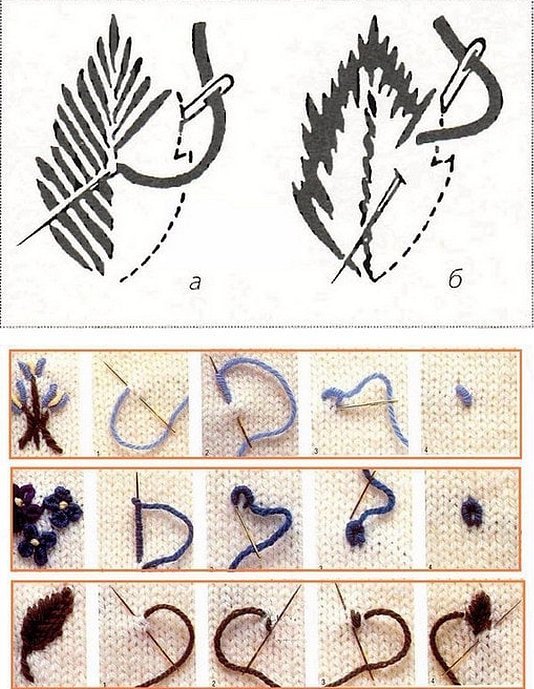
- A drawing of a petal or leaf is applied to tracing paper or paper.
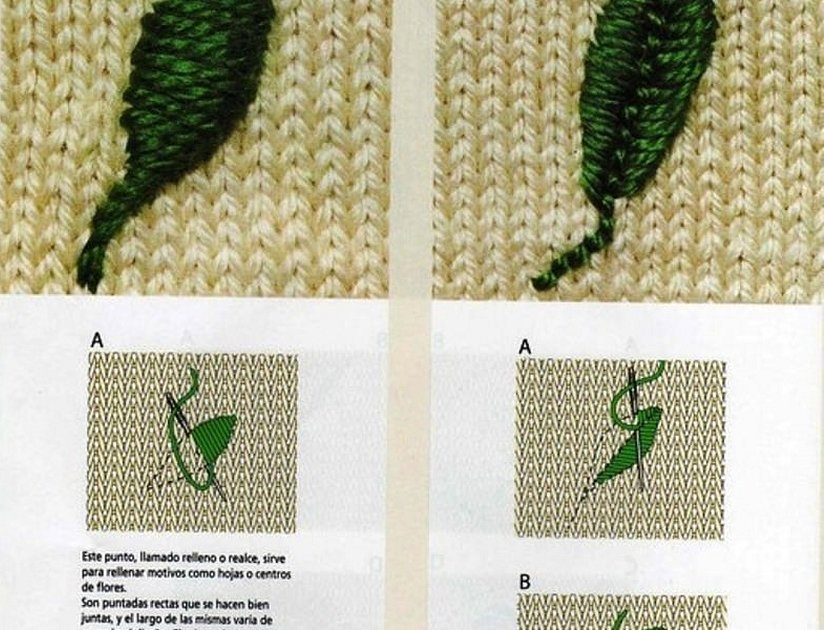
- A contour is created along its outline using the “loop in loop” technique (more on this below).

- In the central part, the central vein is stitched in the same way.
- The leaf plate begins to be embroidered from the outer contours.
- The areas located in the central part are gradually closing.
How to embroider a heart
The easiest way to learn how to embroider hearts on knitted items is to embroider them on socks. First, draw the outline of the heart with a pencil. The needle is brought out to the front side. Figure 21: Heart pattern
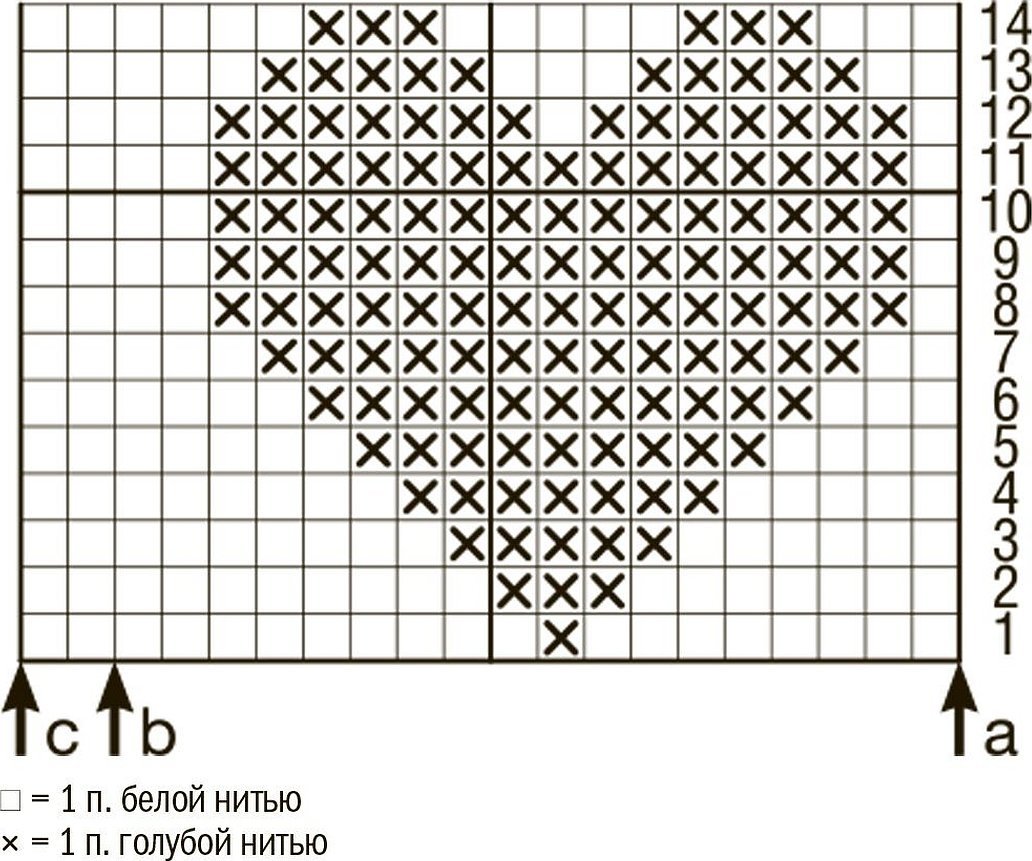
You can embroider on the applied pattern using the “loop in loop” technique, or you can use a cross stitch (here you need to bring the needle out precisely to get a V-shaped pattern). After that, the pattern begins to become rounded in the upper part.
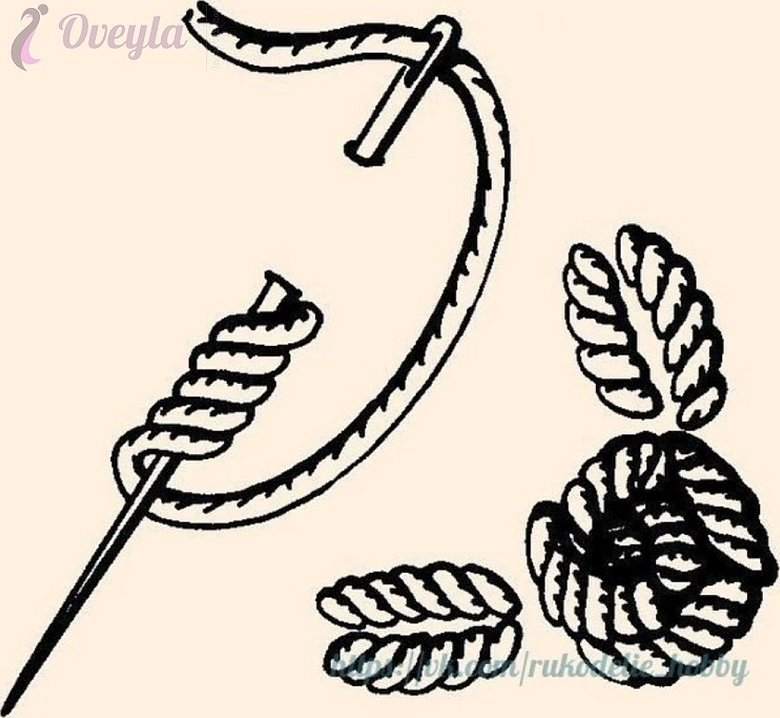
Examples of embroidered ornaments using the "loop in loop" method
The technique of this seam is also called a loop stitch. This design is made using embroidery on the front surface. Each stitch is made directly on the knitted loops. The seam can be made in any direction, it is important that the elements of the design lie neatly and on the top.
It is necessary to monitor the density of the stitches; the thread should lie on top of the fabric neatly and easily, without pulling or spoiling the product.
Each subsequent stitch starts from the center of the previous one, so it is necessary to monitor not only the tension of the thread on the fabric, but also in the pattern.
Beadwork
You can use any thread for this kind of embroidery, but it is best to use cotton thread. The piece of thread should not be very large (up to 40 cm), so it will tangle less.
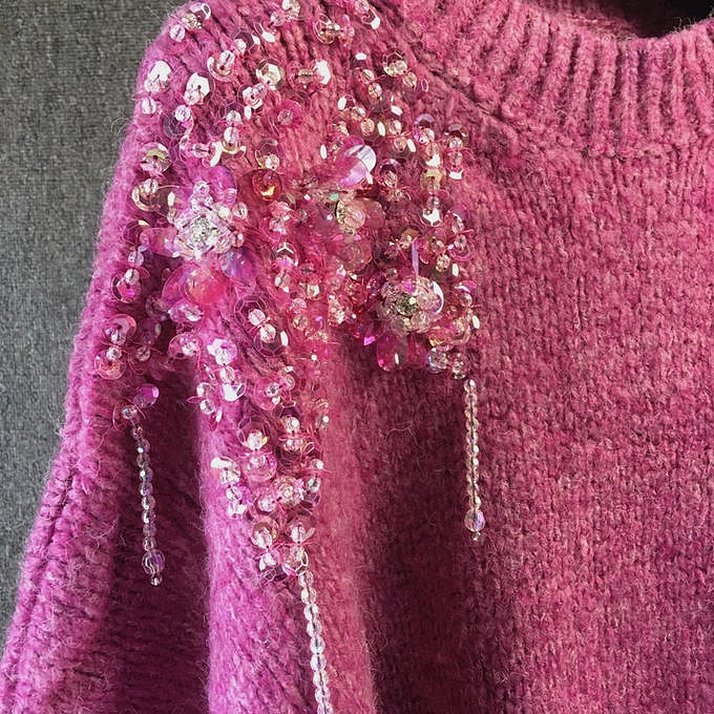
Important! For better sliding and to avoid breakage, the thread can be lubricated with wax.
When embroidering on knitted items, it is best to use threads in two folds, choosing them to match the tone of the beads themselves. Each bead should be slightly sunk into the loops, this will make the pattern more delicate and uniform.
Satin stitch sewing
Embroidery on knitted items is not only sewing on loops, but also a pattern can be made using satin stitch. This technique is suitable for any type of product, especially for headwear. For example: a multi-colored star or a bear cub Umka will become a wonderful decoration for a child on his things.
This type of design is initially made on tracing paper and then applied to the product with a pencil. Most often, thin silk yarn is used for this technique. The first step is to apply an outline of the ornament, and then the entire design is sewn.
Pros and cons of embroidery on knitted items
On the Internet, you can find information that embroidery on knitted fabric is one of the simplest embroidery options. This is a very big misconception, especially for those authors of articles who have never held a needle and thread in their hands. Very few girls and women in modern society have the skills of knitting, sewing, embroidery or other types of needlework. Today, you can buy ready-made needlework kits with patterns, and there are many video tutorials on the Internet that will allow you to create an elegant pattern on a thing.
Before you start the process of embroidery on knitted items, you should decide on the technique and study the types of seams that can be used in the work. For beginners in embroidery, you should choose simple patterns to get the hang of it. At the same time, you should “apply” the pattern to the item carefully so that the product gets additional chic, and does not begin to resemble an untidy thing. An interesting and unique decor created independently for your “warm” wardrobe will allow you to look stylish and expensive even in the harshest weather.


