Foxes are playful and cute, so it’s no wonder that someone would want to dress up as this cute animal. Whether it’s for a party, a game, or just for fun, one of the most important parts of a fox costume is the mask. You can make an amazing DIY fox mask using paper and glue. This can be a creative activity for birthday parties, workshops, or to prepare accessories for a carnival or Halloween costume.
What paper, cardboard is better to use
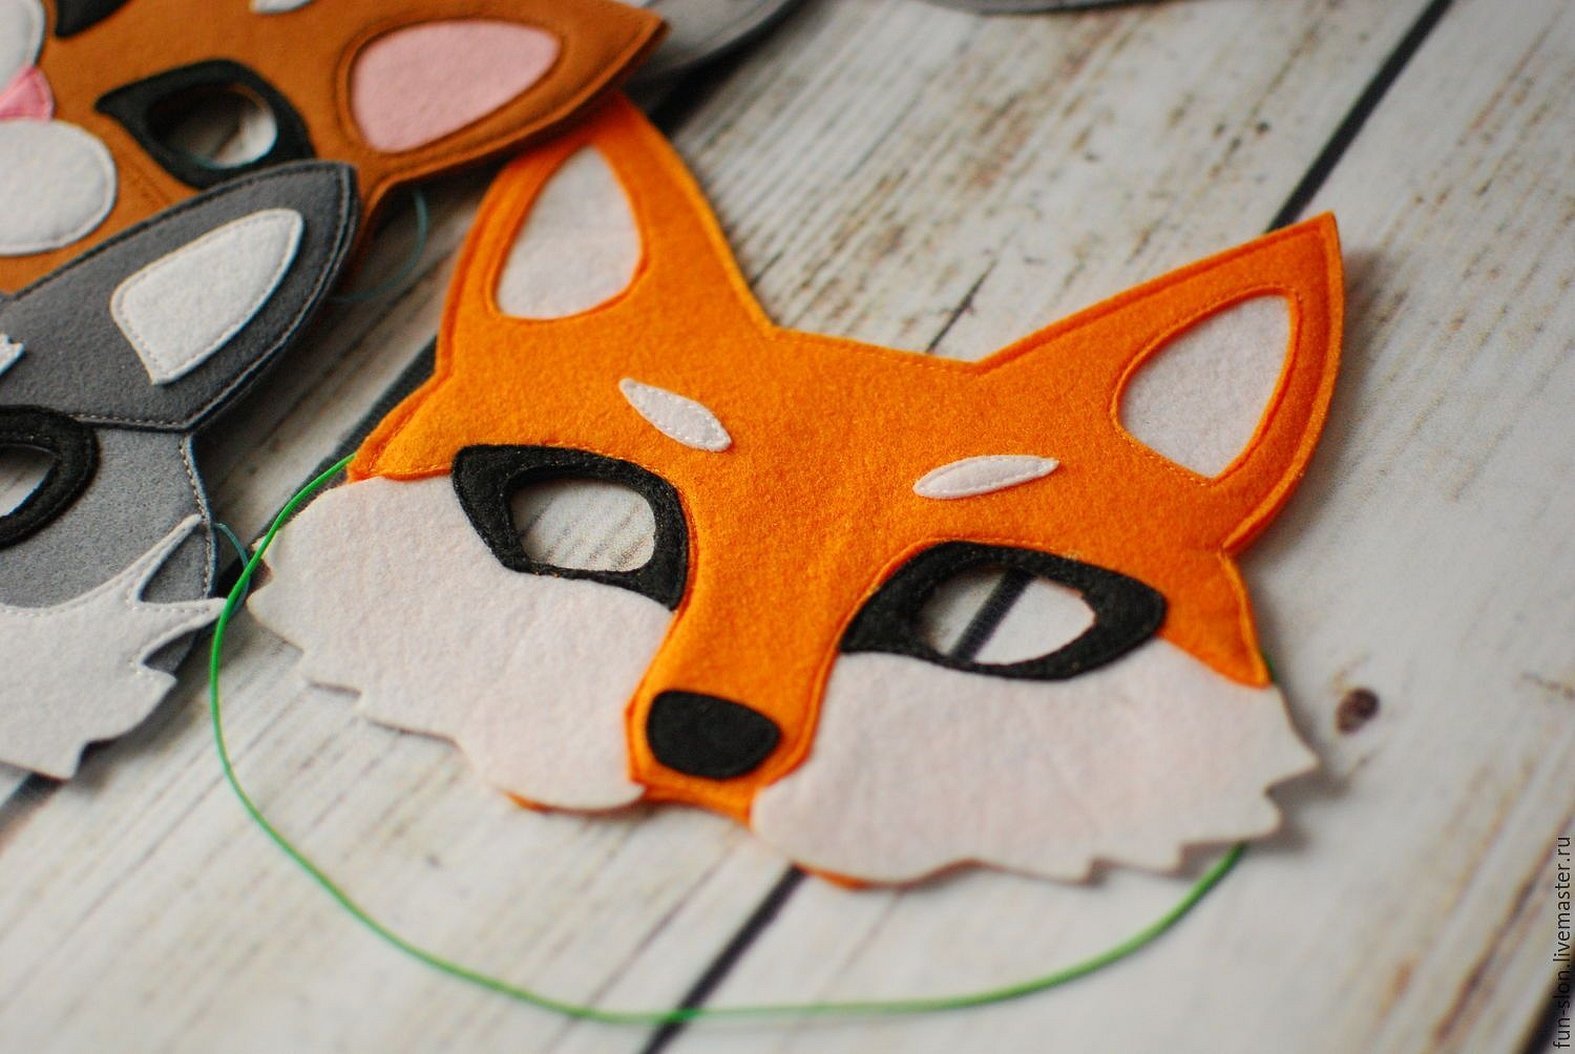
The base for creating the product can be cardboard or paper. You will need a sheet of red, brown or orange cardboard. You can also paint white cardboard red, brown or orange. This will create a striped texture similar to the texture of a coat.
If you can't find cardboard, you can also use construction paper. Cardboard will simply give you more options. You need to choose the material that is convenient to work with.
- For example, paper that is too thin will tear right away and will look bad. If it is white paper, then the paint will make it ripple.
- Cardboard that is too thick will be difficult to cut, and then it will sit uncomfortably on your head.
The format is also important - you don't need to save money and try to do everything on A4 format. In addition, it may turn out that the first product will be accidentally damaged.
If you already have a suitable mask at home, you can draw its outline, cut it out and move on to the next section. If you want to create something unique, you can try using papier-mâché to give it any shape and relief.
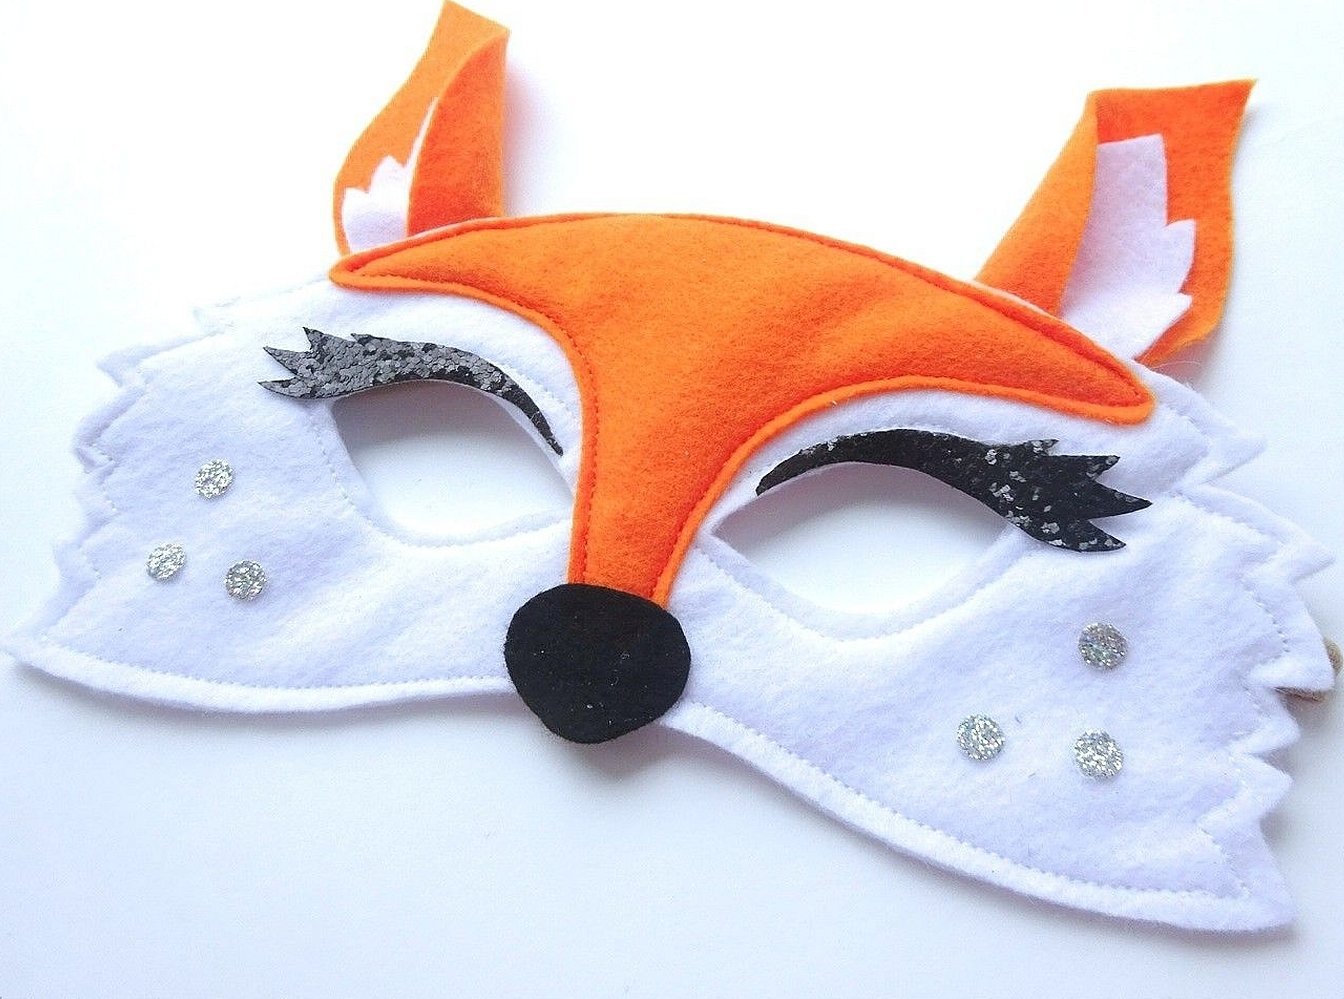
For reference! Other materials such as buttons, glitter, trim, dried leaves or fabric flowers can help add a dramatic finish to your creation.
What else do you need for work?
It is difficult to guess what materials will be needed. The fox mask can be simple or complex and interestingly decorated, much depends on the imagination of the master.
Things you will need:
- 3 sheets of paper in red, orange or brown;
- glue stick;
- white tissue paper;
- white acrylic paint;
- rubber;
- stapler.
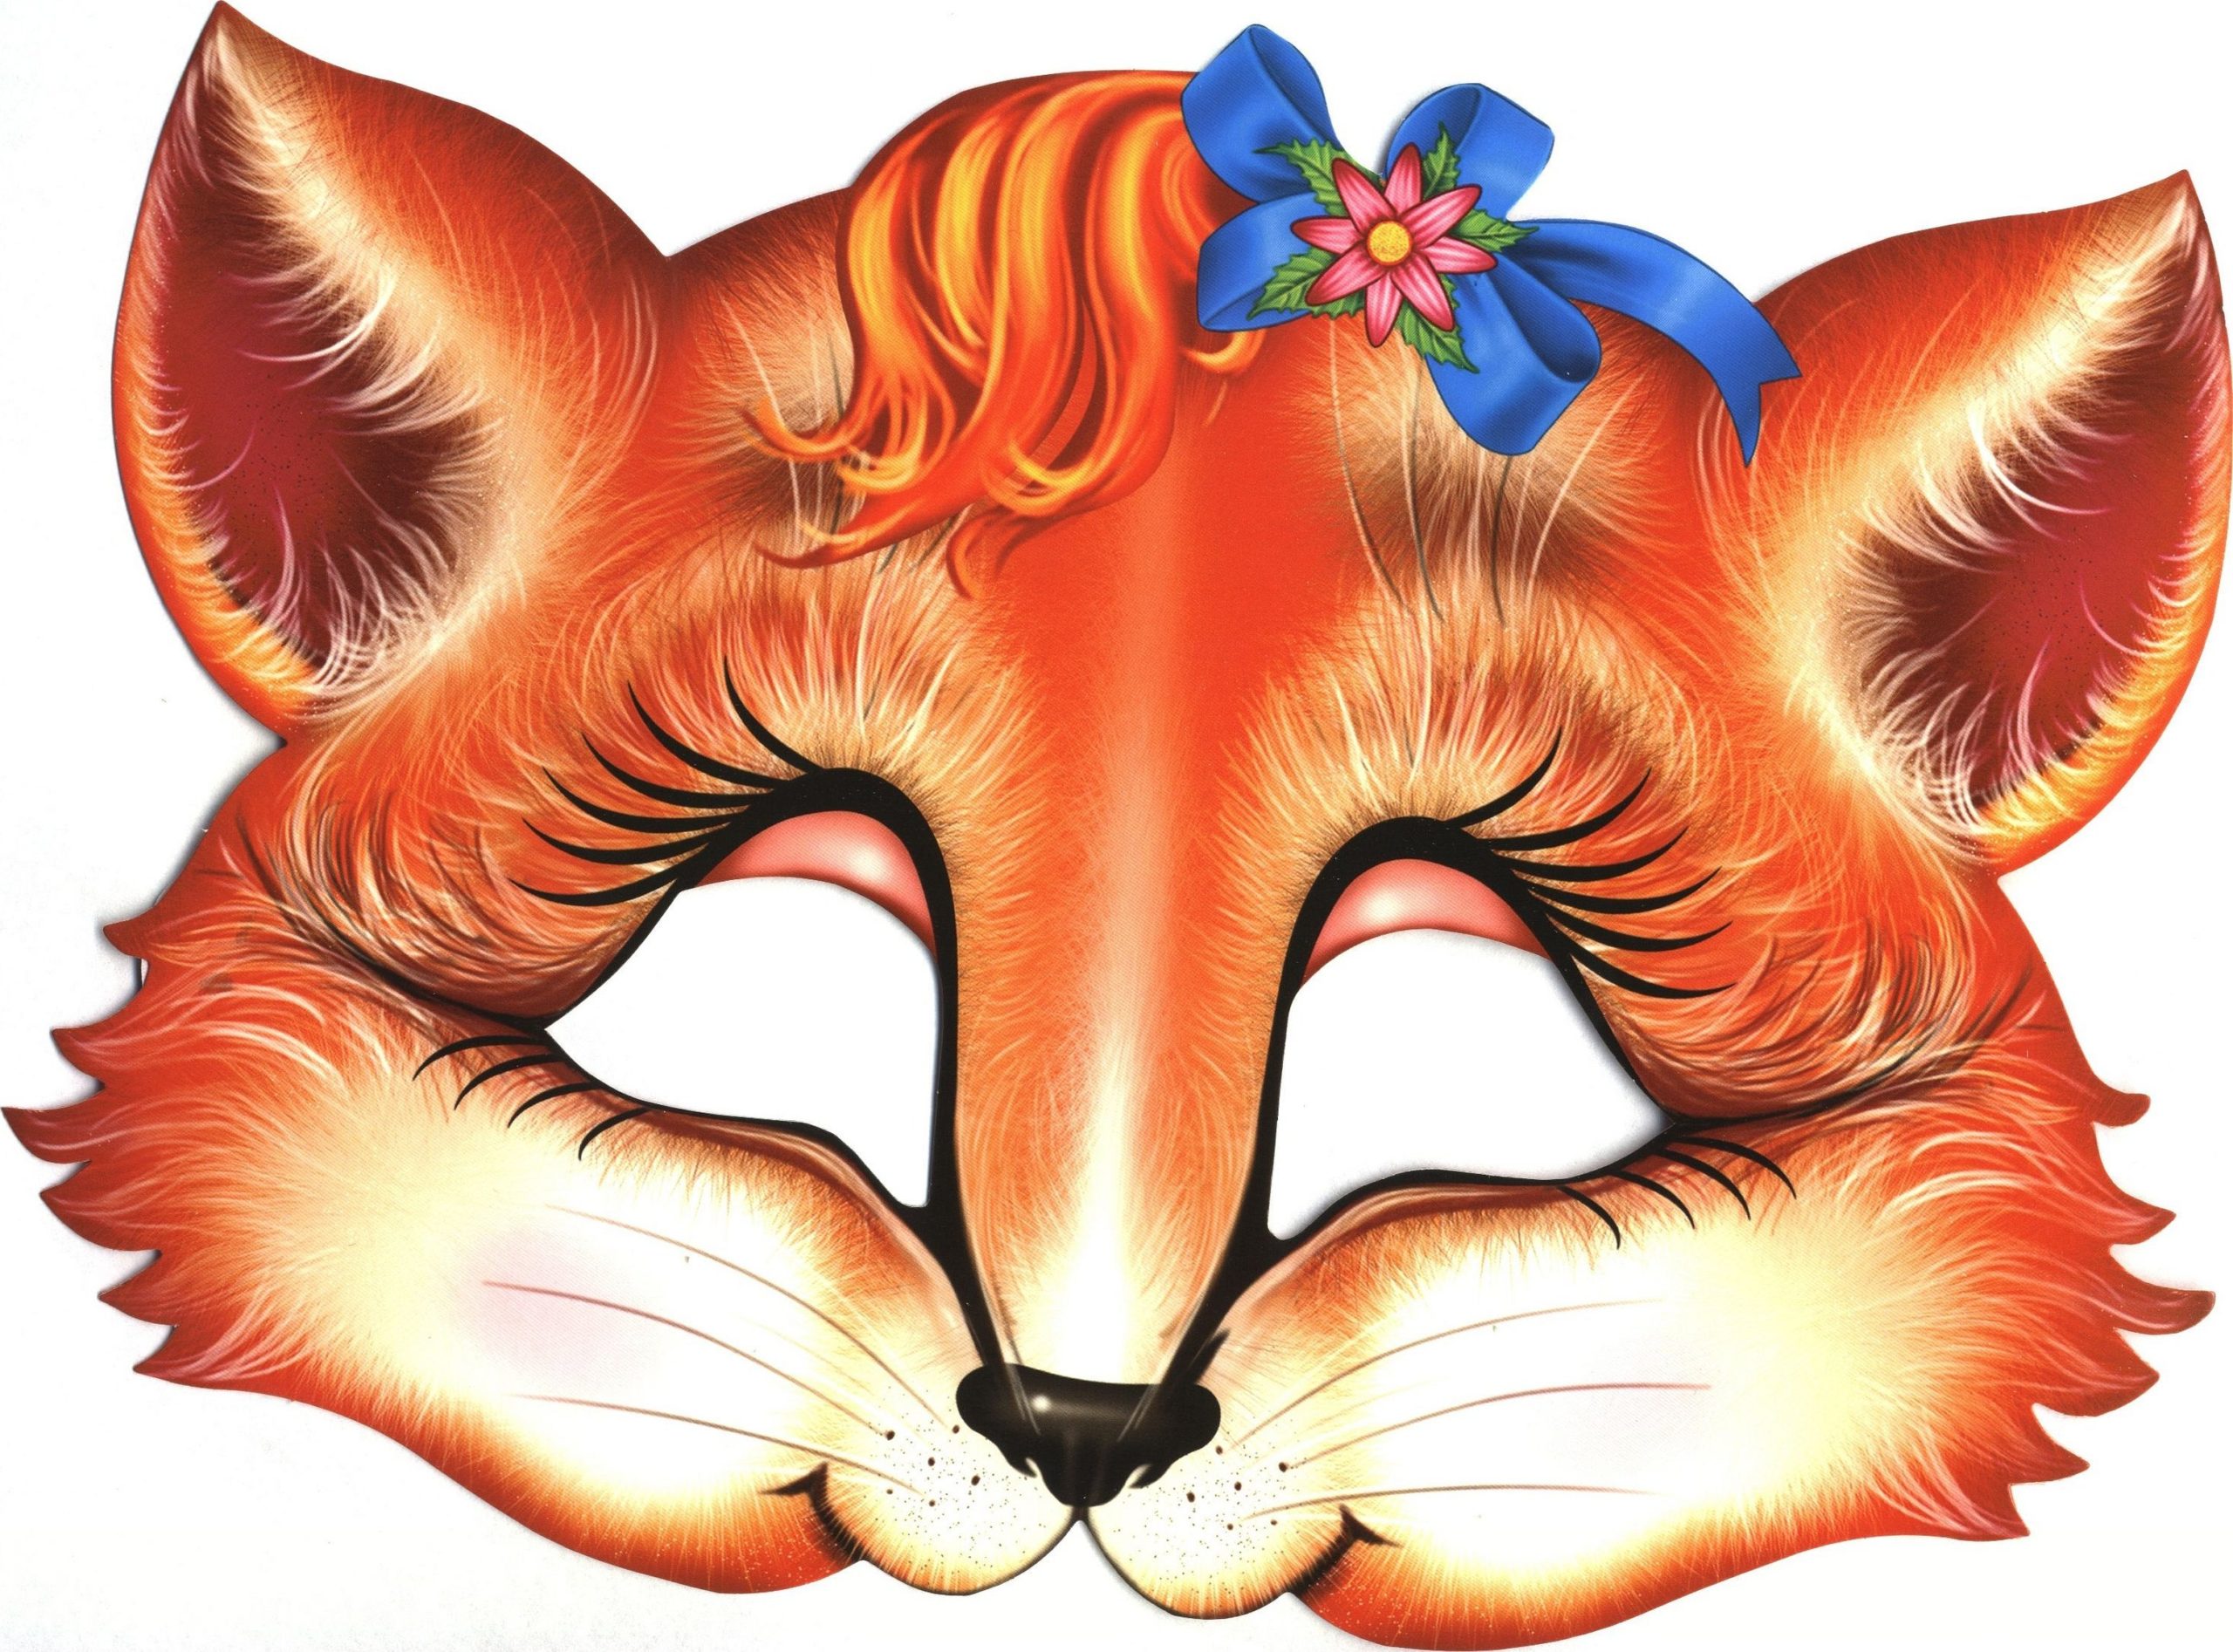
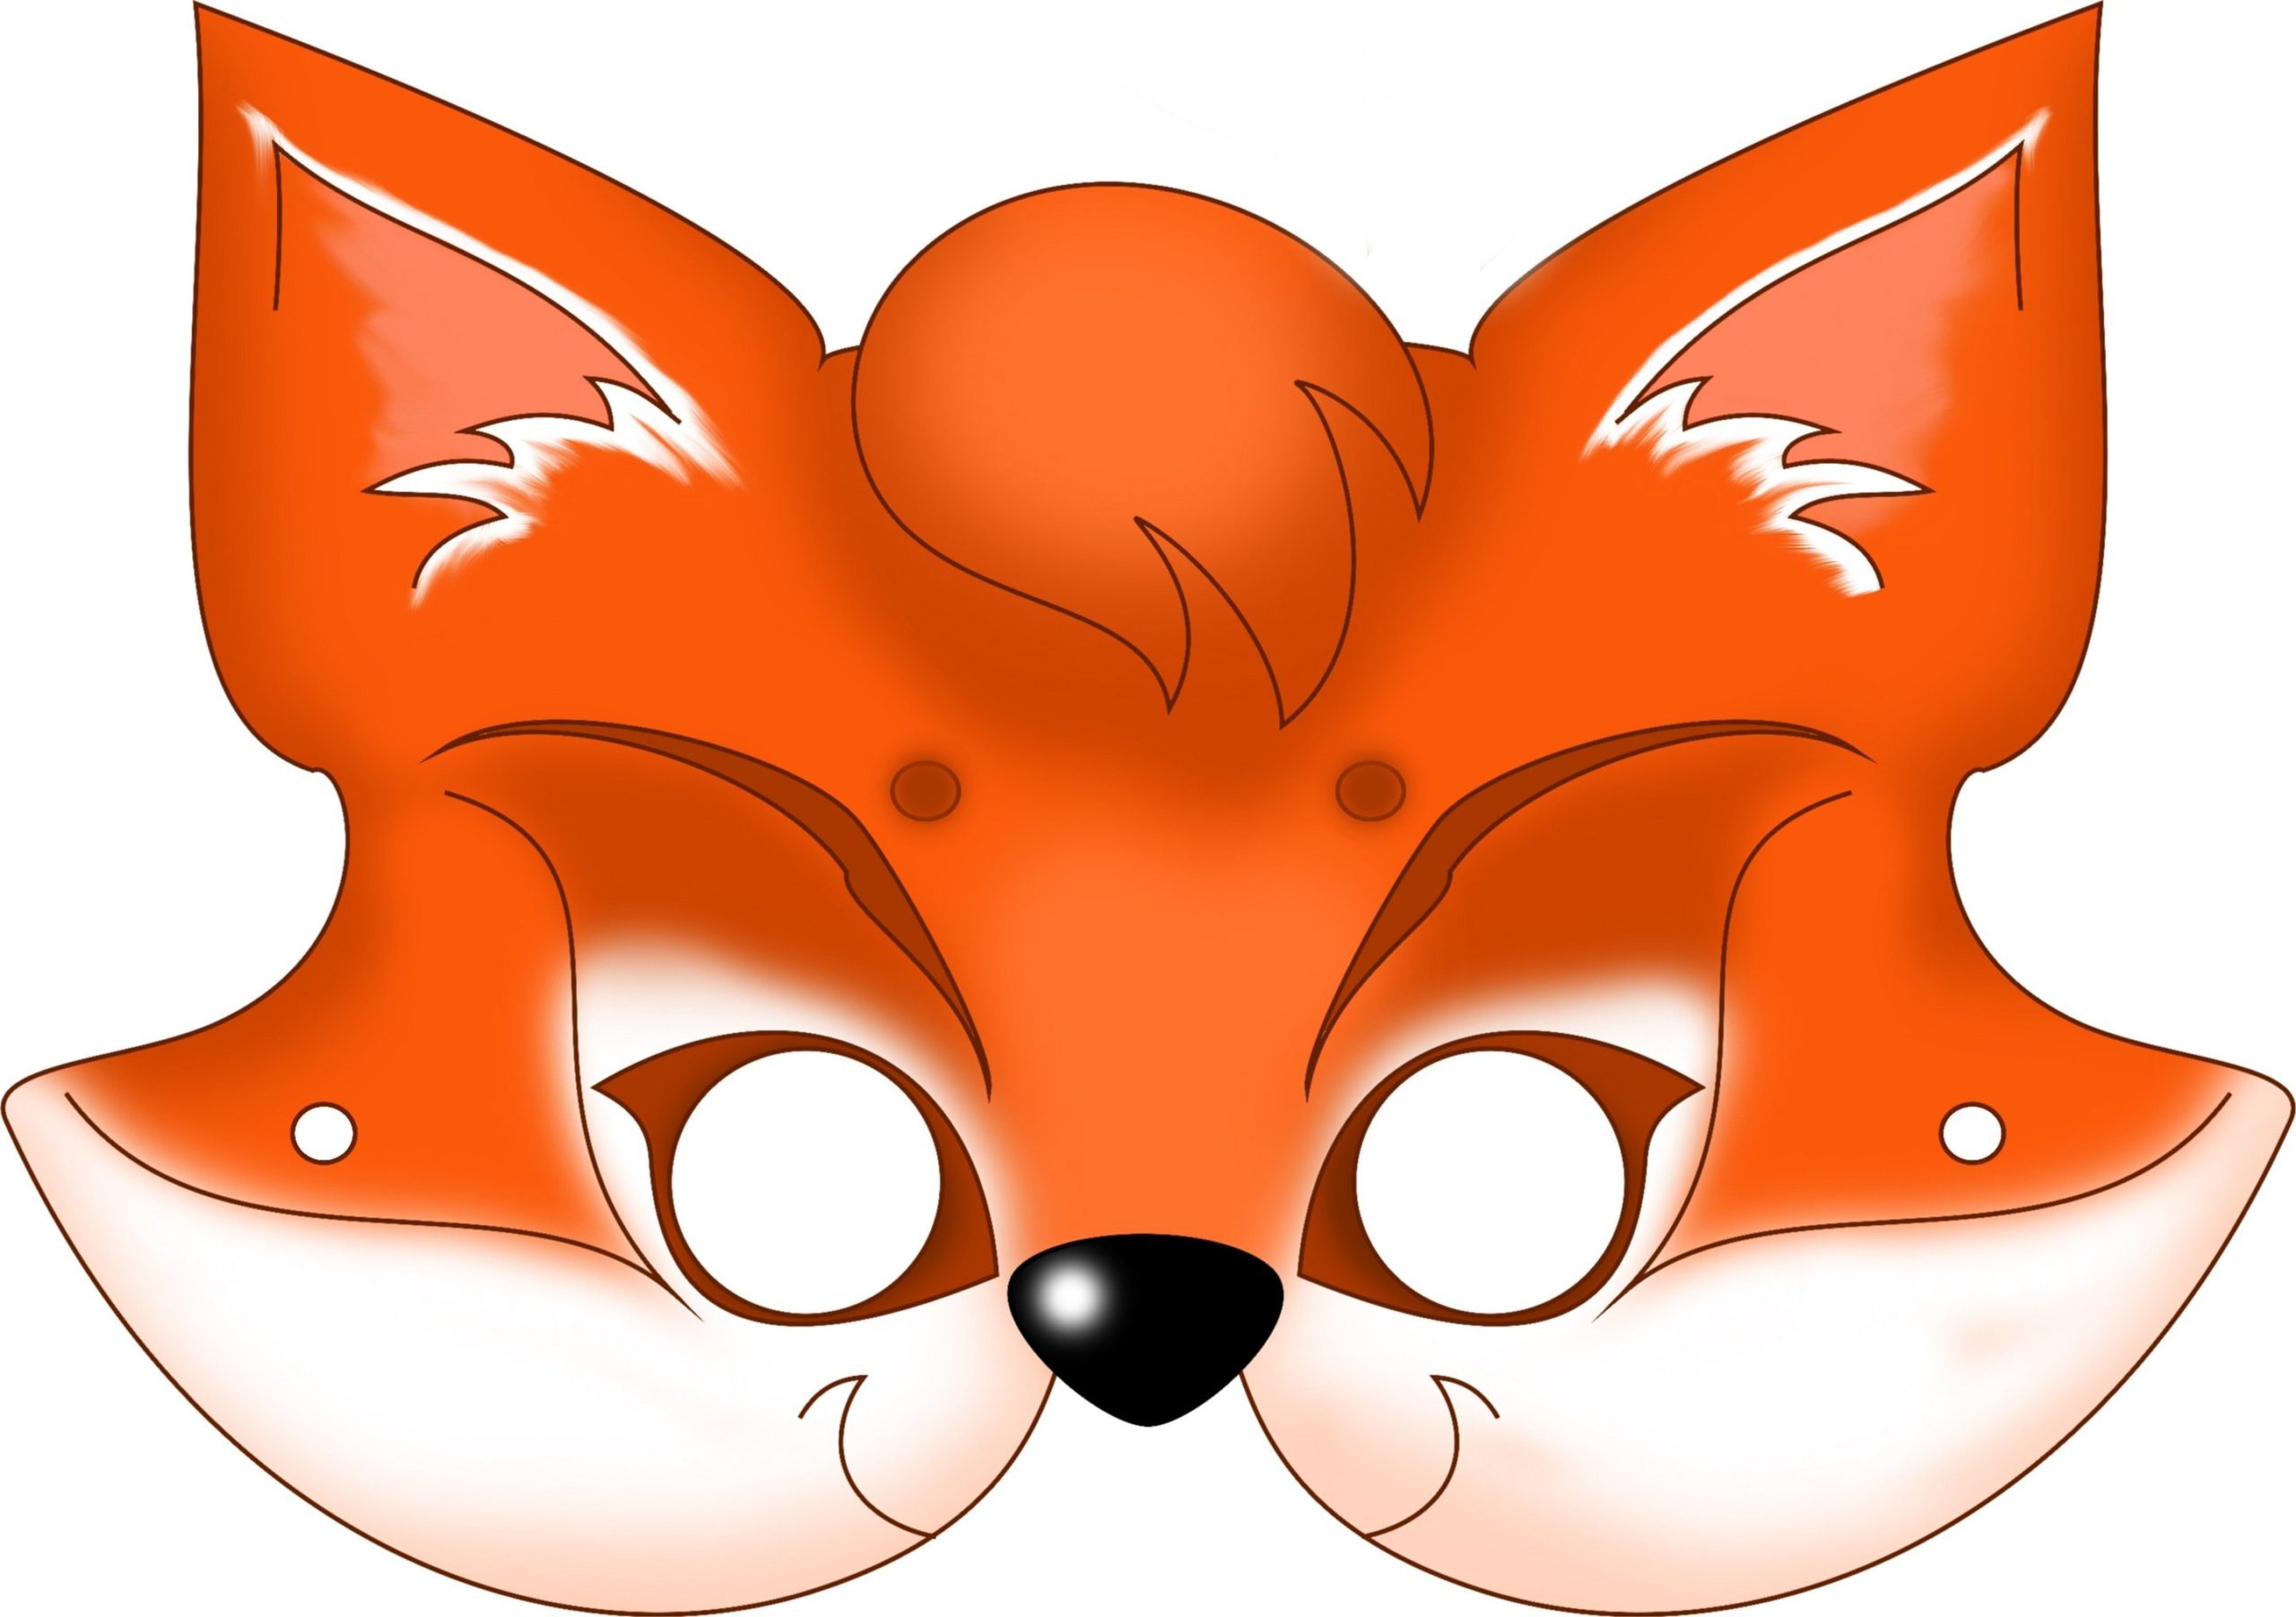
Fox mask template
You can make a fox mask yourself, but sometimes you just don't have time. Printing a template is a smart way out. Then all you need to do is choose a design. Of course, it's more fun to do everything yourself than to use a stencil.
How to make a fox mask out of paper on your head with your own hands: step-by-step instructions
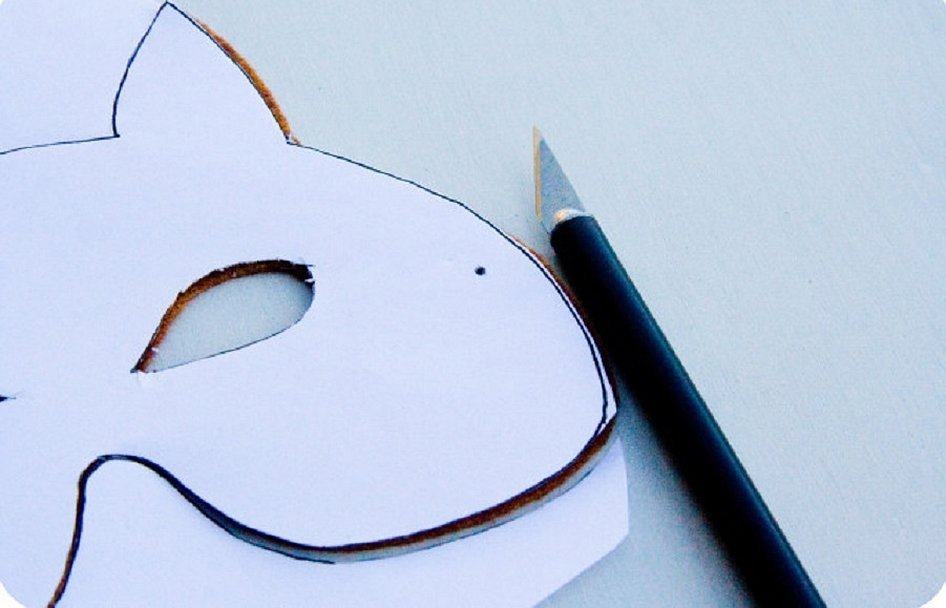
First, you need to find out where the eyes will be. You need to put the paper on your face, from temple to temple. Gently feel where the eyes are on the paper. Lightly mark these places with a pen or pencil, then remove the excess.
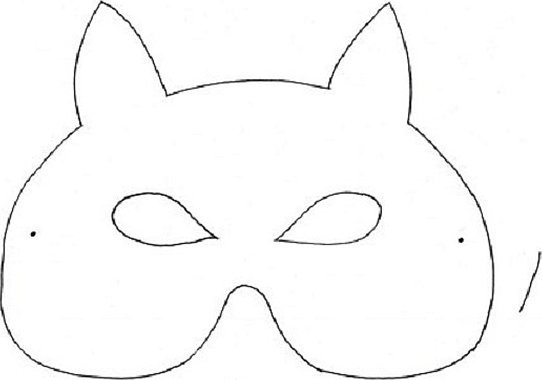
The perfect shape of the mask can be easily achieved, but the drawing must be done carefully. First, you need to put the paper on a flat surface. Draw the shape of two almonds where the traces of the eyes were made. Then draw the basic shape of the mask around the eyes.
This mask will cover the forehead, eyes and bridge of the nose. Cut the mask. Start with the outer shape.
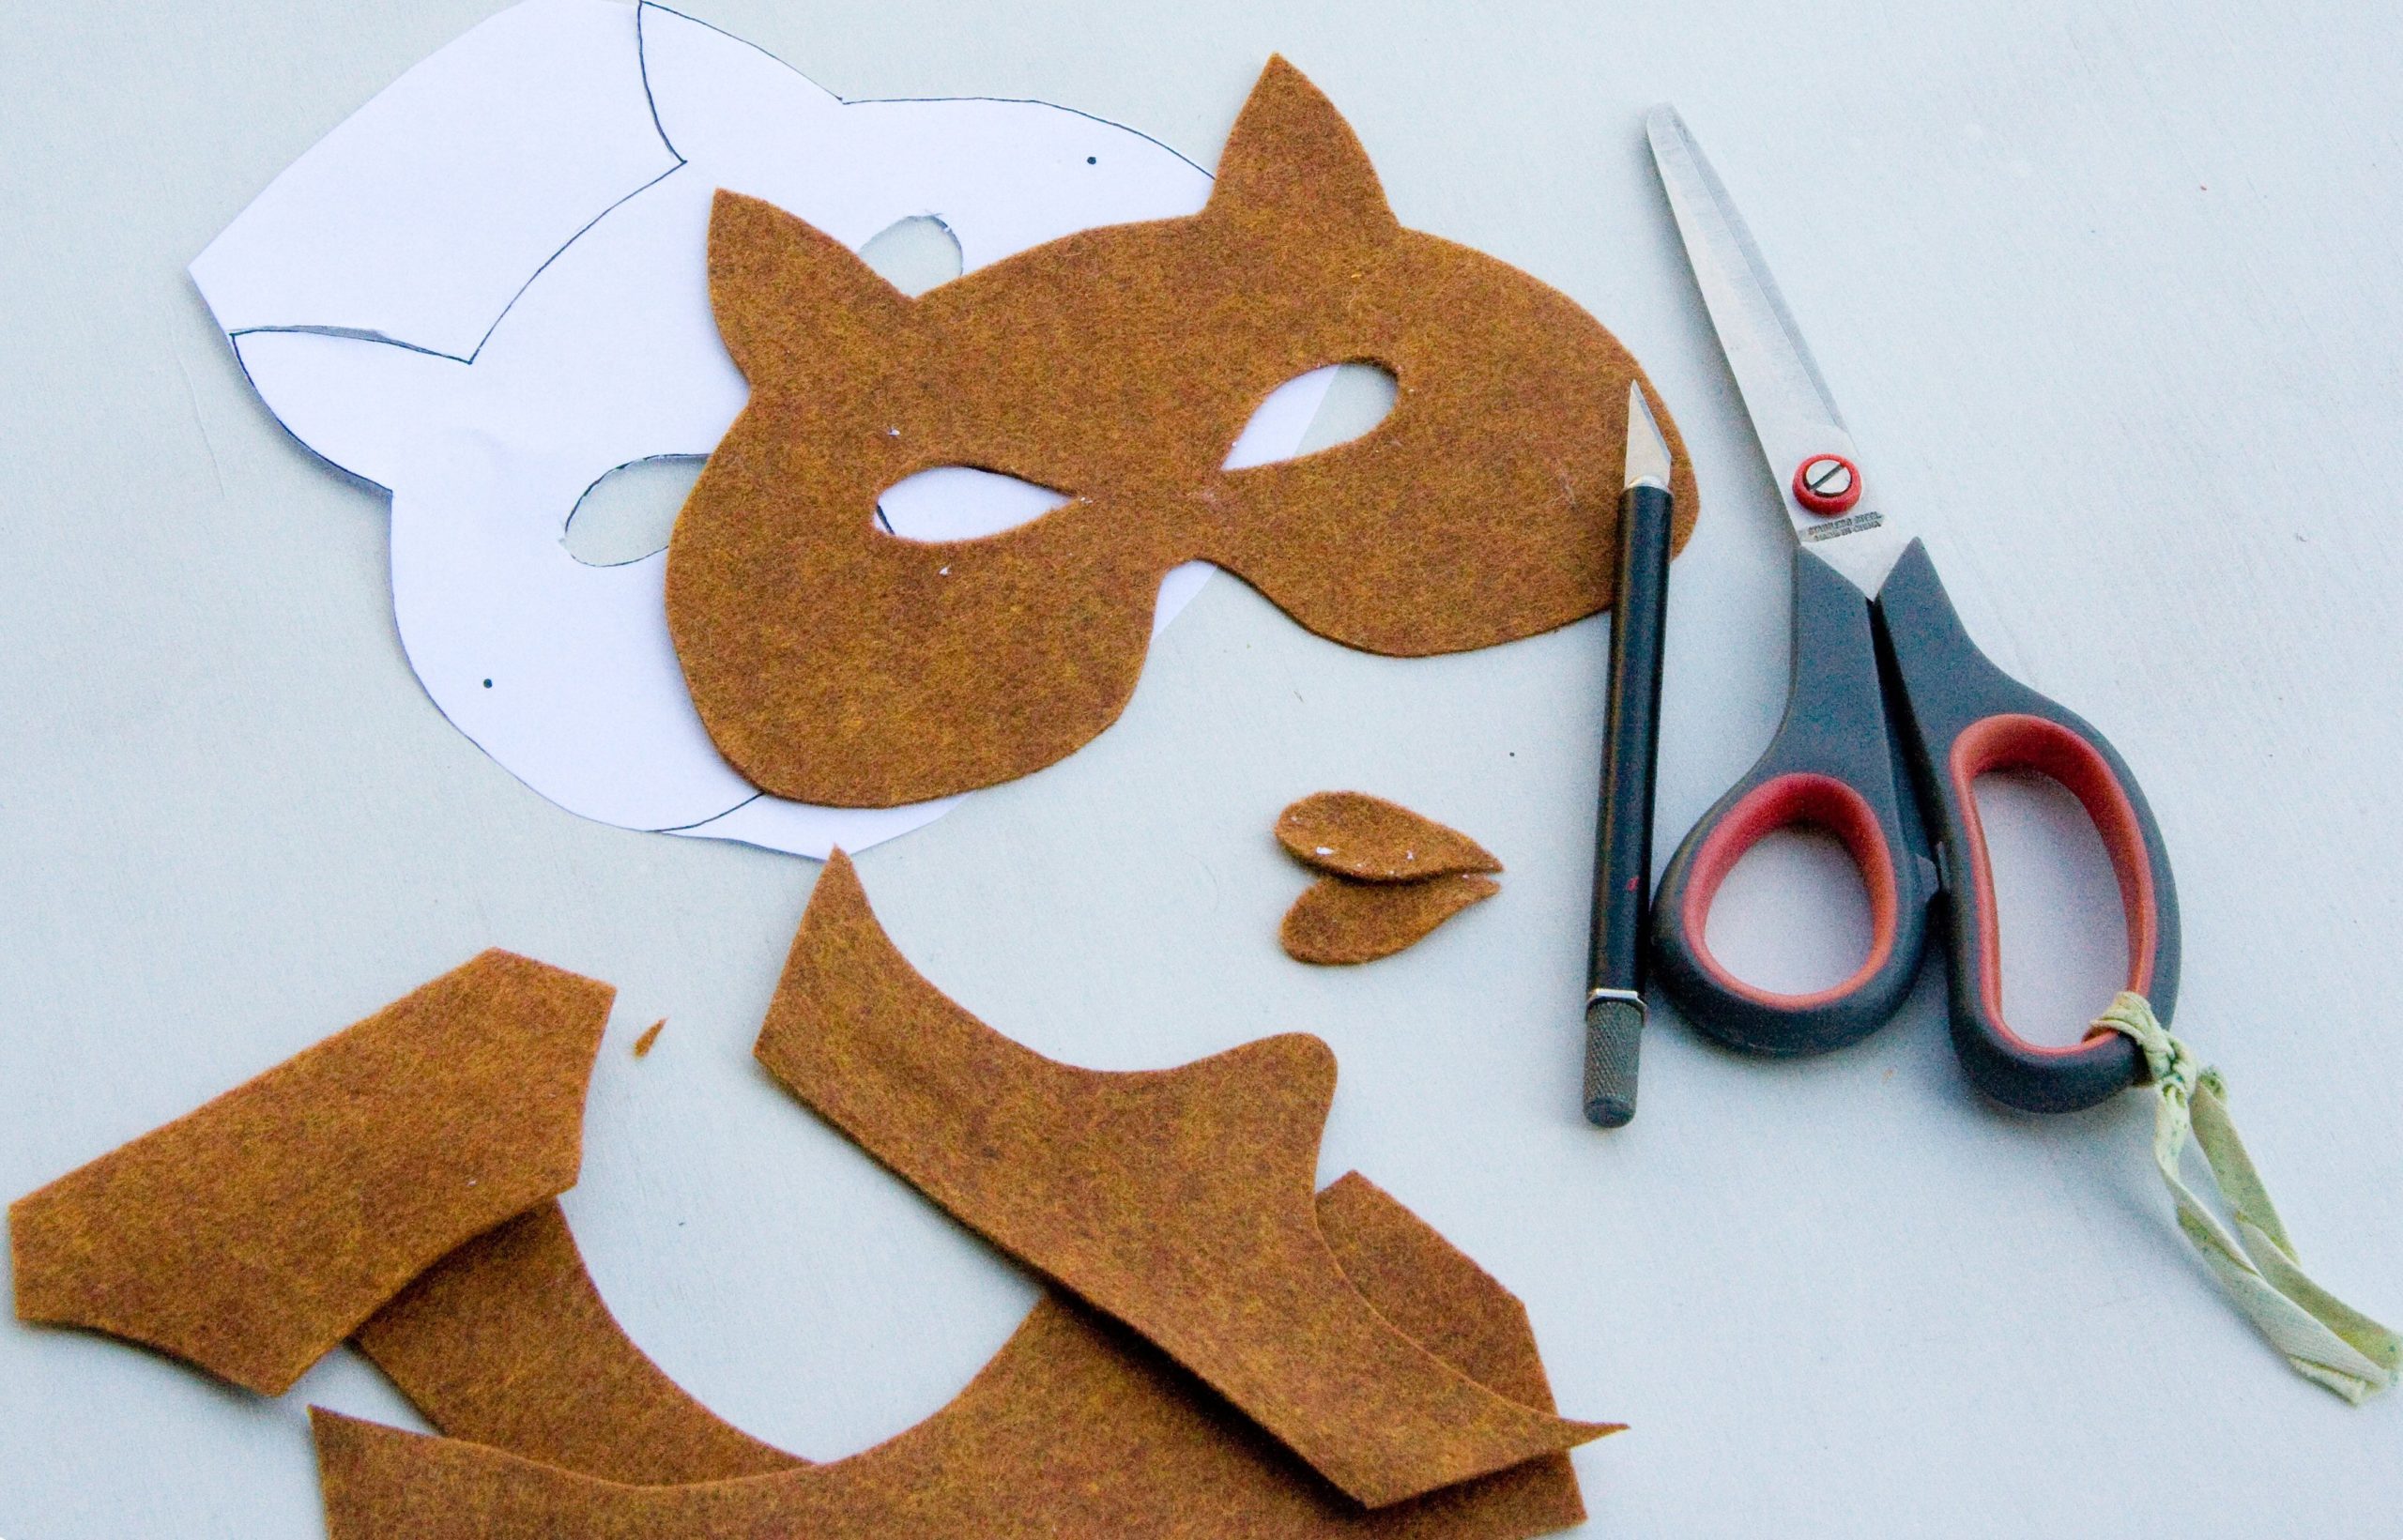
Then cut a hole in each eye, then cut out the eyes.
For reference! If you want the mask to be more symmetrical, first fold the paper in half and then cut along one of the drawn lines. After unfolding the mask, it will be symmetrical.
The holes for the elastic band are very easy to create. You just need to poke them with a sharp stationery knife.
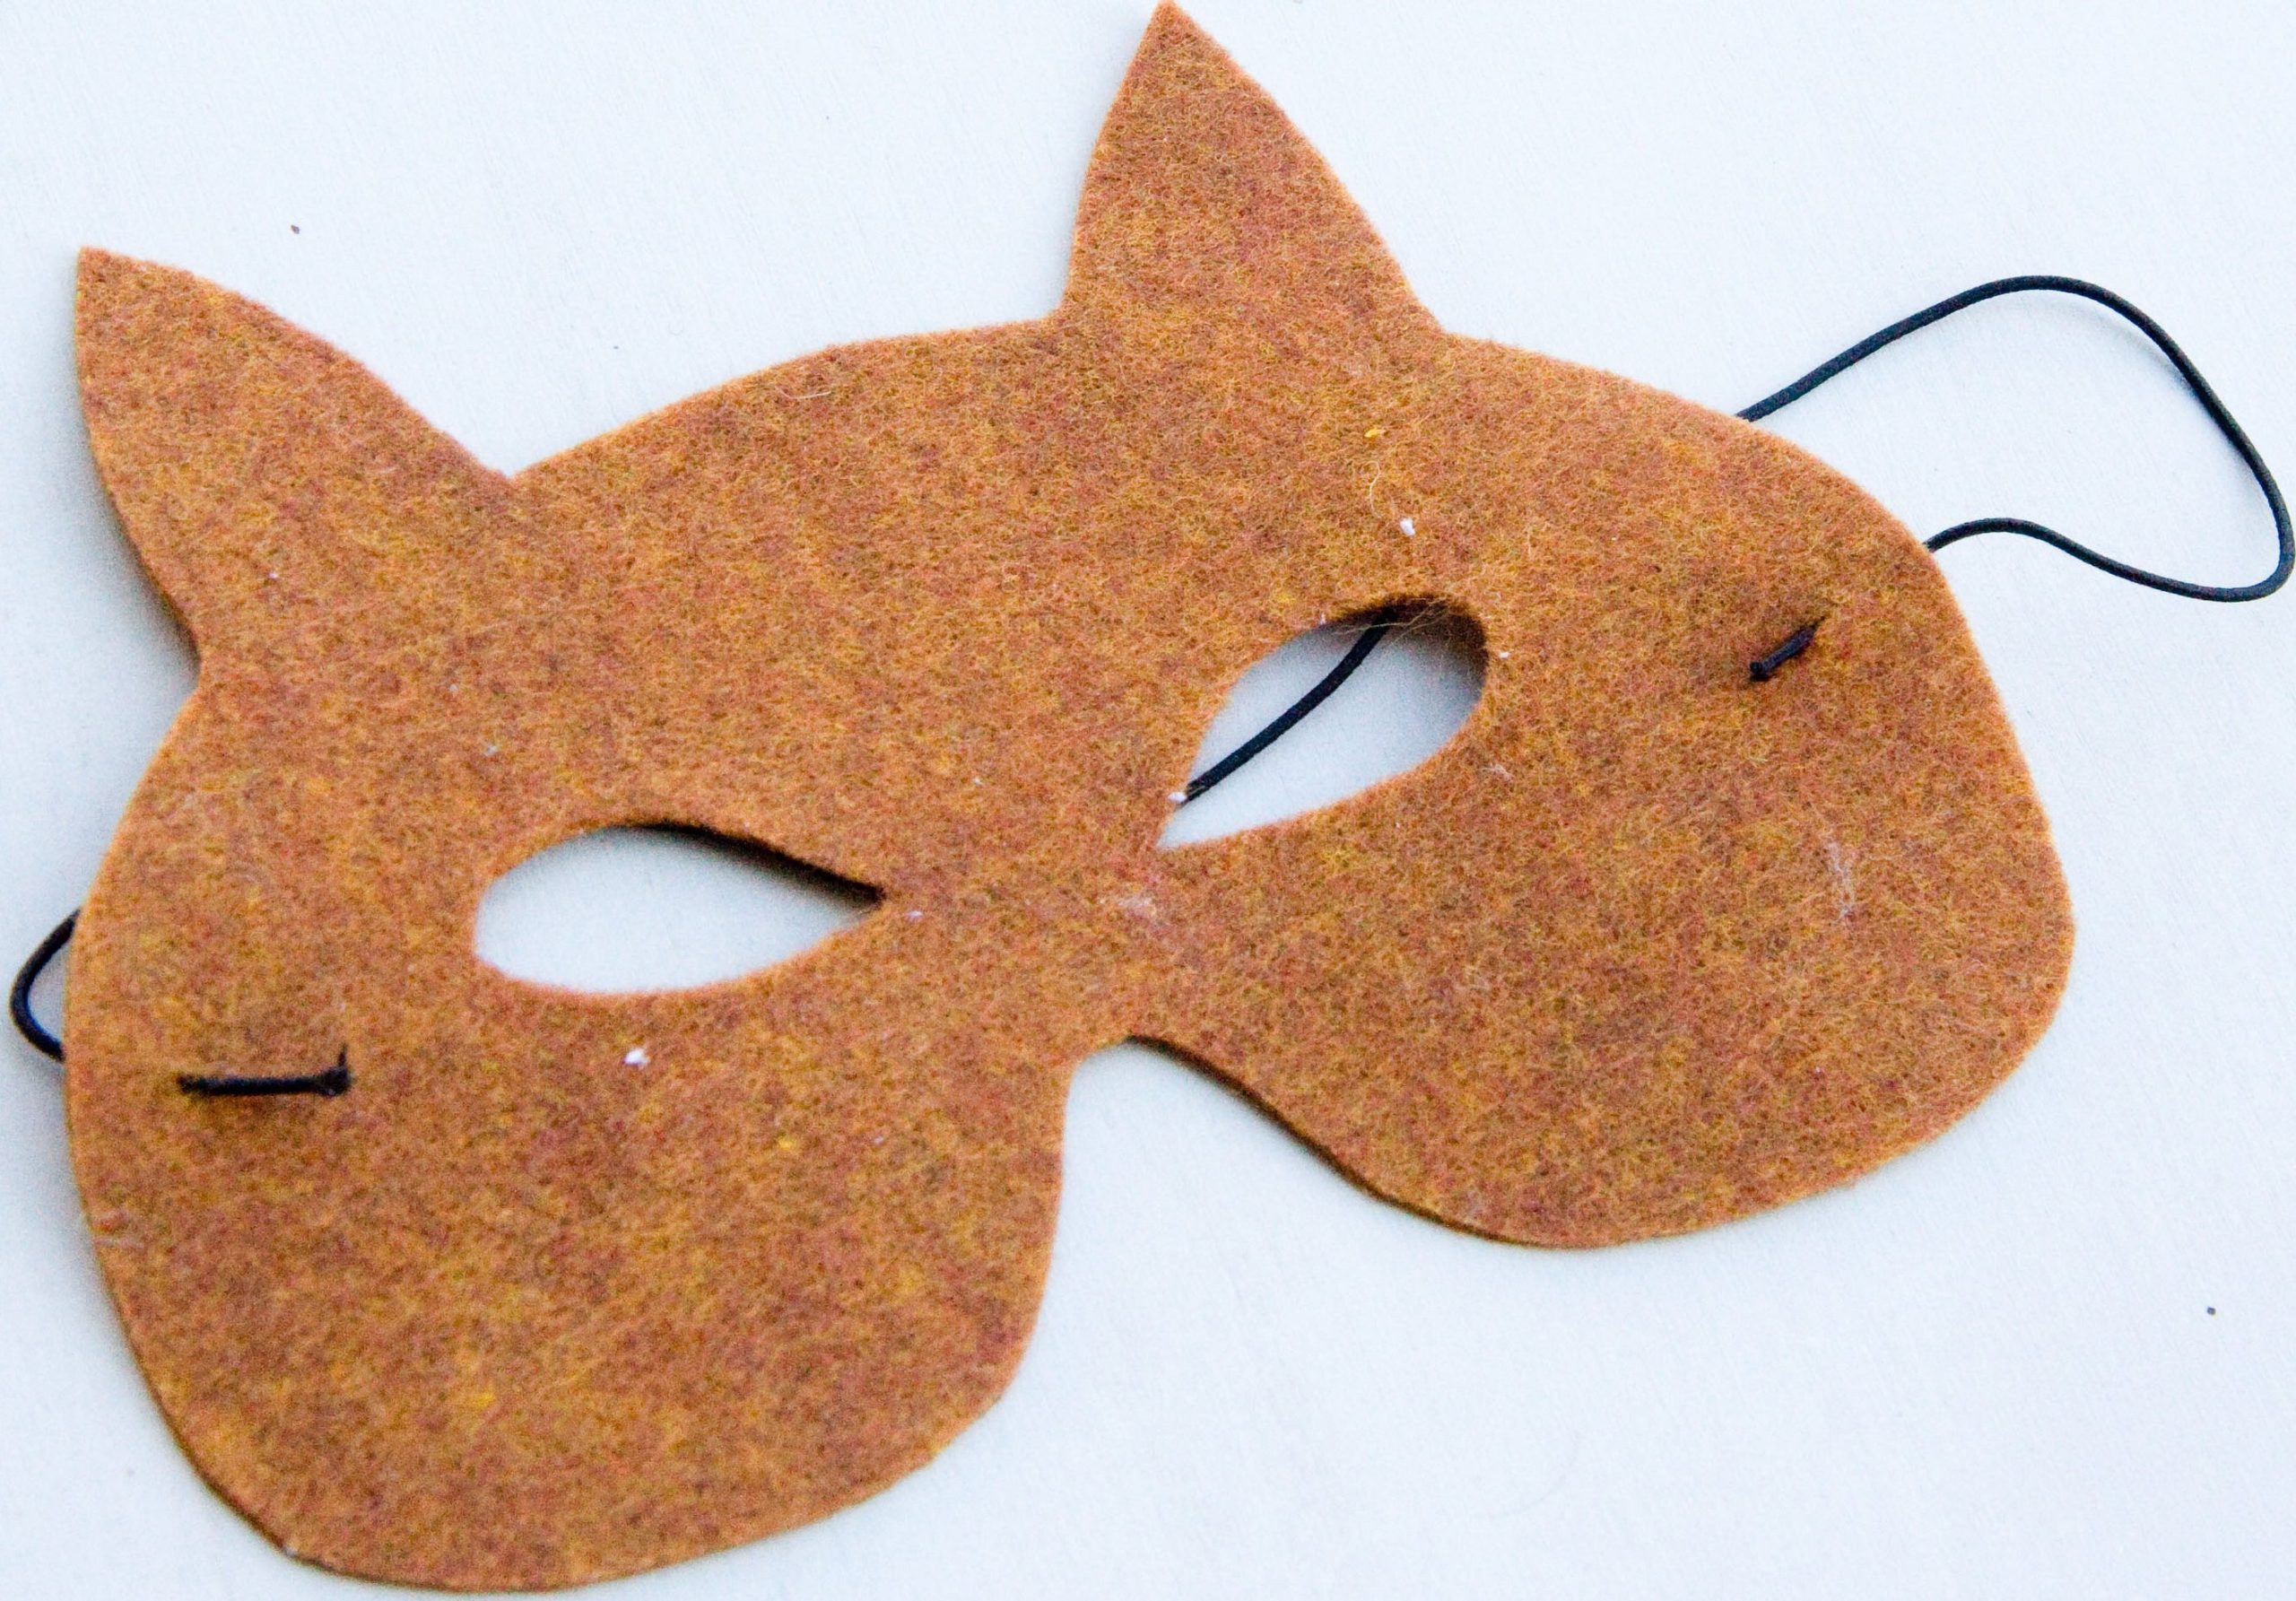
You need to thread an elastic band through it so you can wear the mask. To do this, you need to cut off a piece of elastic. Tie a knot at each end. Secure each end of the elastic band to each side of the mask. It is important to make sure that the knot is on the inside of the mask so that it holds well. If you do not have a thin elastic band, you need to do the following:
- Cut holes on each side of the mask.
- Cut two long pieces of ribbon.
- Secure a piece of tape in each hole.
- Use strips to tie the mask to the back of your head.
You can create textures and reliefs by gluing lace before painting. Glue can also be used to create any shape you like. Let it dry and then paint. You can also give the mask a hairy texture by using strips of paper. This is not necessary, but it can add an interesting touch.
To do this, you need to cut short strips of red, brown or orange paper. They should be from 0.6 to 1.3 cm wide and about 2.5 cm long. Roll them around a pen or pencil, then glue them to the edges of the mask. You can make one row or add rows until they reach the eyes.
For an even more personal touch, attach a few tufts to the ears using white tissue paper. To do this, cut out two circles. Fold them in half and cut a short strip along the curved edge. Glue each folded circle to the bottom of the ears. Use glue to keep the circles even.
For reference! If you don't have white tissue paper, a simple tissue or paper filter will do. You can also paint the inside of your ears white.
You should also consider adding some black to the ears. This can be done by shading them slightly with chalk, pencil or paint.
It would be a good idea to add a little white around the eyes. There are several ways to do this.
- The easiest way is to paint the area around the eyes with white paint.
- You can also tear off short strips of white paper and glue them around the eyes, the look will be unusual. For this, you can use regular white or tissue paper.
- You should also consider lining the eye holes with a black marker to make them more prominent.
You should use acrylic paint and a brush to apply a little paint to the sides and bottom.
If you don't have glue, you can use a stapler or double-sided tape. If you don't have acrylic paint, gouache works great. You can search for pictures of foxes (real and cartoon) to get more ideas.
A fun event is the key to a successful birthday. The same principle applies to wedding celebrations or any other event where children need to be entertained. What could be better than coloring something? The animal theme will not disappoint anyone. A fox mask is perfect for a girl for the New Year. You can use your imagination and make a gift for your child - for example, create a Japanese fox mask out of paper together.


