The crocheted giant cat Amineko is a very funny and cute toy. It symbolizes relaxation, carelessness, calmness, which you want to join. Maybe that is why needlewomen often choose it for knitting among other toys. This article presents a master class on making a funny Japanese toy with your own hands.
Who is Amineko the cat?
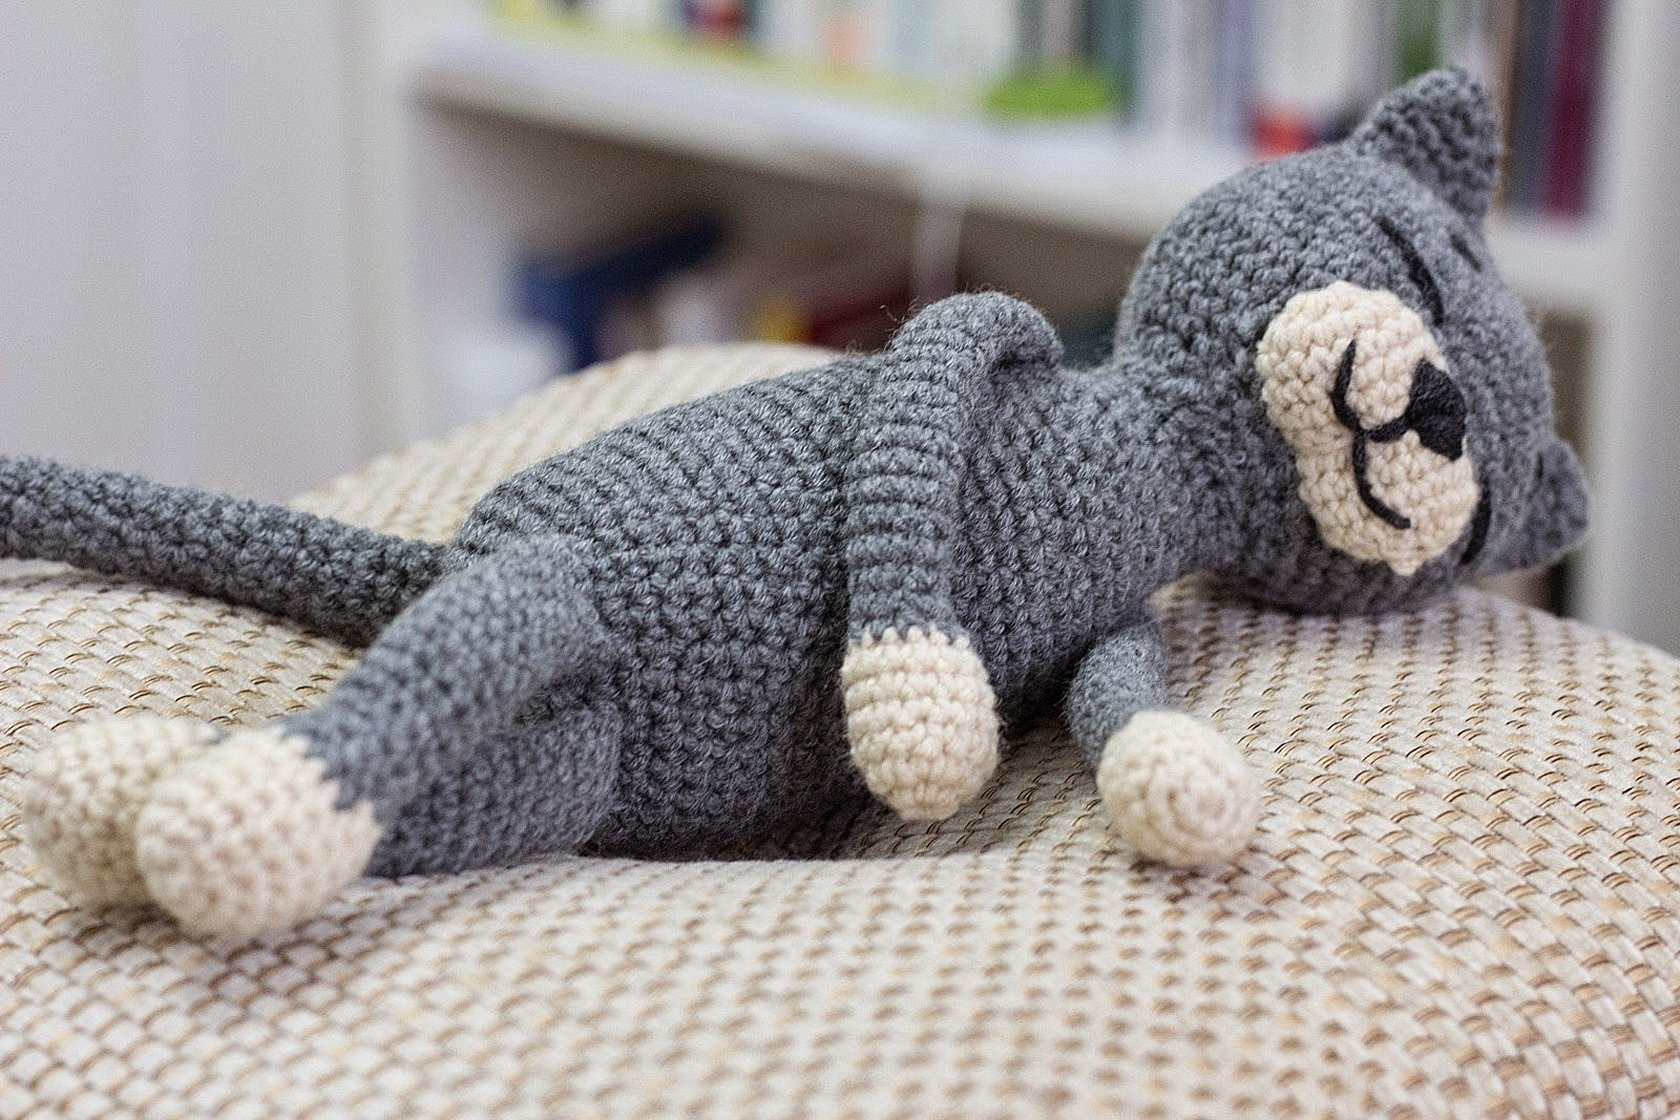
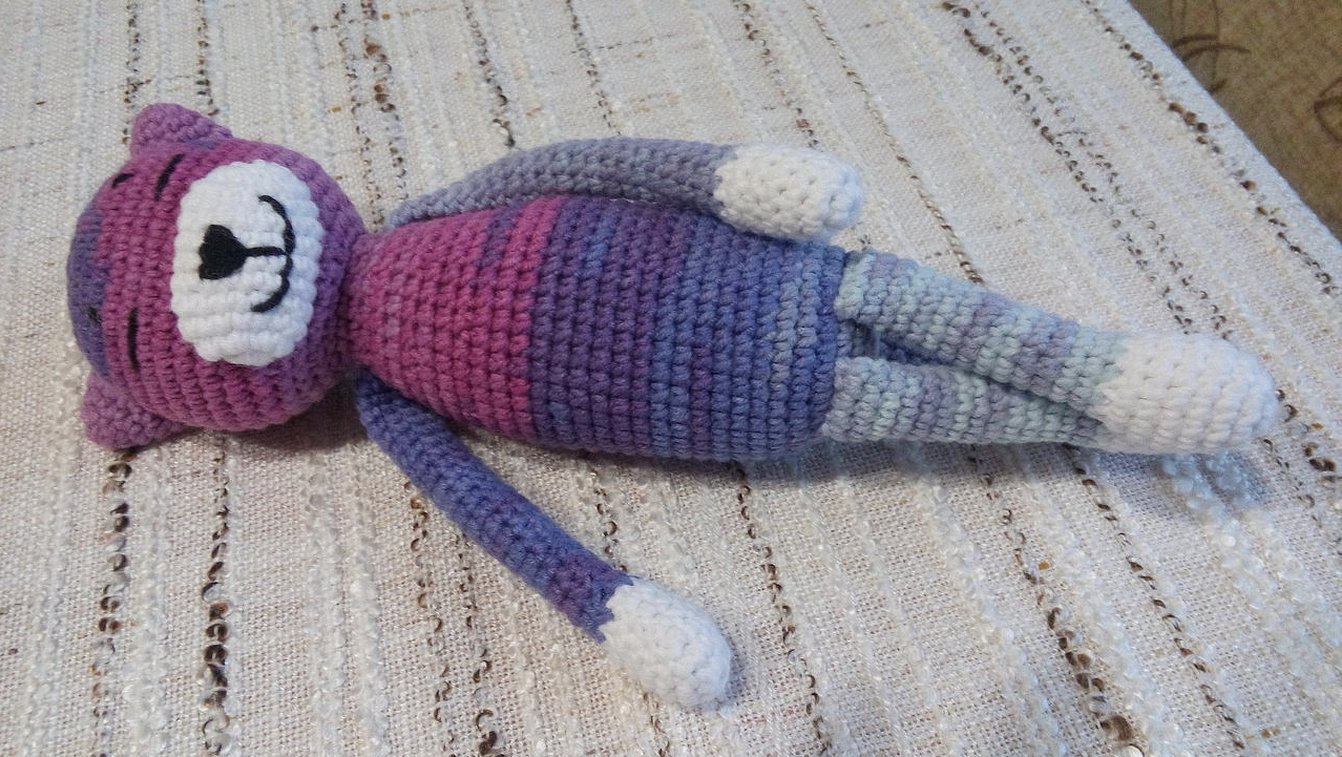
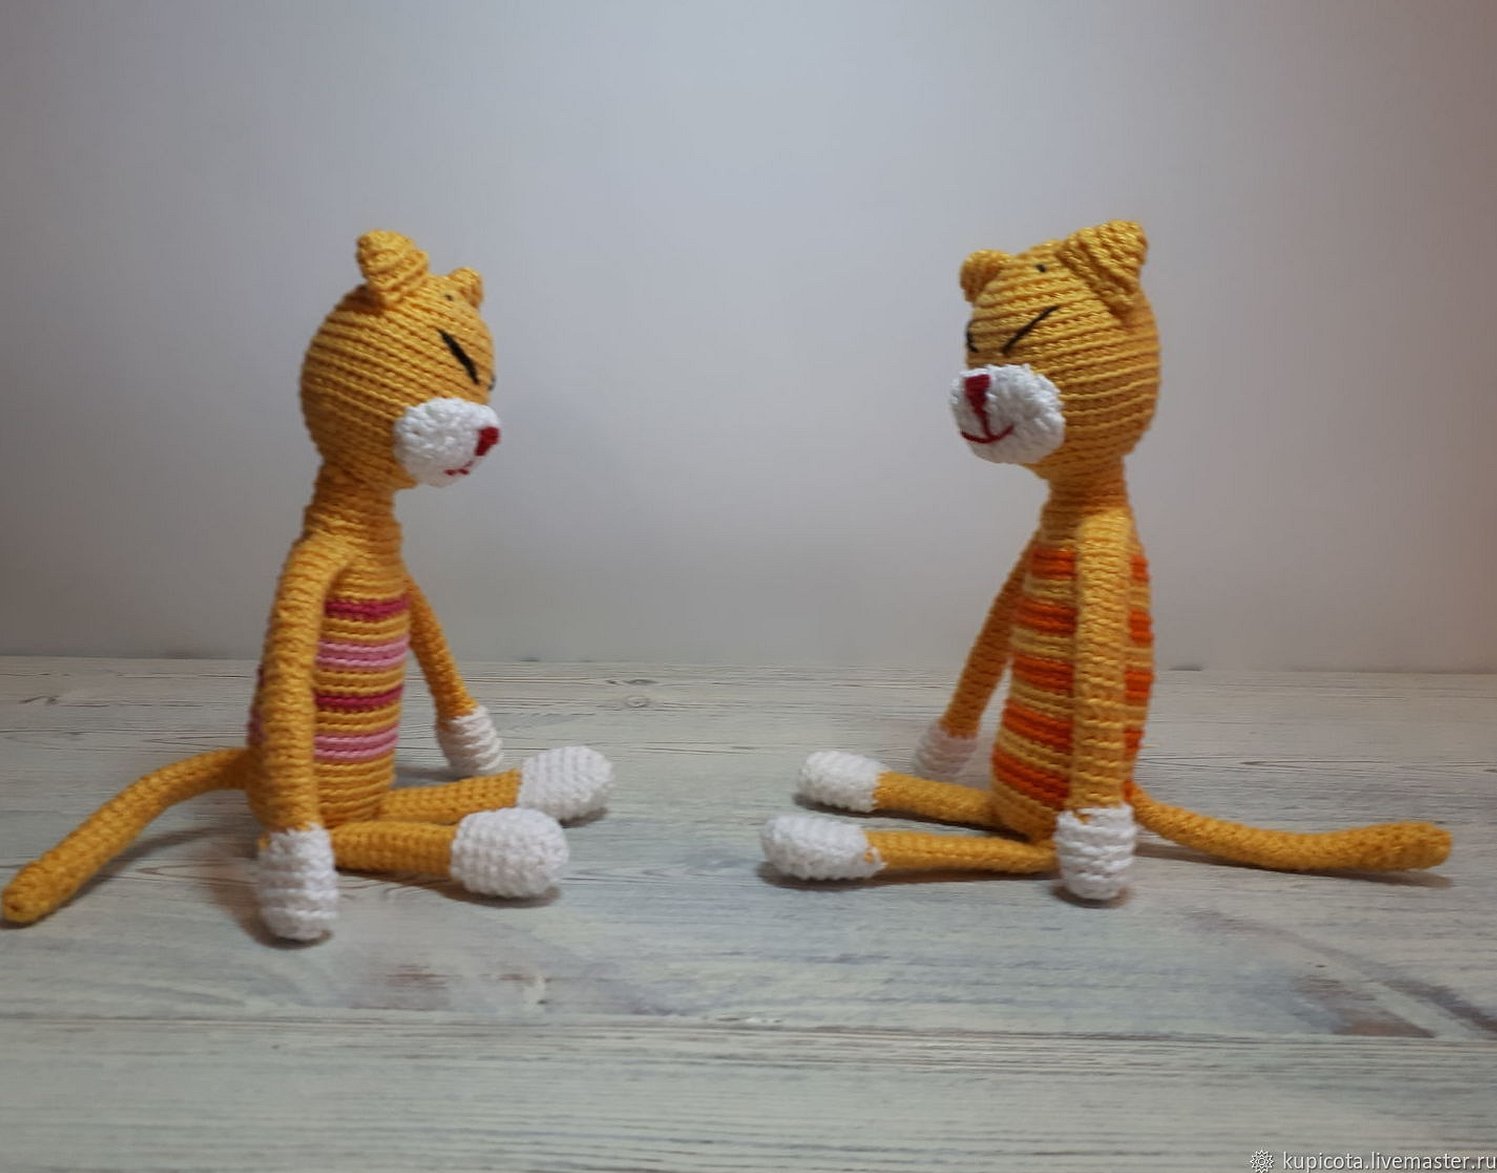
The crochet cat with long paws, or as it is also called, the Amineko cat, is a traditional toy in Japan. It is loved by many children and adults because of its expression on its face and flexible limbs. Even if you do not sit it down, the crochet cat will take a bizarre pose and will seem to be in a special mood. In Japan, entire books are published dedicated to the lives of these funny cats, their everyday life and adventures.
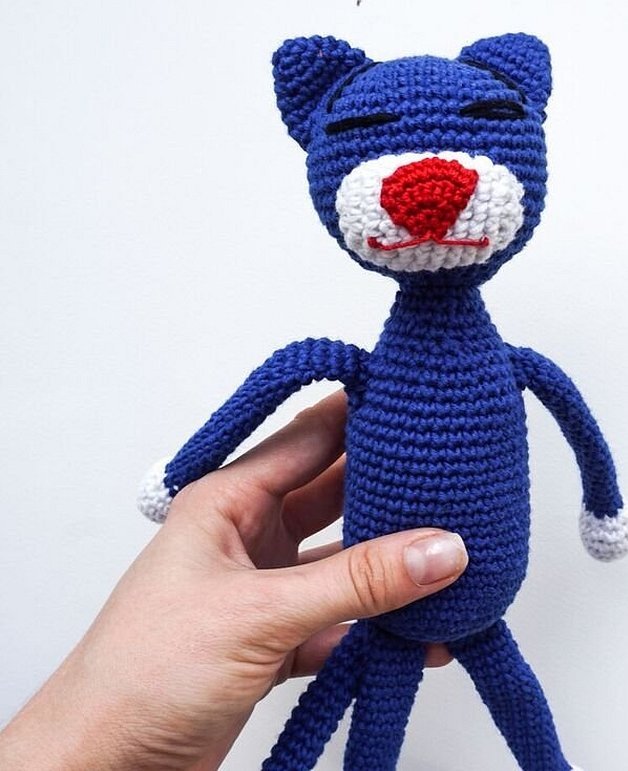
The little cat is popular not only in Japan, but all over the world. Beginners and professional needlewomen from all over the world share photos of this cute animal on the Internet. And each person gets their own unique amigurumi cat. After all, there is no standard pattern for crocheting a small or giant cat.
What is needed to make a toy

Before you start creating a toy, you need to prepare the necessary materials and tools:
- Alize Cotton Gold Batik yarn of any color - 1 skein.
- Alize Cotton Gold yarn, milky color - 1 skein.
- A small piece of black thread for embroidering the face.
- Hook No. 2.5.
- Filler for toys: synthetic fluff.
- Needle for sewing knitted items.
- Marking ring.
- Scissors.
Please note! The soft knitted kitten Amineko is not against constantly playing and frolicking, so it is recommended to use a high-volume and very light filler in the work.
Knitting rules

You can take yarn of different thickness, but you should take into account the size of the hook and its ratio to the yarn so that the knitting is tight. The cat is knitted in parts, and then all the parts are connected. All the parts should be knitted in a circle, so first you need to make a Japanese loop. Then you will have to knit the first six loops on it. Then the Japanese loop needs to be tightened tightly - so the toy will be without holes.
The Amineko cat in a dress is knitted in a spiral without lifting loops. For convenience, the beginning of the row can be marked with a marking ring, moving it as the fabric increases. In this version, the body, head, ears and tail of the Amineko cat should be knitted from Cotton Gold Batik yarn. The paws will have to be done in a milky color, then move on to batik. The kitten's funny face is created using a milky thread.
Legend:
- KA - amigurumi ring.
- SC - single crochet.
- SS - slip stitch.
- VP - air loop.
- U — decrease.
- P - increase.
Amineko the Cat crochet - diagram and description of knitting the body
Work on the cat begins with the body:
- In the first row you need to make an amigurumi ring of 6 single crochet stitches.
- 6 increases. In total you should have 12 loops.
- Single crochet and increase - repeat 6 times (18).
- 2 RLS, P - 6 times (24).
- 3 tbsp. bn, p - 6 times (30).
- 4 tbsp. bn, P - 6 times (36).
- 5 tbsp. bn, P - 6 times (42).
- 6 sc, increase 6 times (48).
- 7 tbsp. bn, P - 6 times (54).
- 8 tbsp. bn, P - 6 times (60).
- 9 st. bn, increase 6 times (66).
- From rows 12 to 38, knit 66 sc.
- In the 39th row there are 9 stitches. bn, decrease - 6 times (60).
- 60 st. bn.
- 8 tbsp. bn, decrease - 6 times (54).
- 54 st. bn.
- 7 single crochets, decrease 6 times (48).
- 48 st. bn.
- 6 single crochets, decrease 6 times (42).
- 42 single crochet stitches.
- 5 tbsp. bn, U - 6 times (36).
- 36 st. bn.
- 4 sts without yarn over, Y - 6 times (30).
- 30 st. bn.
Please note! The body of a Japanese cat should be stuffed with synthetic fluff.
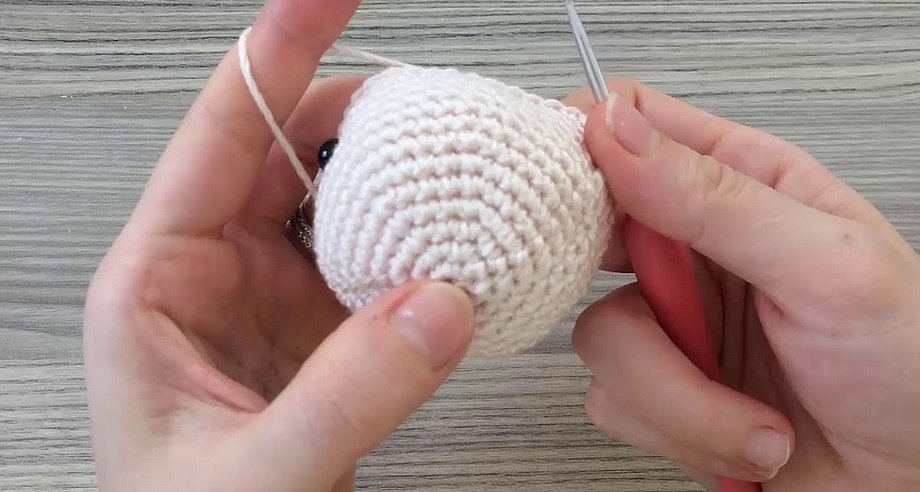
Execution of the head

The work plan is as follows:
- 2 single crochets, increase, repeat 10 times (40).
- 3 tbsp. without yarn over, P - 10 times (50).
- 4 RLS, P - 10 times (60).
- 5 RLS, P - 10 times (70).
- From rows 5 to 19, knit 70 sc.
- 12 sts without yarn over, decrease – repeat 5 times (65).
- 11 RLS, U - 5 times (60).
- 10 RLS, U - 5 times (55).
- 9 RLS, U - 5 times (50).
- 8 tbsp. bn, U - 5 times (45).
- 7 single crochets, decrease 5 times (40).
- 6 tbsp. bn, U - 5 times (35).
- 5 tbsp. bn, U - 5 times (30).
- 4 tbsp. bn, U - 5 times (25).
- 3 tbsp. bn, U - 5 times (20).
- 2 RLS, U - 5 times (15).
- SC, Y - 5 times, slip stitch (10).
Important! The cat's head will have to be stuffed with synthetic fluff, and then the hole will have to be pulled together with a needle. Then the thread will have to be cut.
Ears
You can knit the cat's ears according to the following plan:
- 4 single crochet stitches in KA.
- additions (8).
- SC, P - repeat 4 times (12).
- 5 single crochets, increase 2 times (14).
- 6 sc, P - 2 times (16).
- 7 sts without yarn over, P - 2 times (18).
- 8 tbsp. without nkida, P - 2 times (20).
- 9 single crochets, increase 2 times (22).
- 10 sc, increase 2 times (24).
- 11 sc, increase 2 times, slip stitch (26).
Please note! You need to leave a piece of material to sew the ears to the head, and then cut the thread at the end.
Lower paws
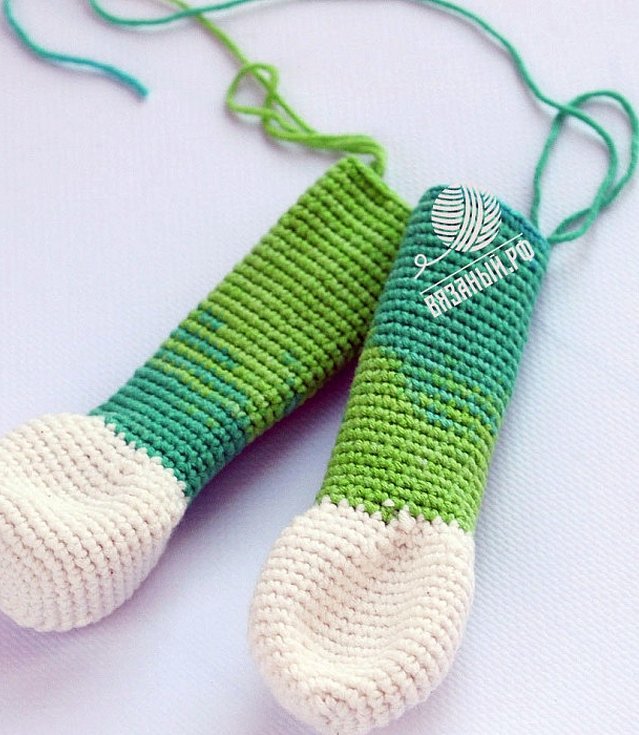
Knitting of the cat's paws begins with a milky colored thread:
- Amigurumi ring.
- 6 increases (12).
- Single crochet, increase - repeat 6 times (18).
- 2 single crochets, increase 6 times (24).
- 3 tbsp. without yarn over, P - 6 times (30).
- 4 RLS, P - 6 times (36).
- 5 RLS, P - 6 times (42).
- From rows 8 to 17, knit 42 sc.
- 5 RLS, U - 6 times (36).
- 4 RLS, U - 6 times (30).
- 3 RLS, U - 6 times (24).
- Change the thread to a colored one. From rows 21 to 28, knit 24 sc.
- Fold the legs in half and knit 12 sc for both walls.
When you are finished, you need to leave a long piece of thread to sew the foot to the body and cut the thread.
Important! The lower part of the paw is filled with silicone balls.
The second leg is knitted in the same way as the first.
Upper paws
Knitting begins with a milky colored thread:
- KA.
- 6 additions (12).
- Single crochet, P - repeat 6 times (18).
- 2 single crochets, P – 6 times (24).
- 3 RLS, P - 6 times (30).
- 4 RLS, P - 6 times (36).
- From rows 7 to 13, knit 36 sc.
- 4 single crochets, decrease 6 times (30).
- 3 RLS, U - 6 times (24).
- 2 tbsp. without yarn over, Y - 6 times (18).
- Change the working thread to a colored one.
- From rows 17 to 50, knit 18 sc.
- Fold the foot in half and knit 9 sc.
You will have to leave a long piece of thread to sew the paw to the body and cut the thread. The lower part should be stuffed with silicone balls.
The second leg is knitted in the same way.
Details of the face
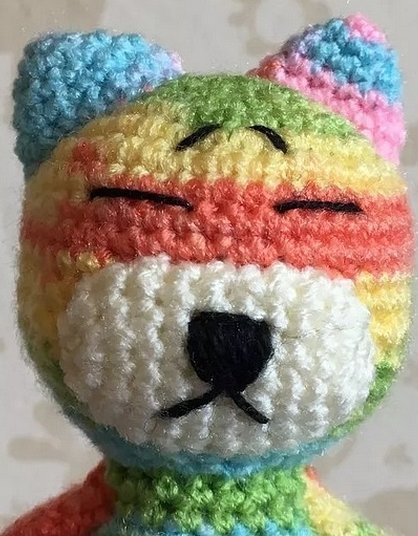
The cat's nose can be made from a bead or knitted. Since the cat Amineko is Japanese, this is very well reflected in its appearance. The eyes are embroidered directly on the muzzle in black and are "slits".
The toy's face is knitted with milky-colored thread:
- 7 VP.
- In the second loop from the hook, you need to knit P, 4 sc, 3 sc in one loop, then the action is performed on the back side of the air chain - 5 sc. As a result, you get 14 loops.
- 3 P, 2 dc, 5 increases, 2 sc, 2 P (24).
- 4 P, 6 sc, 6 inc, 6 sc, 2 P (36).
- 5 single crochets, increase – repeat 6 times (42).
- From rows 6 to 9, knit 42 sc.
The thread needs to be cut, leaving a long end for sewing the muzzle to the cat's head.
Tail
The knitting pattern is as follows:
- KA.
- 6 increases (12).
- SC, P - repeat 6 times (18).
- From rows 4 to 39, knit 18 sc.
You need to put silicone stuffing in the tail. Then you need to fold the cat's tail in half and knit 9 sc for both walls. You will have to leave a piece of thread (medium size) for sewing the tail to the cat's body and cut the thread.
How to assemble a toy
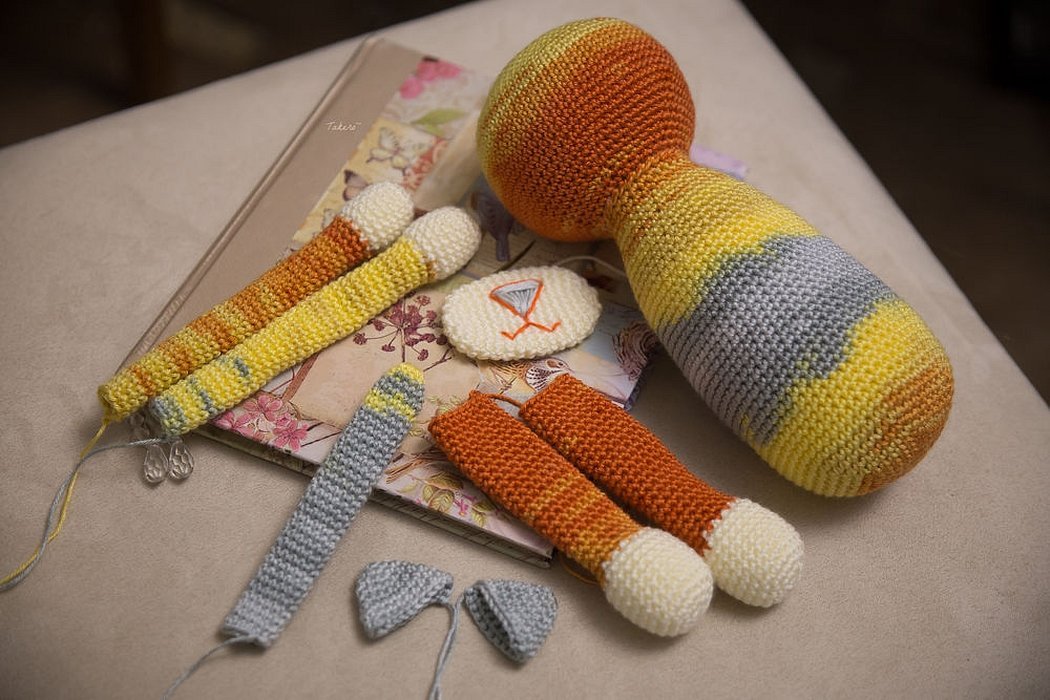
Now each detail needs to be stuffed, but it is important to consider that this cat should take different poses, which means it needs to be stuffed specifically. The cat's head is filled with padding polyester, or cotton wool. Peas should be poured into the bottom of the body. You can use small balls and so on. Then the details will have to be sewn together using a crochet hook.
The ears, muzzle and head are connected together and only after that the cat's head is sewn to the body. The nose is made from a bead, the eyes are embroidered and only then can you start attaching the paws and tail. It is recommended to pour peas into the paws, so you can give the cat various poses.
The lower paws of the cat are sewn to the front wall of the body at the level of row 11. The upper part is attached 5-6 rows before the neck. It is necessary to ensure that the paws are sewn along one row at the same level.
The tail is sewn on at the same level as the lower legs, but to the back. Then the ears are attached. The muzzle is sewn on with half-loops. This will make it look neater. The eyes, eyebrows and mouth are embroidered with one stitch of black thread. The nose is made with colored thread.
In conclusion, it should be noted that the step-by-step master class presented above is understandable to everyone. Therefore, you can knit a magnificent kitten quite quickly.


