The Tilda doll has long been one of the most popular toys. It is also loved because you can make it yourself. The creator of this doll, Tone Finnanger, encourages people to engage in creativity and handicrafts. You can not only sew, but also crochet a Tilda.
History of the tilde
The brand was officially registered in 1999. Since its opening, interest in these dolls has only increased. Tone Finnanger received an art education and worked for some time in a store where handmade souvenirs were made. The girl wanted to create something of her own. At first, she thought about writing books for children, but then decided to make toys.
This is how the Tilda doll was born. Tone Finnanger dreamed of creating more than just beautiful dolls. She wanted each one to have its own special character – a “zest”. That’s why her toys were loved not only by children, but also by adults. Having made several dolls, Tone put them up for sale in the shop where she worked. They were quickly sold out. Inspired by her success, the girl opened her own shop in 1999. That same year, the Tilda brand was officially registered.
Tone wrote books with recommendations on how to make tilda dolls yourself. Until now, her brand does not produce finished products, but materials and fittings for their production. She also offers a variety of patterns and books.
Important! Tilda dolls can only be purchased in specialized online stores. They are made by hand and to order.
Specifics of Tilda style toys
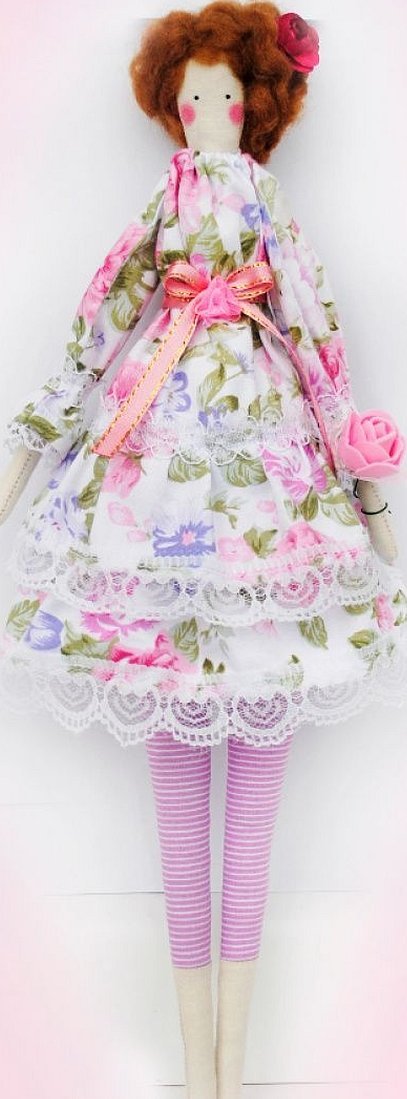
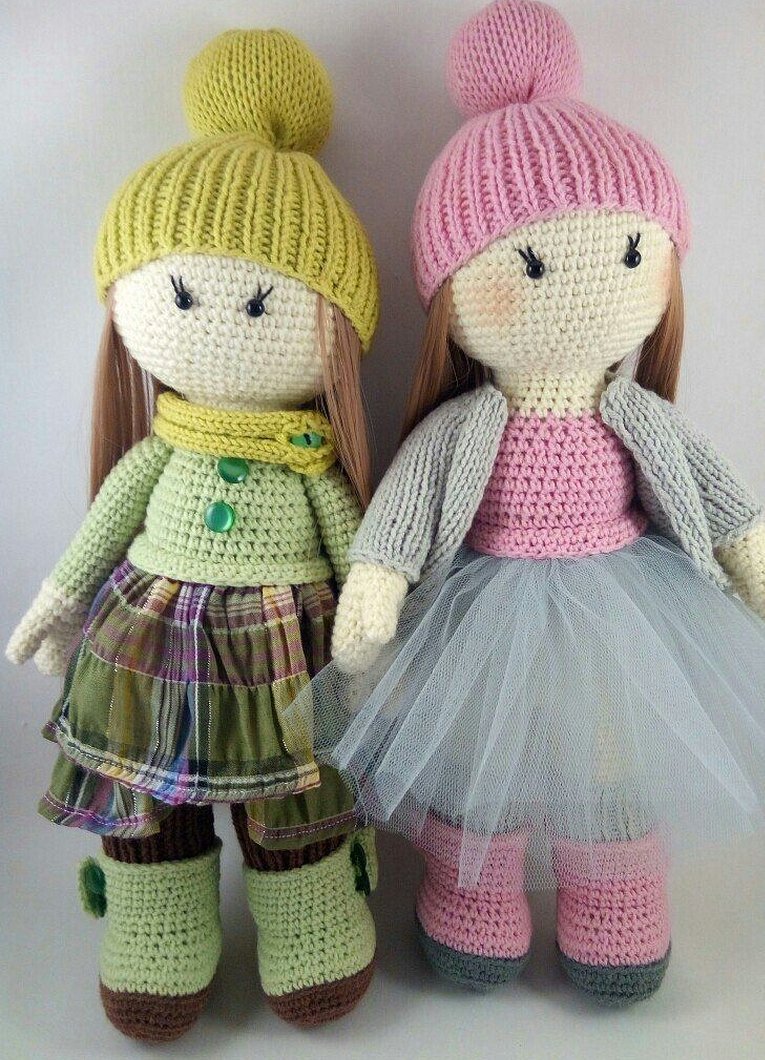
The products of this brand cannot be confused with other dolls. The distinctive features of Tilda toys are:
- non-standard proportions;
- use of only soft materials;
- smooth lines;
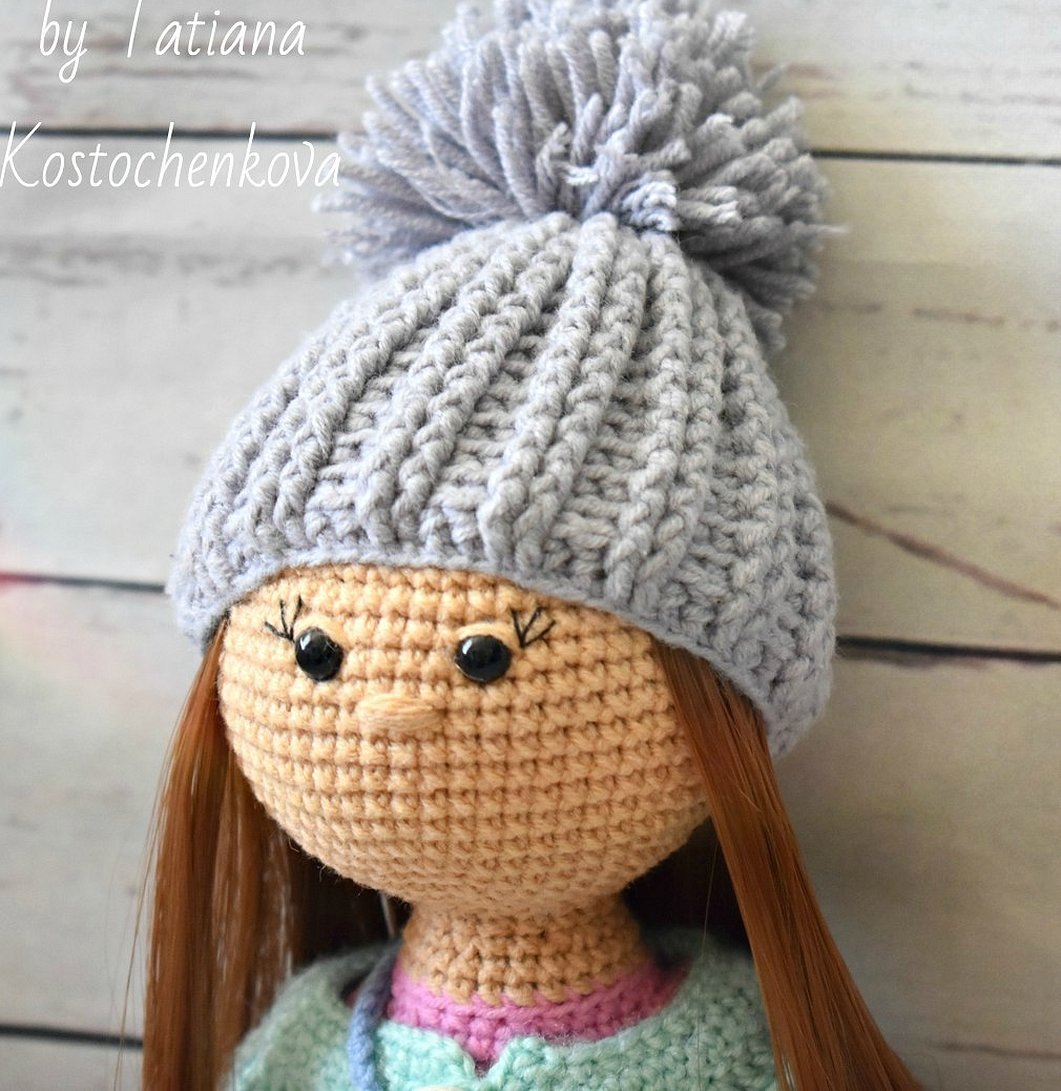
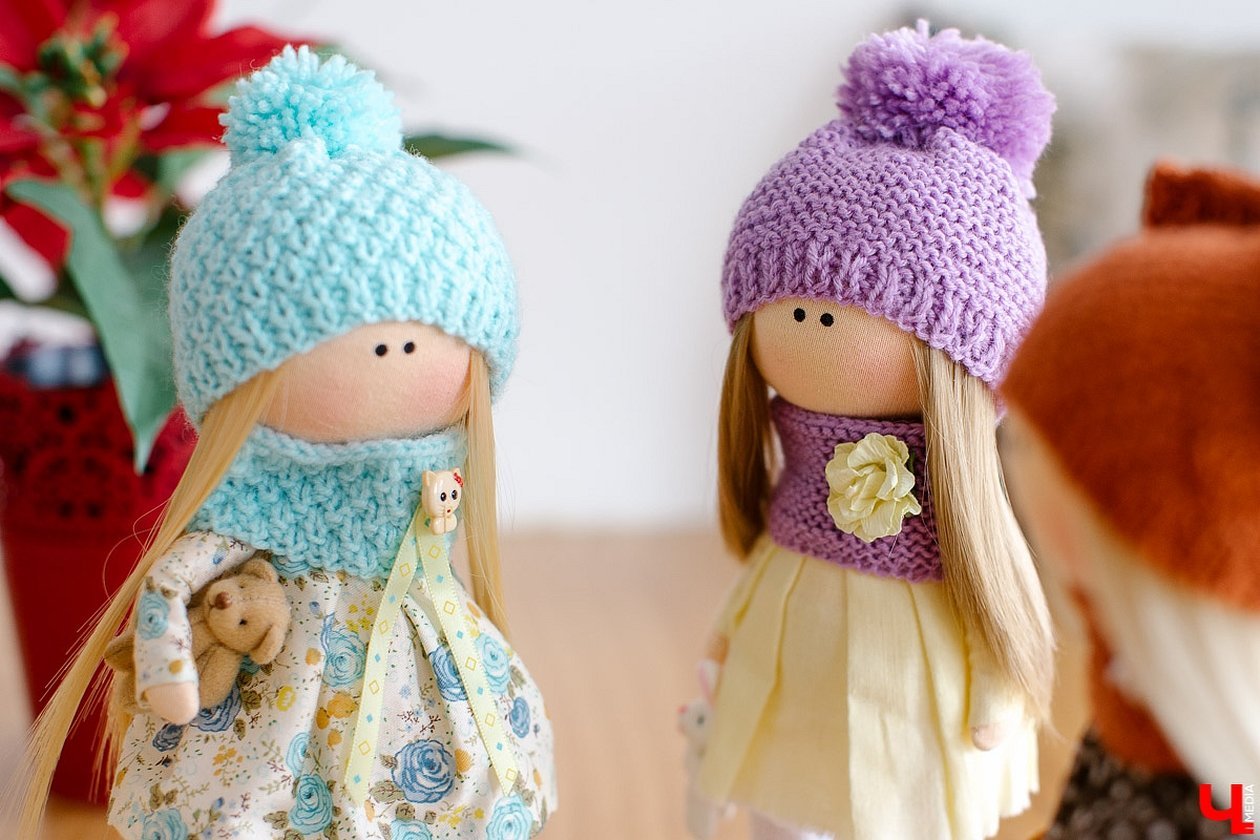
- beady eyes;
- blush on the cheeks;
- complex costumes;
- absence of mouth and nose.
Important! Some believe that the absence of a mouth and nose allows the doll to always be on the same emotional wavelength as its owner.
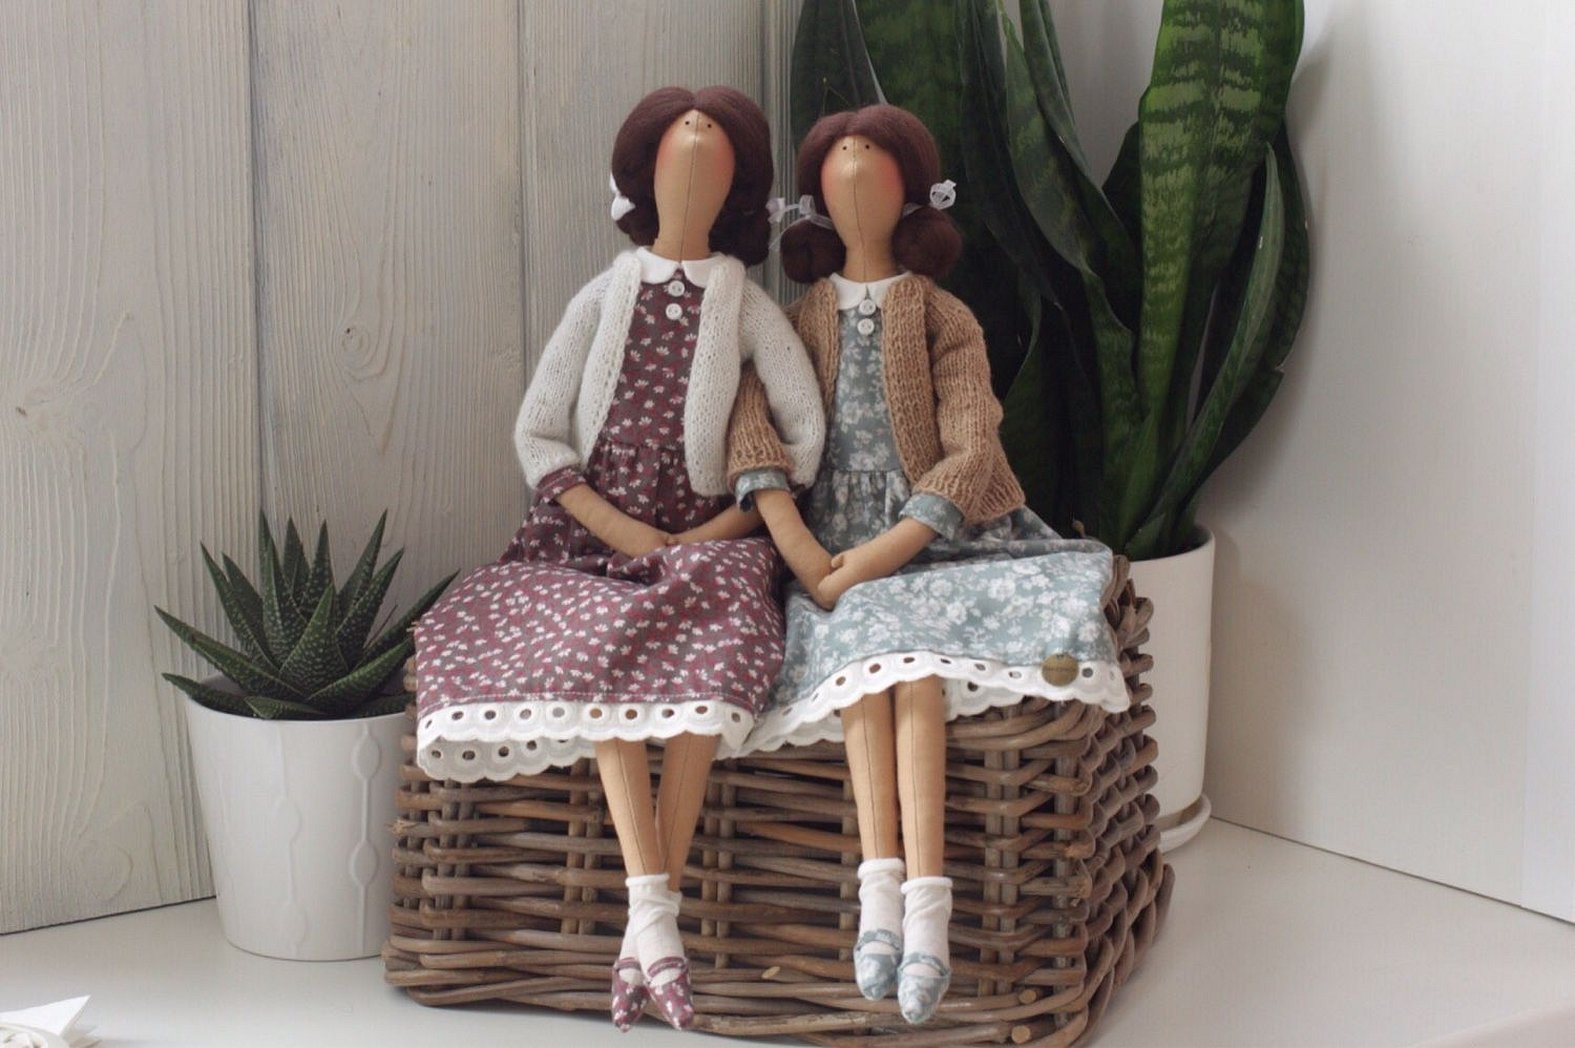
But the most important difference between this brand's products and others is a special vision of beauty. Tone Finnanger wanted her dolls to be more like ordinary girls and young women. She sought to convey the character of each one so that they would be unique. Therefore, unlike other craftswomen, Tone paid a lot of attention to the design of clothes and accessories. Finnanger could create a doll that is not afraid to stand out from the crowd, and therefore can wear an evening dress with rubber boots or sneakers.
Tilda dolls cannot be confused with other products. They look cute, elegant and at the same time a little ridiculous. A small head, button eyes and long arms and legs leave no one indifferent.
Also, preference for soft materials was not given by chance. Taking the doll in hand, the buyer gets pleasant tactile sensations and does not want to part with the new toy. Tone Finnanger did not mass-produce toys, thereby preserving their character and uniqueness. Therefore, her store has many patterns and books with recommendations for creating a Tilda doll yourself.
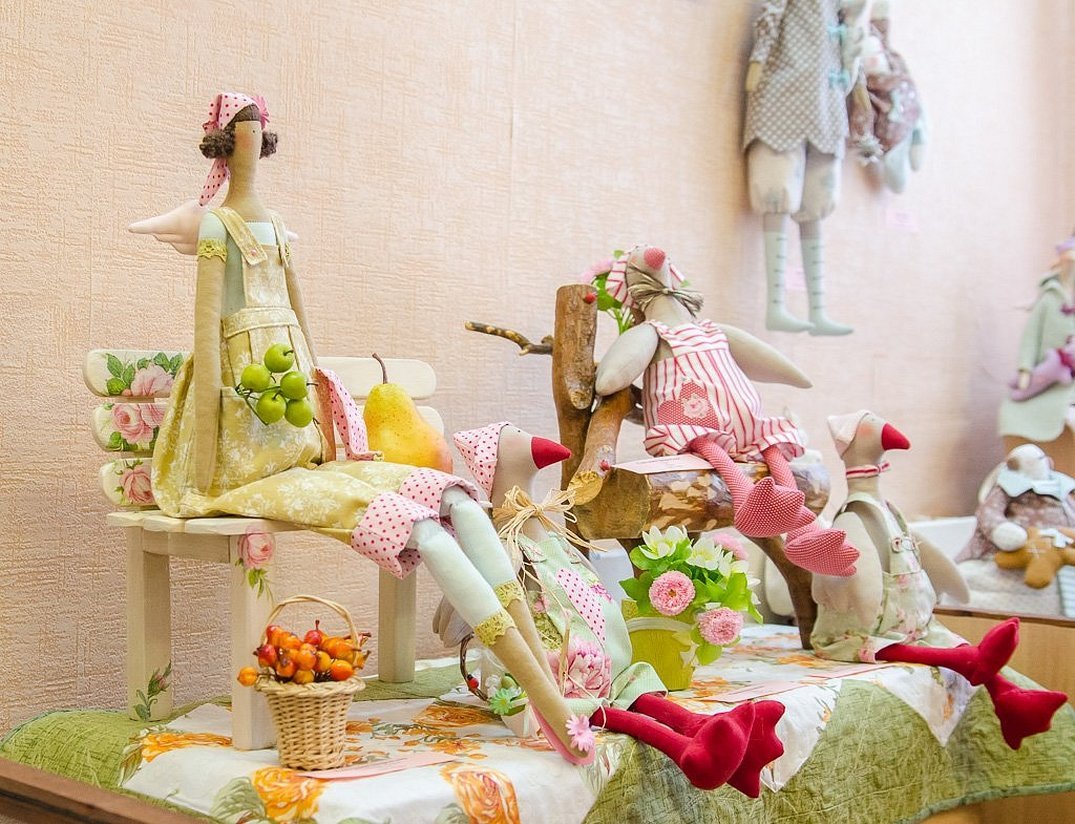
Important! Under the Tilda brand, they create not only dolls, but also animals. They turn out to be just as touching and charming.
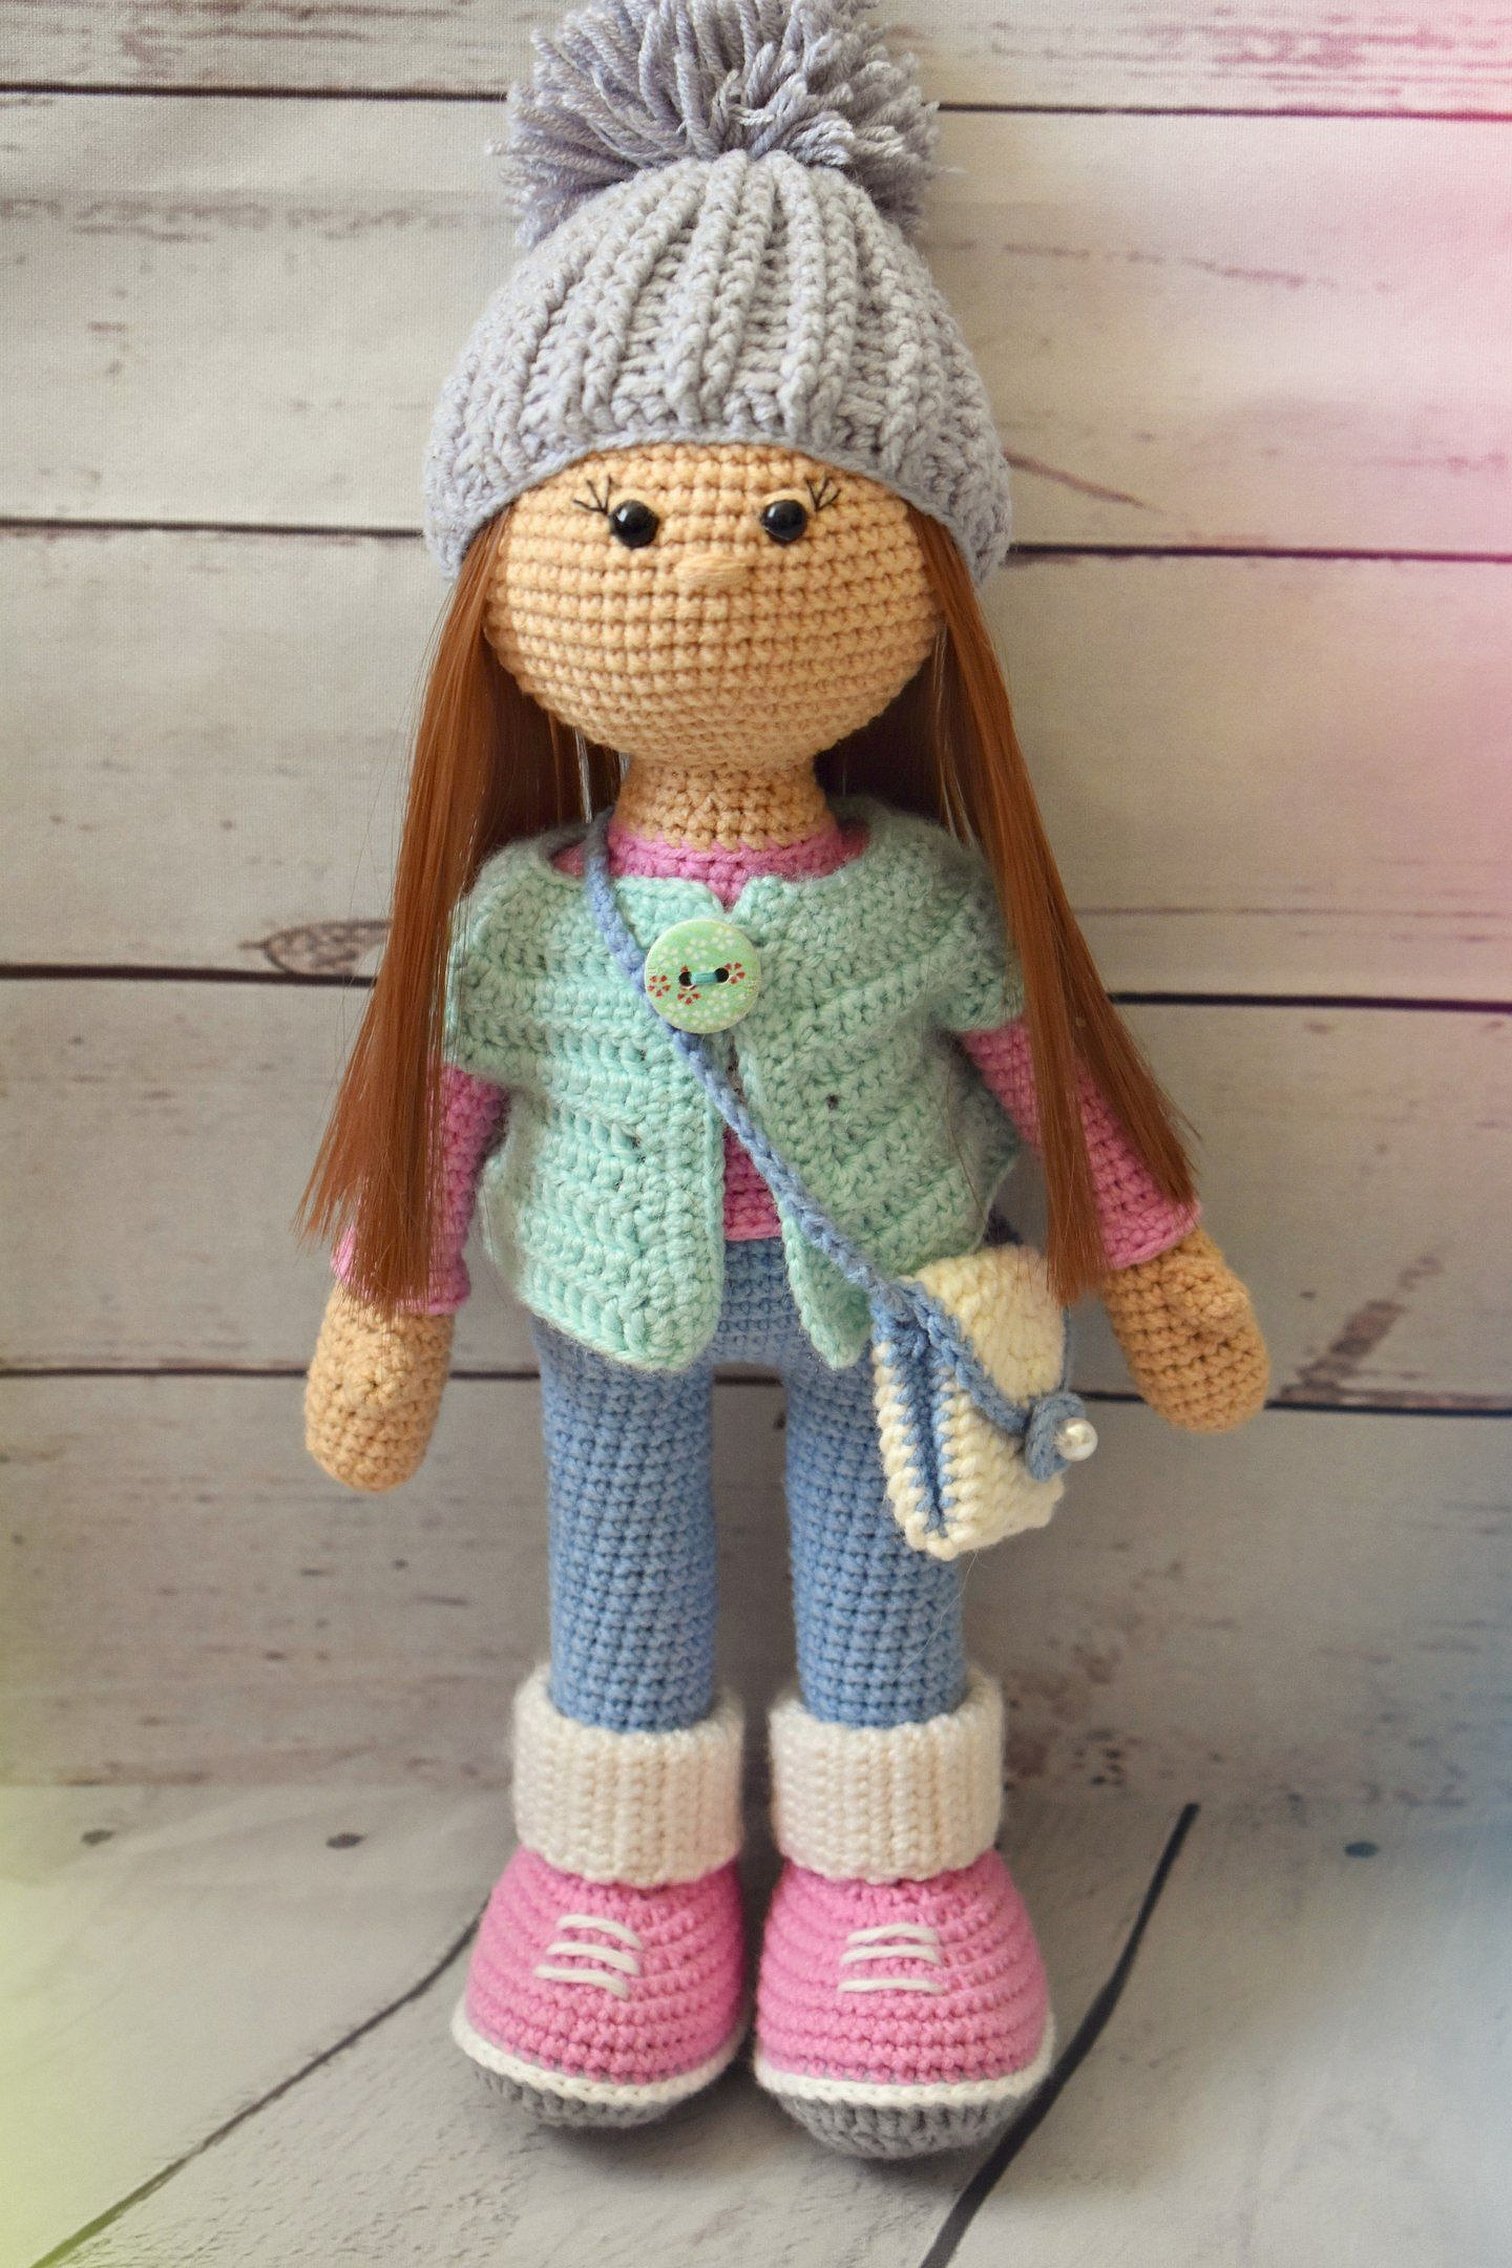
What threads are suitable for knitting dolls: material, thickness
To make an amigurumi toy, you need to select certain threads. Then the process will be easier and the crocheted tilde doll will turn out neater:
- Acrylic threads are the most suitable type for amigurumi. They are hypoallergenic, so they can be used to create children's toys. It is easy to make a product from the threads, and if necessary, it is easy to unravel. The disadvantages are the unpleasant sound that appears when knitting and a small number of bright colors.
- Cotton threads are a good choice for experienced needlewomen. Large selection of colors, thickness, natural material. Cotton threads are very easy to work with. The disadvantages include the fact that they are poorly combed, all the shortcomings in the technique are immediately noticeable.
- Mohair is difficult to work with, so it is suitable only for experienced needlewomen. But the result exceeds all expectations.
- Iris is only suitable for creating small toys.
Important! Smooth yarn is recommended for beginners, while fluffy threads are more suitable for experienced needlewomen.
In addition, you need to pay attention to the quality of the threads. If they have knots or unevenness, they should not be used for knitting toys. A product made from such yarn will not only be sloppy, but the proportions of a miniature toy may be distorted. There are no restrictions in choosing colors - everything depends on the image you have in mind.
Knitted doll patterns
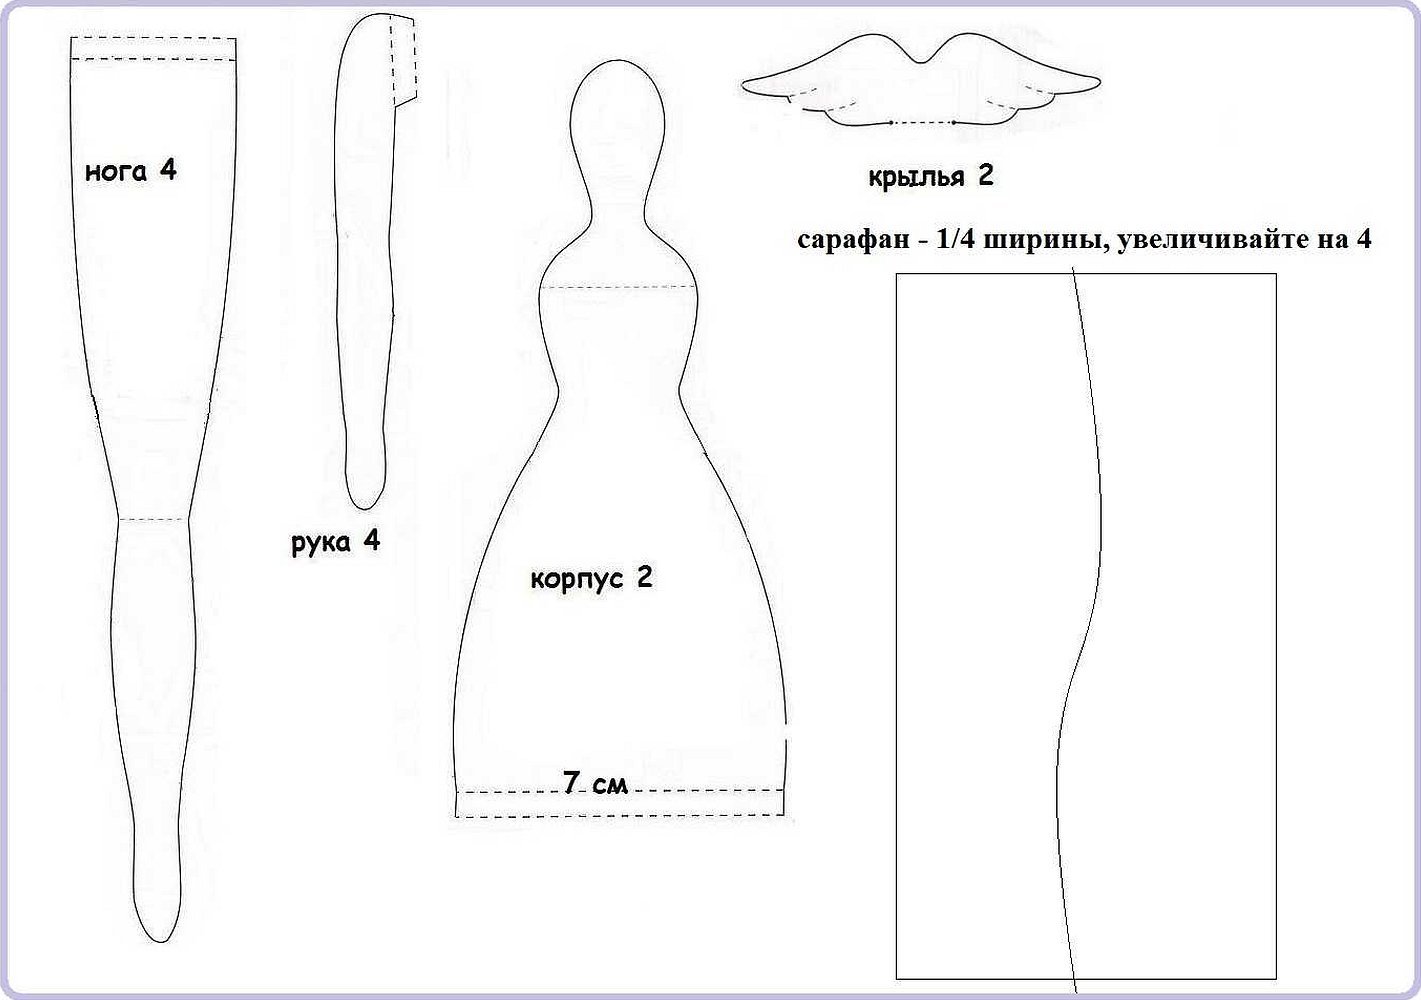
You should start working by preparing a pattern. For this, you will need colored pencils to help you choose the right threads. It is also better to choose squared paper to make it easier to choose a knitting technique.
It is necessary to write exactly how the master plans to knit. For convenience, the following symbols are used:
- VP – air loop;
- SC – single crochet;
- ССН – double crochet;
- P – increase;
- U – decrease.
Also, all the details need to be knitted separately:
- legs;
- head;
- hands;
- hairstyle;
- torso;
- cloth.
For each detail, it is necessary to make a separate knitting pattern. All elements of the tilde doll pattern are connected at the end of the work.
Description of the knitting pattern of a tilde doll
To knit a tilde doll, a needlewoman should master some basic techniques:
- "Amigurumi ring", which is the basis for the small parts of the doll. Thanks to this, there are no holes in the base of the round parts;
- You will also need the ability to knit in a spiral, without making lifting loops. The product will look neater.
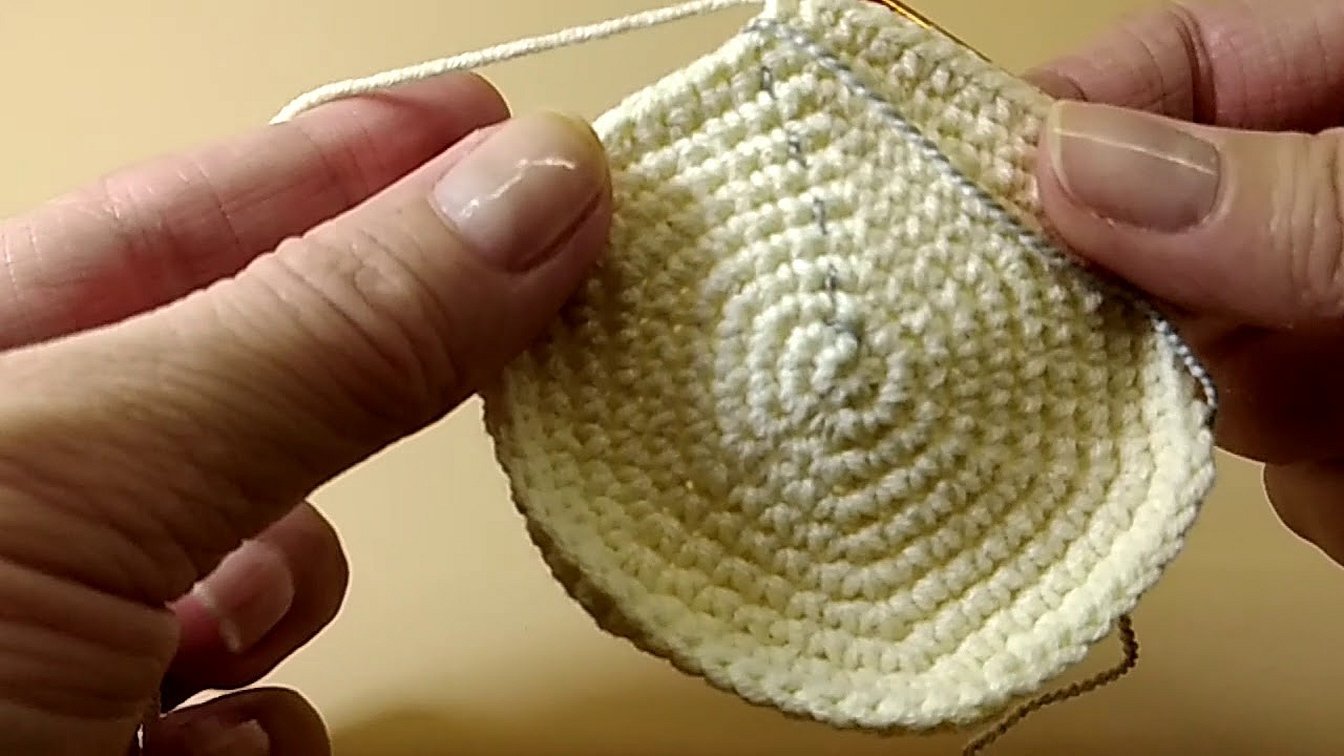
You need to start knitting a tilde doll from the head. The first step is to create an amigurumi circle. The number of rows depends on the size of the product. Here is a guide to creating a tilde doll:
- 1 row should be knitted with single crochet stitches;
- to the 2nd row you should make an increase of SC;
- up to row 26, use flesh-colored threads, knitting sc and alternating increases and decreases every 3-4 rows;
- starting from row 26, the threads should be replaced with colored ones. The knitting technique is similar to the one described above. In this way, you need to knit until the end of the piece up to row 40, then fill the head piece with filler;
- then the process of creating the body begins. The technique is similar to knitting the head.
At the end of the work, the body also needs to be filled with stuffing, and the edges need to be connected using a hook. The head and body should be connected and continue to create a toy.
The next part is the legs, they should be knitted from the bottom up. You should start working with an amigurumi circle. The manufacturing technique is similar to the previous part. When creating a tilde doll, you should remember that its legs and arms are long and thin. At the end of the work, the part is also filled with filler.
The arms should be knitted in the same way as the legs. But the number of rows should be less than for the legs. The part is also filled with stuffing and attached to the body.
Attention! It is worth taking care of the hairstyle, clothes and accessories separately. The Tilda doll can be dressed in a dress or trousers - it all depends on the character that the craftswoman wants to convey.
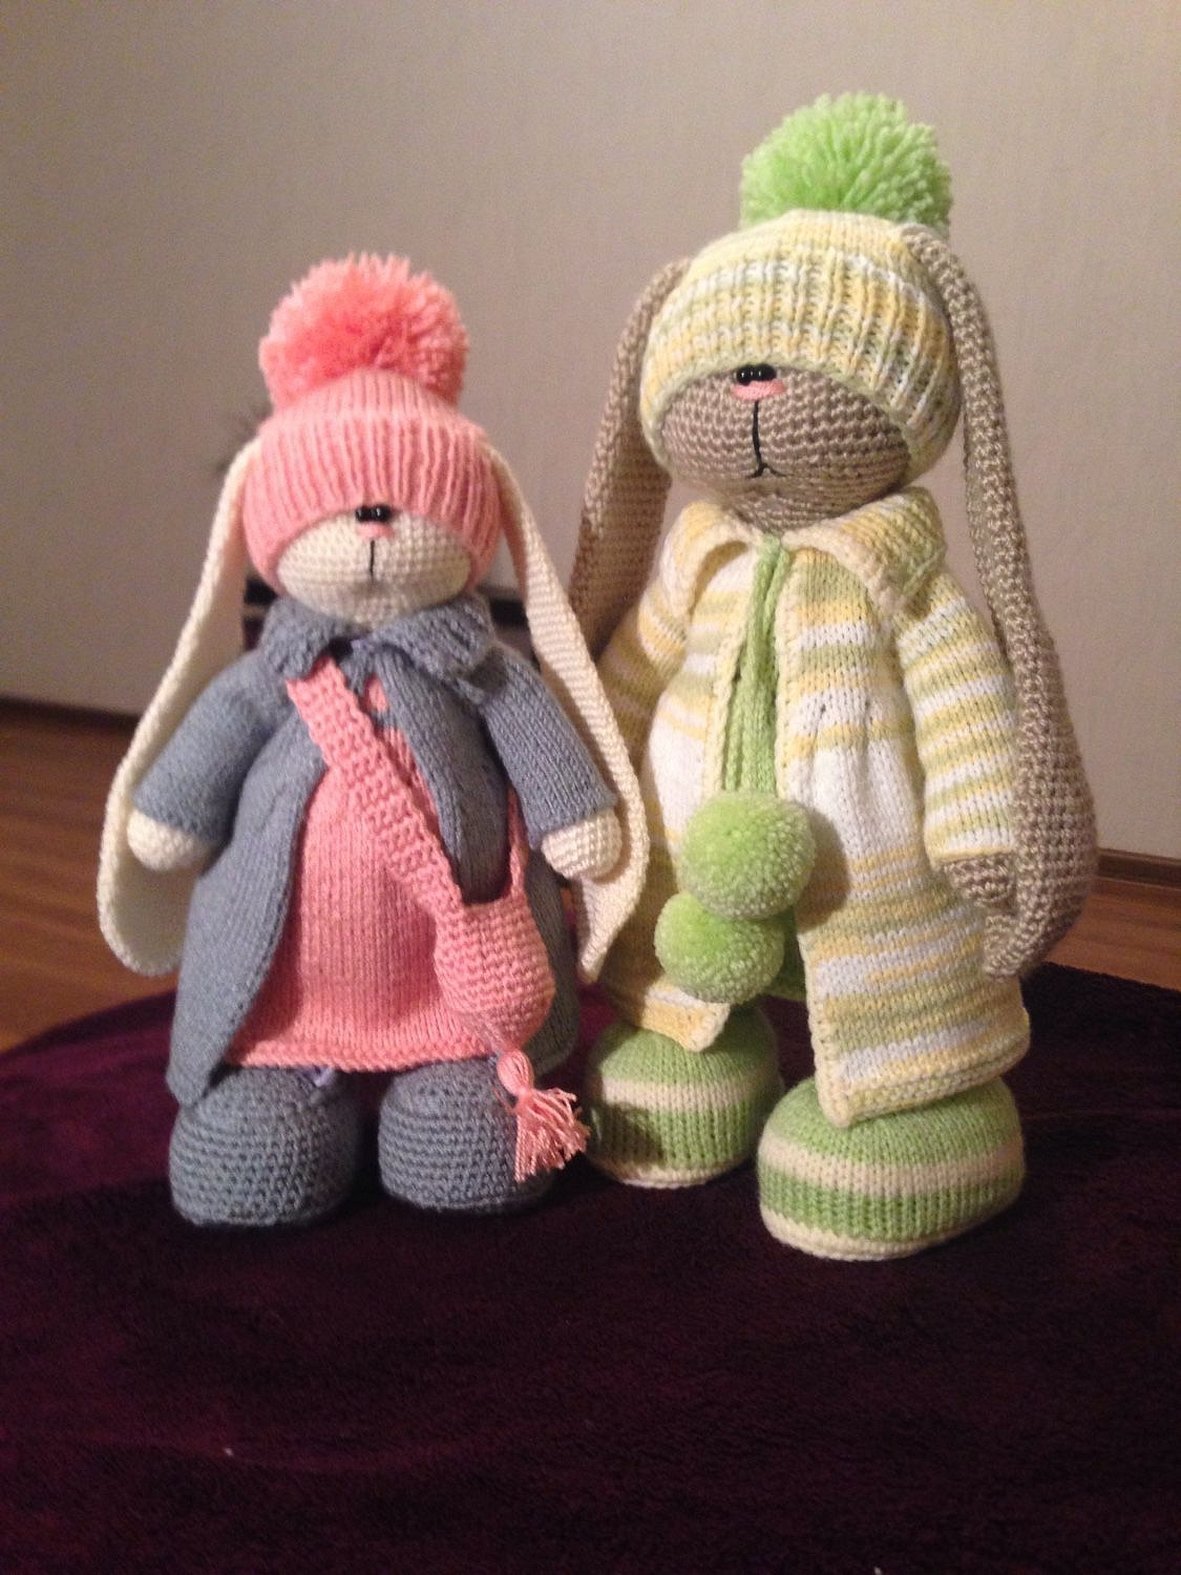
This pattern is suitable for making a teddy bear, a bunny in this style. Only in the process of creating a pattern of a bunny you need to add 4 details - ears. The bunny will turn out no less touching than other products.
A crocheted Tilda doll is not just a toy, it is often used as an interior element. Also, under this brand, toys of the male gender are produced, for example, the Nutcracker, Pinocchio. In this technique, you can make animals, insects, birds - the main thing is that the toys turn out touching and unique.


