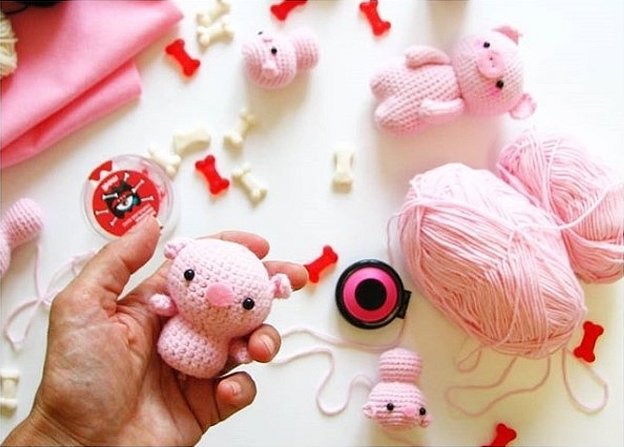
If you have the time and desire to please your child with a high-quality toy of unique design, you can knit it yourself. The ideal option would be a pig crocheted from multi-colored threads. There are many models that even a novice needlewoman can recreate.
Selection of yarn, tools for knitting pig

Before you crochet a pig, you should take care of choosing the right tools and materials. Particular attention should be paid to the selection of yarn, as the appearance of the toy will depend on this.
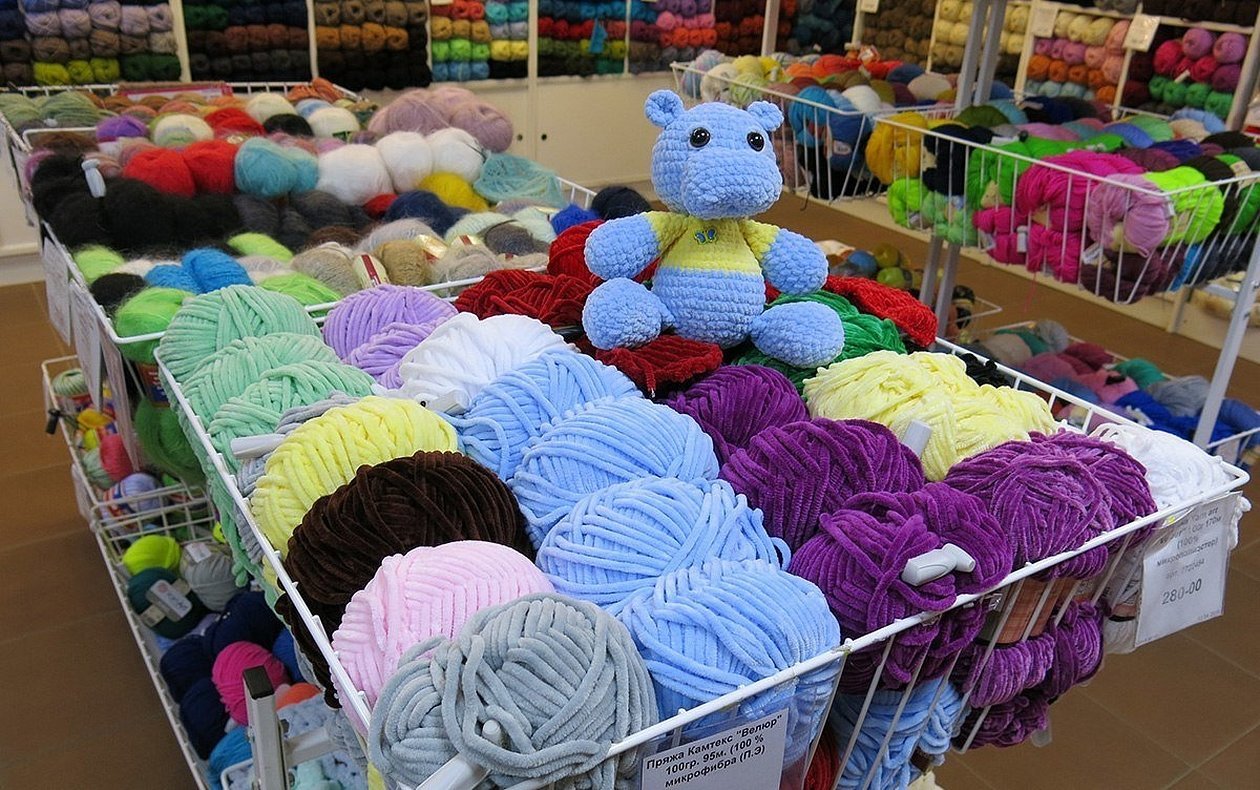
Please note! The easiest and fastest way to knit toys is from plush yarn. This thread is quite thick and soft, it lies neatly during the process of forming loops. The material is pleasant to the touch and does not fade for a long time after washing.
A beautiful crochet pig will come out of a simpler and cheaper yarn - children's acrylic. It is easy to work with such a thread. At the same time, the toy will be pleasant to the touch.
It is recommended to select a hook in accordance with the thickness of the yarn. If there is no match between the knitting device and the material, the loops will be uneven. This will significantly affect the appearance of the toy.
Types of toy knitted pigs
Crochet pigs can be not just a soft toy, but also a functional thing: piggy banks, bags, potholders, pads, wallets. The main thing is to show imagination, and you can end up with a variety of toys.
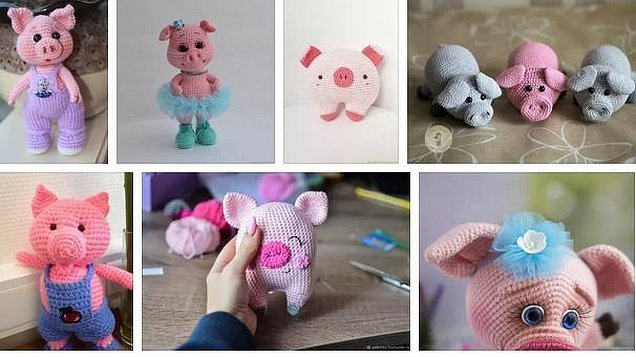
You can make crochet pigs using a variety of techniques: amigurumi, the most common circular crochet.
Master classes with detailed descriptions of knitting patterns
To get a cute knitted pig, it is worth using detailed master classes (mk), which describe all the stages of work in detail. Here are some of them.
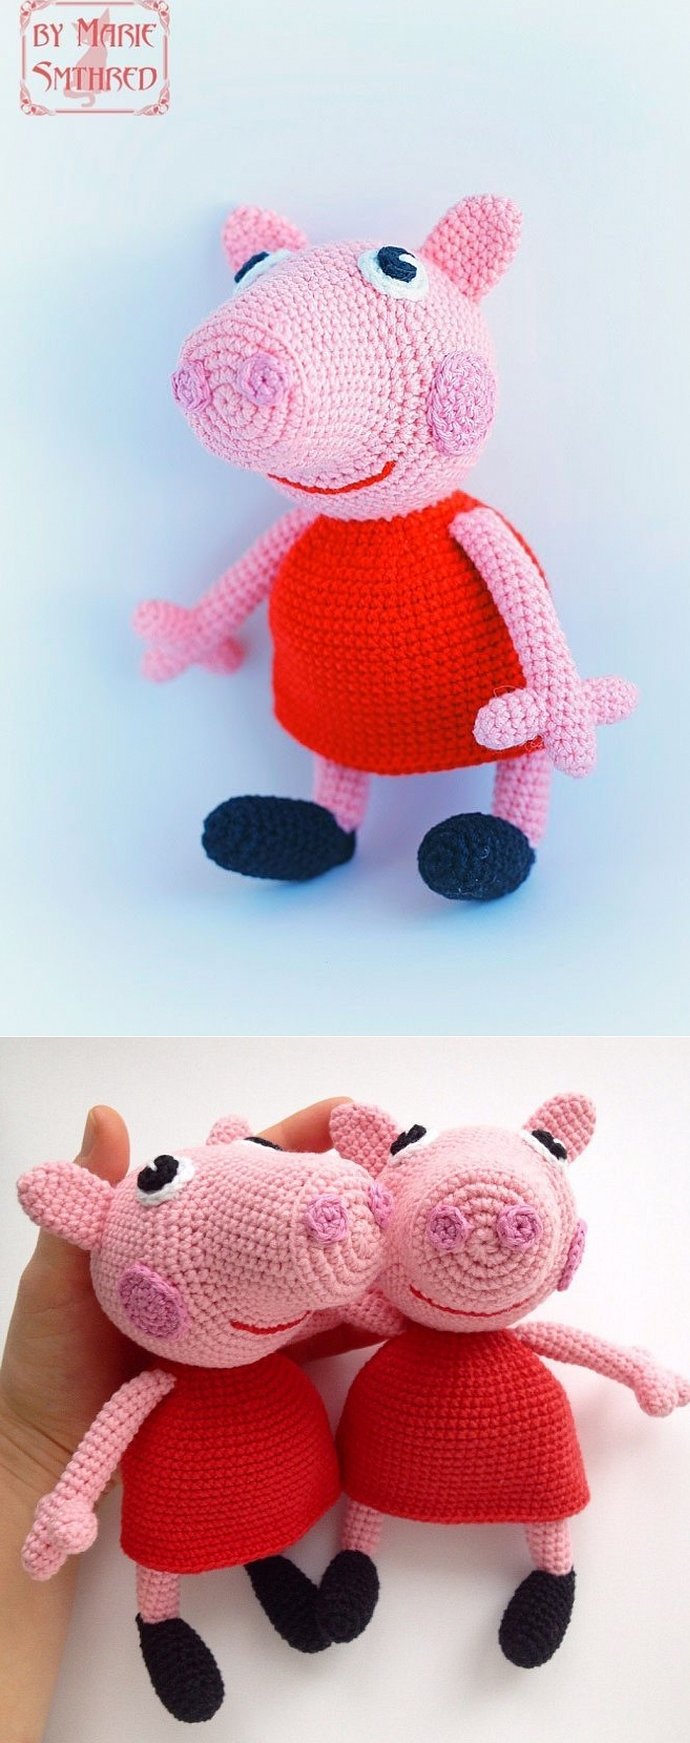
Peppa Pig and George
The most popular soft toy model that all little girls want is Peppa Pig. Often, such a toy is sewn from low-quality material or is quite expensive. But this is not a problem for a real needlewoman - Peppa can be crocheted. A detailed master class on making a toy is as follows:
- First, knit the legs. You should make a chain of 10 air loops (AL) and close them into a ring. Work 15 rows of single crochets (SC) to form the required length of the part. Then you need to secure the thread with a knot and cut off the remainder, leaving about 10 cm of the tip for further fastening to the body. The arms are formed in the same way.
- The next step is to make the shoes. You need to make a chain of 4 VP, and then close it into a ring. Next, you need to knit sc with the following increases: in the first row, knit 2 sc in each loop, then make the same increase in the next 2 rows and knit 3 more rows without changes. Then make decreases according to the same principle as the increase. Before closing the part, you need to fill it with padding polyester. Sew the shoe to the leg. The same must be repeated with the second limb.
- Making the body. You should make a chain of 2 VP. In the first cell you need to knit 8 SC on the other side, and in the second - do the same. The result will be a circle. Then in the 5 subsequent rows you need to make an even increase of 8 loops. Then 8 tiers are formed without changes. When the last row is ready, you need to make decreases first by 2, then 6, 5, 4, 3 loops in each row.
- Making a dress. You need to introduce red yarn and continue knitting in the opposite direction. In 5 rows add 3 loops. Then work without changes 15 rows and finish the work.
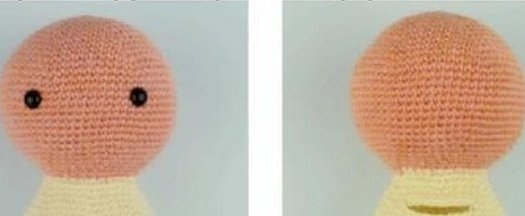
- Head. Cast on 3 VP, close into a ring. Knit 5 rows with an increase of 6 loops. Then knit 1 tier without increases, capturing only 1 thread of the loop of the previous row. Work 6 more tiers without changes. Then again add 2,3,4,5,6,7 sc in each spiral. Then make a decrease according to the same instructions as the increase. Before closing the hole, fill the part with filler.
Additional information! The cheeks, eyes and mouth are embroidered on the muzzle. The cheeks can be made by knitting a circle. The eyes are often made in the same way.
Next, assemble the product by sewing all the parts together. It is best to use the same yarn that was used to make the base of all the parts – pink.
Knitted amigurumi pig in a dress
Toys made using the amigurumi technique are very popular. This knitting principle is especially relevant when making voluminous round toys.
The master class on creating a pig in a dress is as follows:
- Handles (2 pieces). Form an amigurumi circle and knit 6 sc into it. In the next tier, add 6 sc. Work 25 spirals without changes. Finish the work by securing the thread.
- Legs (2 pcs.). Start in the same way as the handles, but after the first increase, make 3 more with 1 loop in each row. The next 3 spirals are knitted without changes, and then decreases are made by 1 sc until there are 12 loops left again. Finish the work. The second leg is knitted in the same way, but the working thread is not cut off.
- Body. On the working thread from the second leg, dial a chain of 10 VP. The last loop is knitted through the loop of the second leg. Work the chain on one side, and then knit it on the other. In each subsequent tier, add 6 loops until their number reaches 44. Work another 5 tiers without changes. Then decrease in the same sequence.
- Next, make the head. Create an amigurumi ring, into which 6 sc are knitted. Then 2 are knitted into each column, and this is done until there are 66 loops in the tier. Then work 6 rows with this number of loops, and then decrease according to the same instructions as the increase. Finish the work.
- Ears. Cast on VP. Add 2 loops in each row until you have 10 of them.
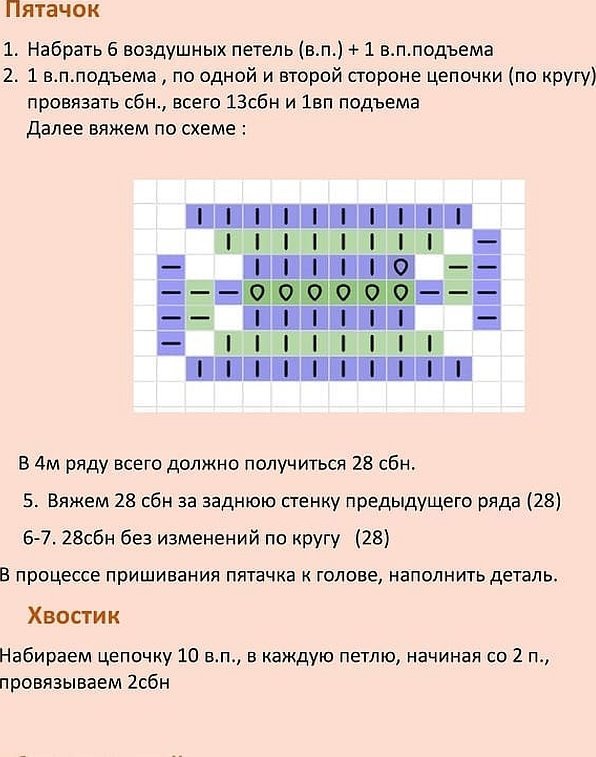
- The piglet is knitted according to the pattern and description presented below.
Please note! Before finishing each detail (except the ears), you need to fill it through the hole with padding polyester, and only then form a knot.

Next, all the parts are assembled by sewing.
The next step is to make the dress. Make a chain of 48 VP, close it into a ring, knit 10 rows with double crochets (DC), then decrease 2 DC until there are 16 DC left. Then you need to form openings for the arms. Divide the work into 4 equal parts. Having knitted the first 4 DC, form a chain of VP and secure it through 4 cells. Then again work 4 DC and again make a rise. The next tier is simply knitted without changes.
A small pig for beginner knitters
A small crochet pig can serve as a Christmas tree decoration or a keychain. Even a novice needlewoman can make such a toy if you use the detailed description:
- The work begins with making the crown of the head. Make a ring of 4 VP. The next 5 rows add 2 SC in each loop. Then work 3 rows without changes. Then make decreases until there are 10-12 loops left. Fill the figure with padding polyester.
- Next, the transition to the body is formed. 2 rows are knitted with 10 sc, then 6 rows are formed, adding 2 loops in each. The part is filled with padding polyester, and knitting sc through 1 loop of the previous row, close the "bottom" of the body.
- Knit 4 strips of SC from 4 loops (2 rows are enough). These will be the ears and upper paws.
Next, sew on the ears and paws, and attach 2 beads instead of eyes.
Please note! The patch can be embroidered.
The Pig with a Hiding Place (translated from English)
A simple and beautiful version of a piggy bank (a toy with a secret compartment) is made by crocheting the base from yarn.
The step-by-step principle for making a piggy bank is as follows:
- A chain of 4 VP is collected, closed into a ring. In each subsequent row, 2 SC are added to each loop. When their number reaches 32, stop and simply form 3 rows with this number. Then a gradual decrease to 10 SC is made.
- Add yarn of a different color and knit the body in a circle, but with an even increase of 3 sc in each row (4 rows). Then knit 8 tiers without changes. It is worth considering that in one of the parts it is necessary to make a recess for a coin.
- Then knit a bag the same size as the pig's body. Sew the container on the inside - the neck of the bag is sewn to the notch on the pig's back. Fill the head and body with padding polyester.
- From the edge of the sweater, it is worth introducing a thread of the same color as the toy itself. Knit with a decrease to close the part. Ears, arms and legs are knitted separately. Subsequently, all parts of the product are sewn together.

Please note! This is the easiest way to create a piggy bank in the shape of a cute pig.
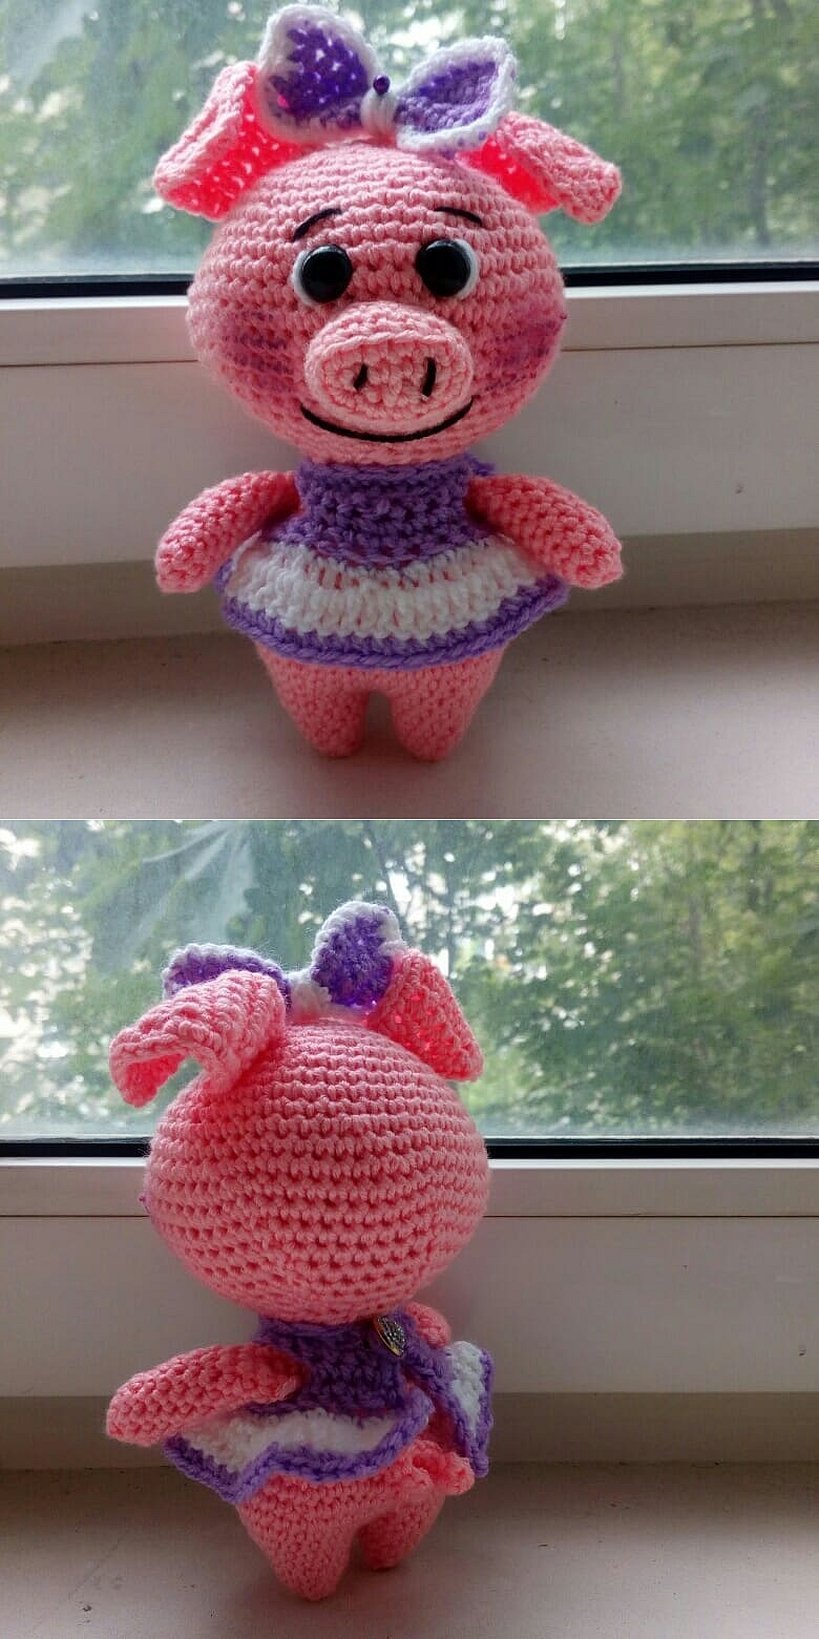
Pig in a dress
A pig in a dress is a joy for any girl who loves to dress up her toys. If you make the dress removable, then over time you can expand the wardrobe of the "soft fashionista". Stages of making a pig:
- Knit the head with the body and legs. Cast on 4 loops in an amigurumi ring, and in each subsequent row increase the number of sc by 2 times. When the number of loops reaches 32, you need to work 1 tier without changes, and then decrease - in each row, 4 sc are successively removed.
- When there are 8 sc left, you can start forming the body. In the first 5 rows, add 2 loops, then 3 rows of 8 loops. Then decrease (3 rows of 2 loops). Next, divide the knitting into 2 parts to form the legs. Fill the workpiece with padding polyester.
- The ears, snout, and arms are knitted separately and sewn to the base.
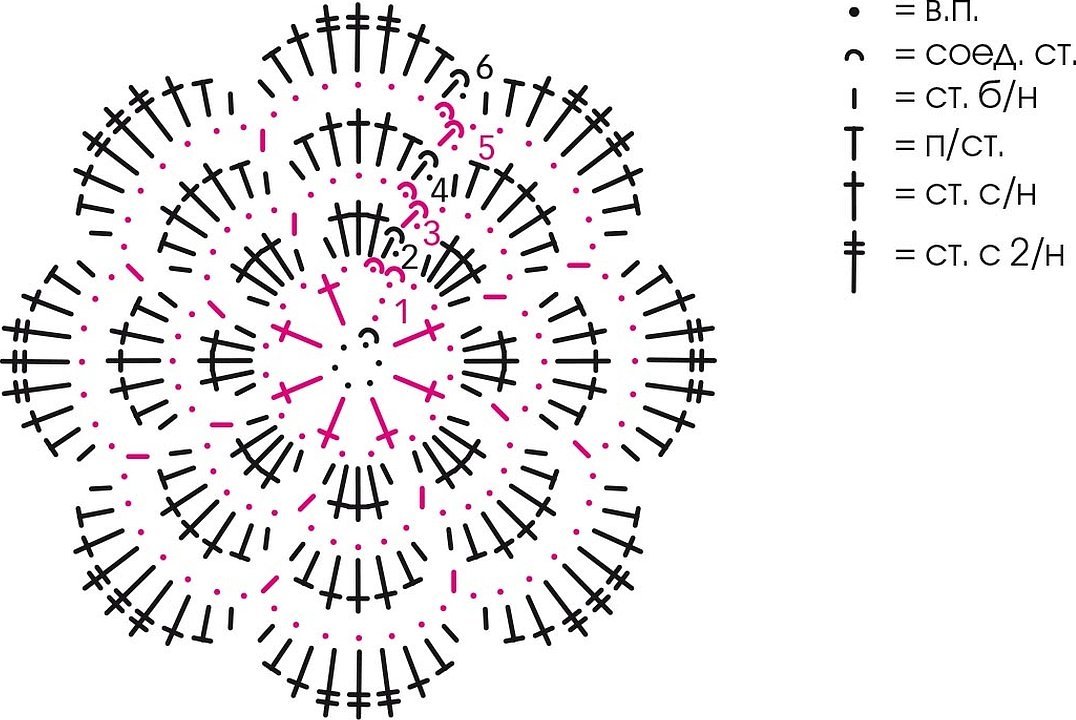
The next step is to make the dress. You can knit it using the pattern below.
It is not necessary to sew the dress - it is enough to sew a button on the top of the product and a loop on the other part.
Knitting pigs will become an interesting activity, especially since there is a huge variety of models and options for making soft toys of this type. Thanks to such diversity, the pig knitting marathon will be impossible to stop. You can make a pig in a dress, a piggy bank, a pig bag and much more.


