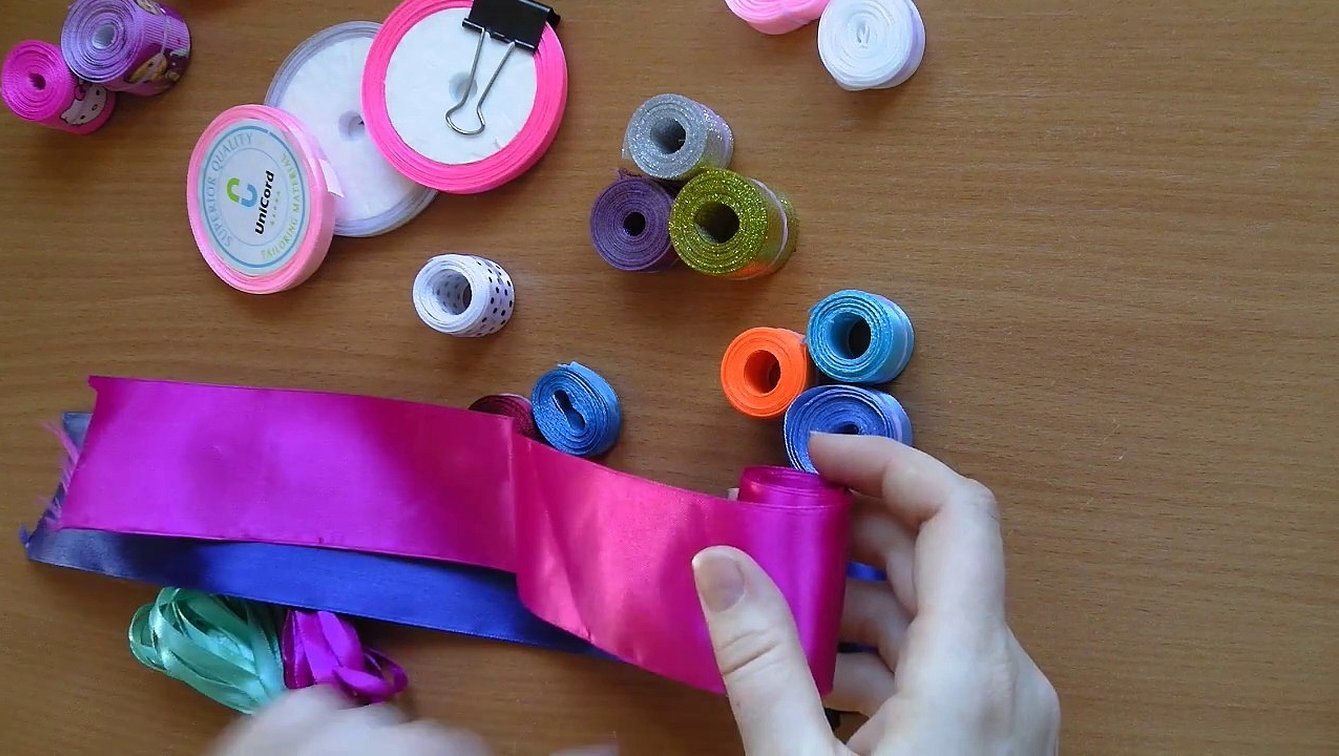
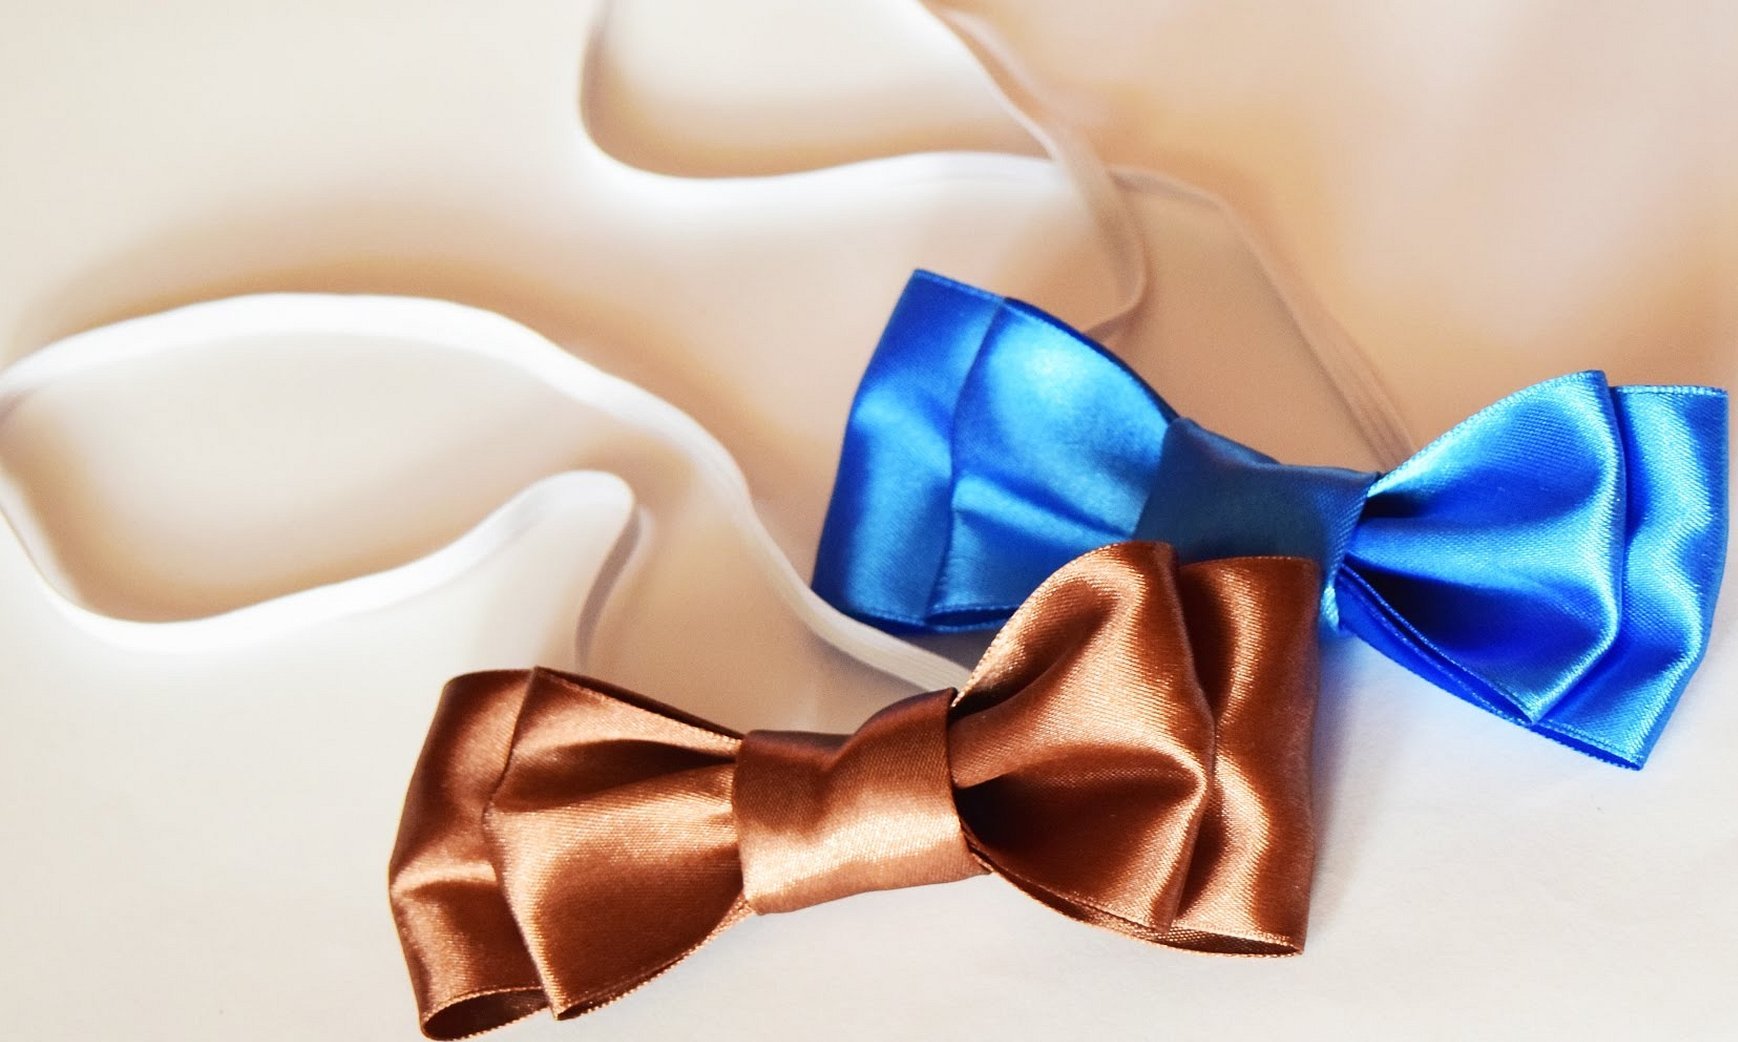
A do-it-yourself fabric bow can be a great accessory that can decorate clothes, interior, hair, or decorative items. Making a decoration is very simple, and you need a minimum of tools and available materials. There are several patterns for making the base - the choice will depend on the functional purpose of the bow.
Types of bows made of fabric and ribbons
A fabric bow can have any shape and be made from any material. You can create designer examples of products.

Conventionally, we can distinguish several types of bows, which are made from fabric and ribbons:
- single-tier and multi-tier;
- double-ended and multi-ended;
- on the formation of the "core".
Please note! Types can be determined not only by the design, but also by the type of fabric or tape used.
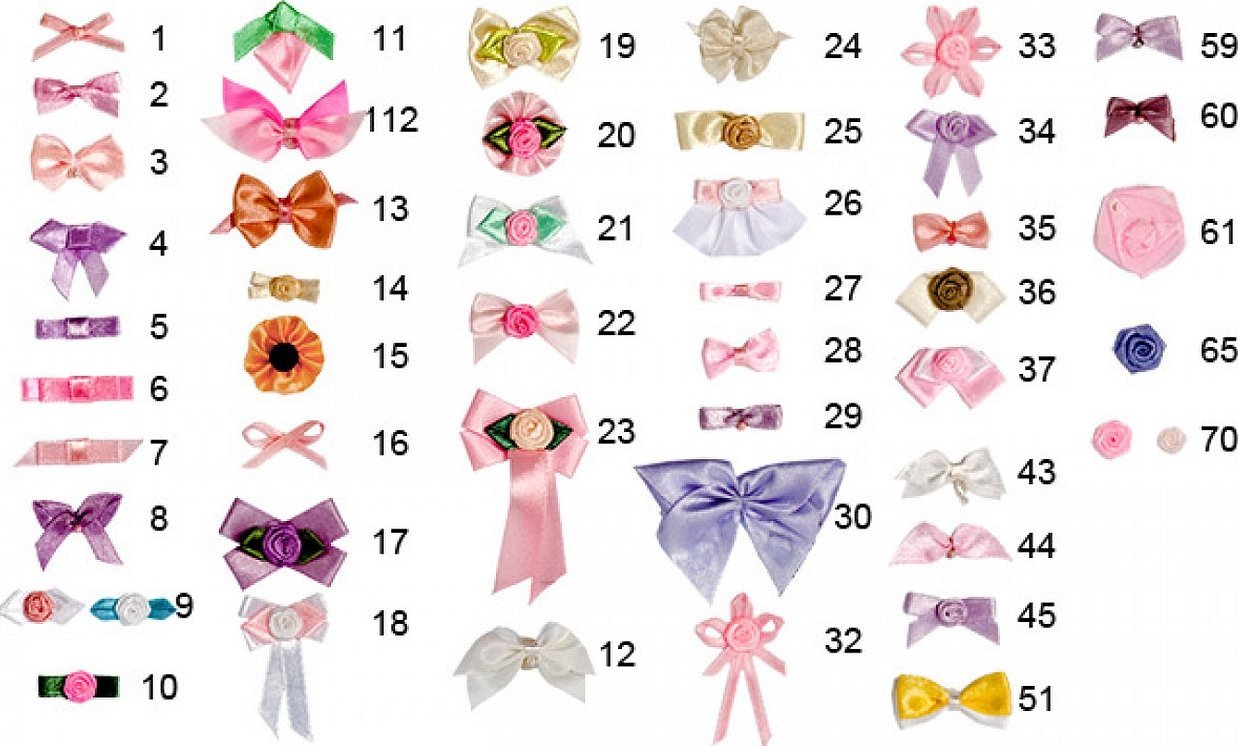
The shape of the product can be drawn out completely freely. Various elements can be used for decoration: beads, sequins, rhinestones, lace, textile paints.
Knotted Batik Technique
The knotted bow technique is used to effectively decorate a scarf on the head or neck. How to make a bow from fabric using the knotted weaving technique:
- You need to make loops from the ends of the strips of fabric.
- Pass them between each other, securing the lower and upper ends in the second loop.
- Tighten.
The elegant figure in the form of a bow is ready.
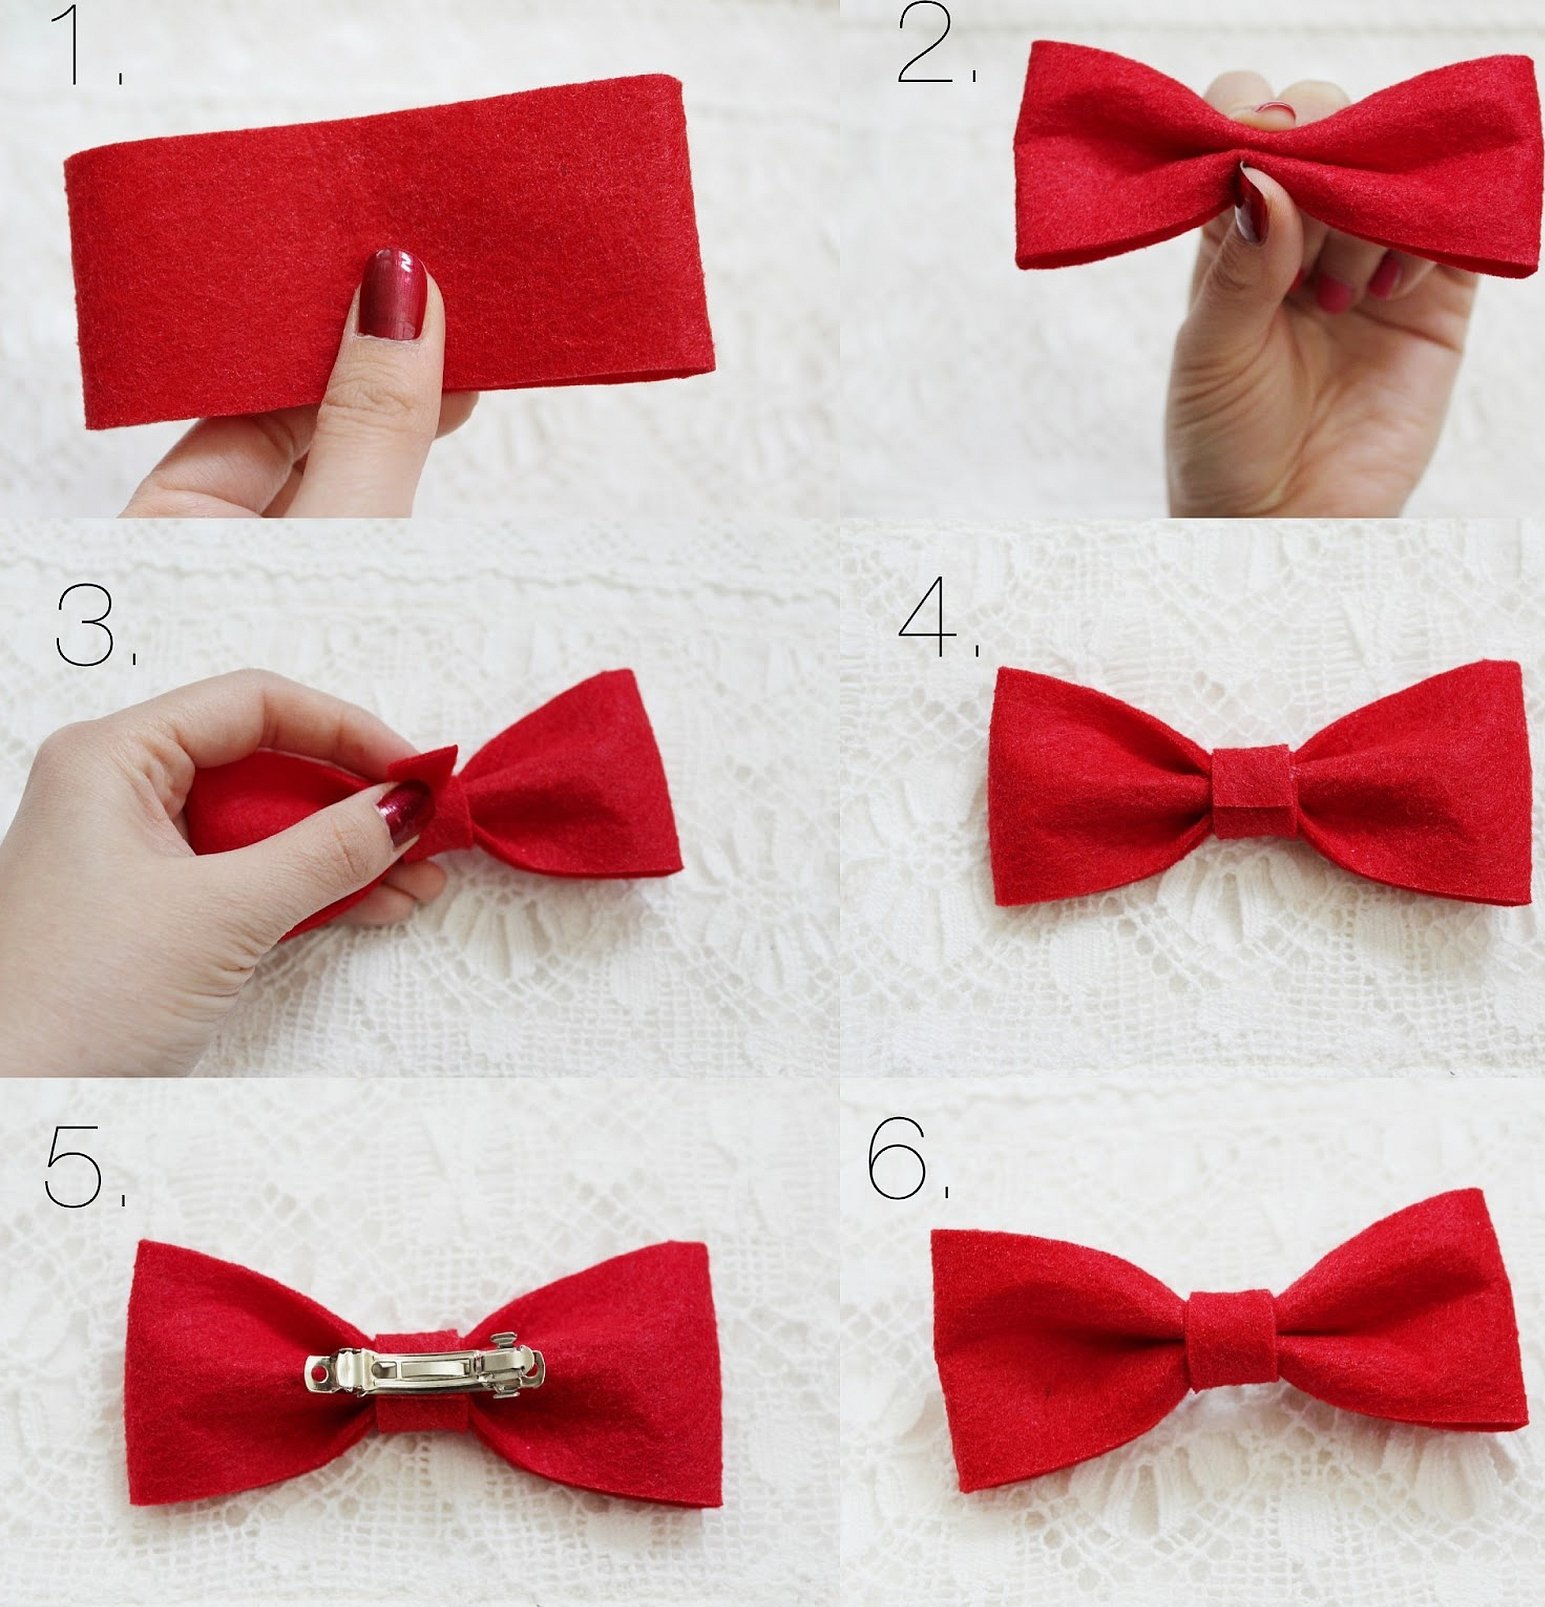
How to sew a bow from fabric
There are many techniques for making textile decorations. Some are simple, while others are complex and only experienced craftswomen can do it. A simple algorithm for sewing a bow from fabric:
- You need to cut a strip of fabric. The length of the cut and the width are selected individually - the size of the product will depend on these parameters.
- Treat the edges. If the fabric allows, they can be singe over a candle.
- Fold the piece so that the cuts are in the middle of the strip.
- Iron all folds to form a “pattern”.
- Grind the edges. You will get an oval if you lay out the workpiece. When assembled, it is a two-layer rectangle or square.
- Find the middle of the rectangle and wind it with a thread. You can stitch it by pulling the textile together.
- The result will be a complete element. To hide the thread, you can glue or sew a bead or strip of fabric on top of it.
Important! You need to choose high-quality fabric that will not deform or fade after washing or cleaning the product.
More complex techniques involve creating a product from 3 or more parts.
How to tie a beautiful bow from satin ribbon
Recently, clothing models with a belt in the form of a satin ribbon have become popular. Even clothes for dolls can be decorated with such an accessory. Subsequently, there is a problem with tying the ribbon, since the element does not always turn out attractive.
Scheme for tying a beautiful bow from satin ribbon:
- Place one end of the tape on top of the other.
- Tie a knot so that the same end of the ribbon remains on top.
- Form an eyelet from the ribbon that was underneath.
- Place the second end of the fabric where the knot will be formed.
- When making a knot, pull out the “eye” of the second ribbon.
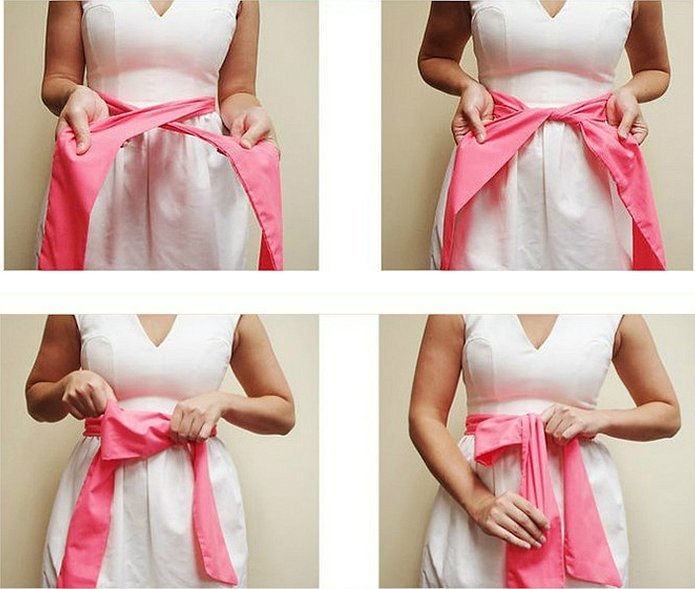
The lush accessory element is ready!
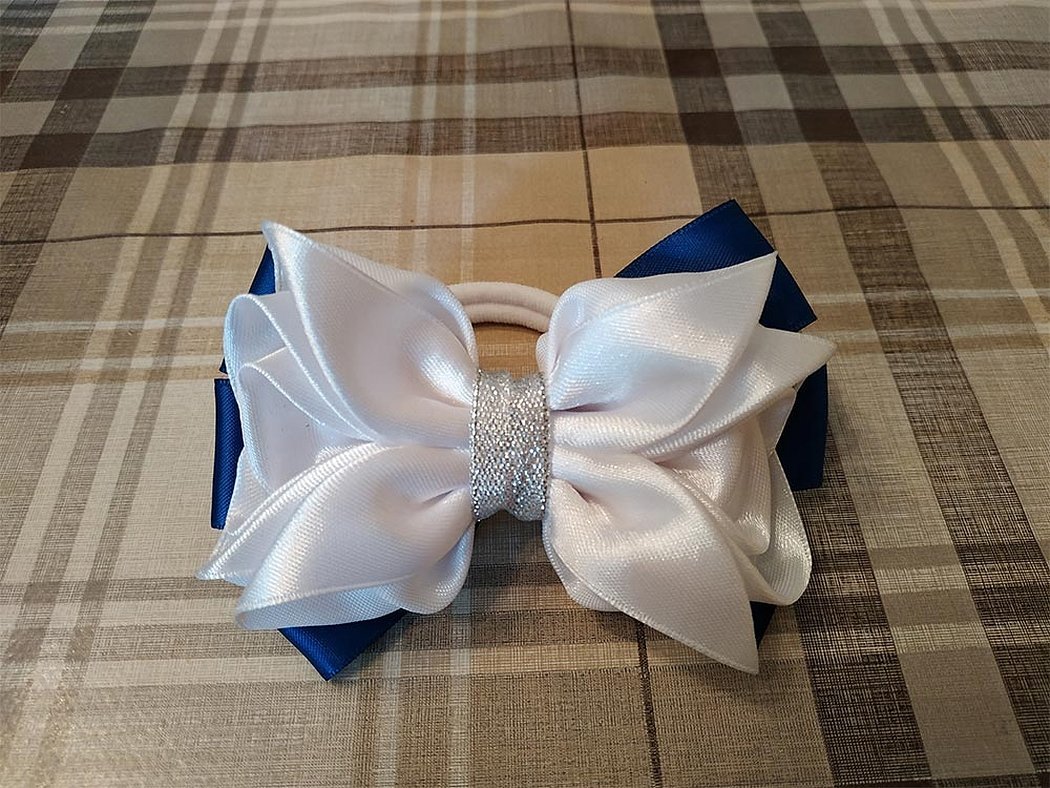
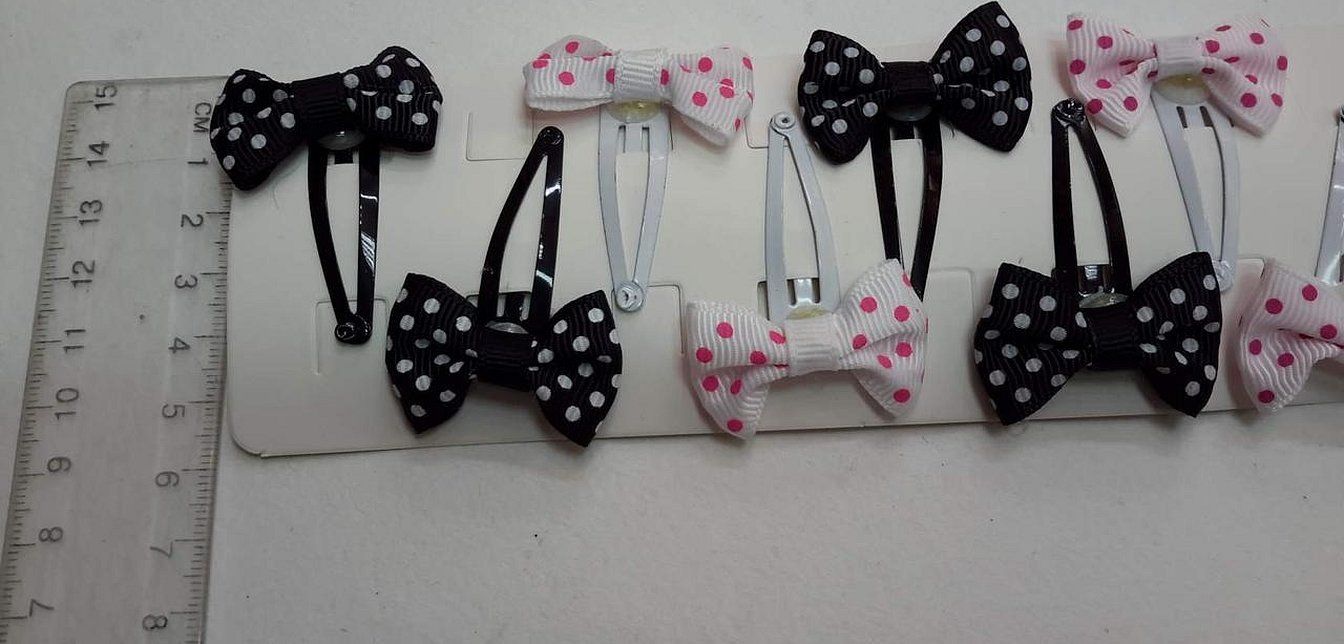
DIY Bow Hair Clip
Using the simplest hair clip and a ready-made ribbon accessory, you can create a beautiful hair decoration. You can make a bow using the same algorithm that is used when working with fabric. You can attach the finished element to the hair clip using superglue. If possible, you can sew a tactile decoration to the base of the hair clip. In any case, the child will be happy with the new thing.
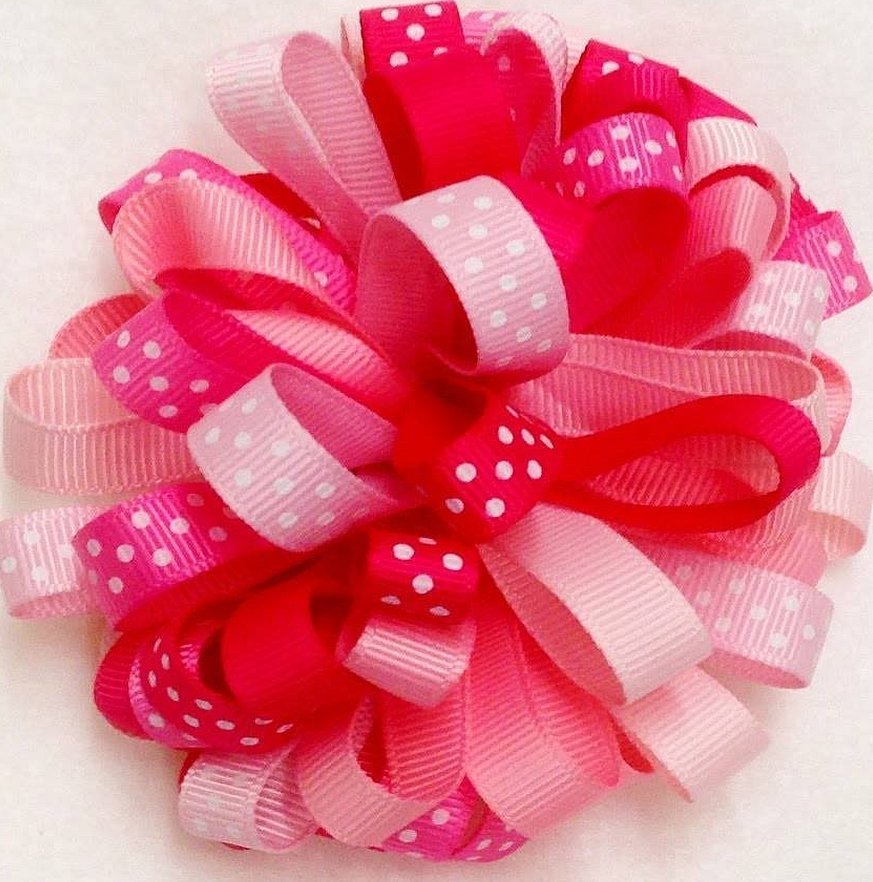
Making a fluffy bow with lace
A lush version of tactile decoration can be a great decoration for a pillow, gift, clothes. There are several options for creating volume, in particular, the kanzashi technique is very popular. But to master kanzashi, you need to attend master classes and practice for a long time. There are simpler, but no less impressive ways to make a lush bow with lace:
- Lay out the satin ribbon and ribbon lace. Place the strips on top of each other.
- Using a marker, place points at equal distances from each other to form segments.
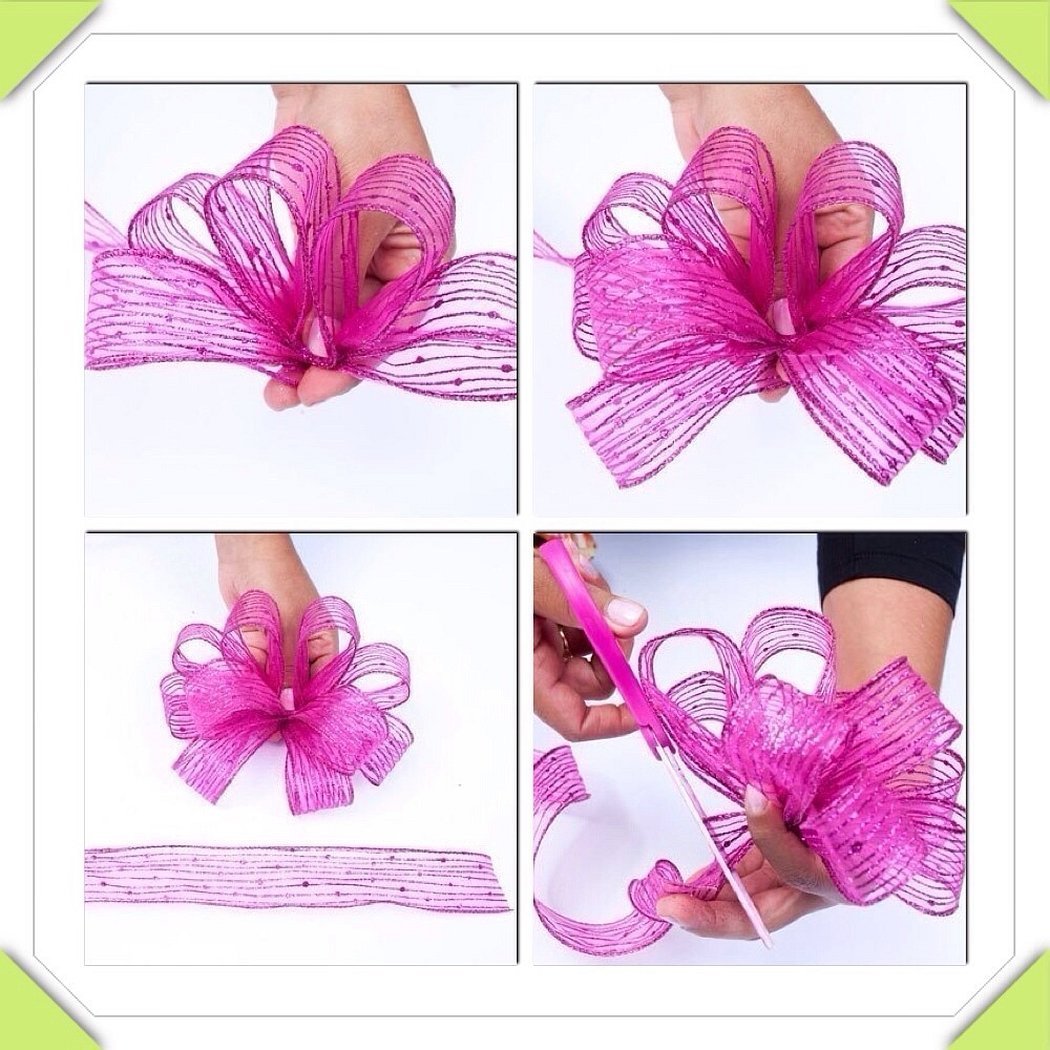
Additional information! The more pieces you get, the fluffier the product will be.
- Form ears from the ribbons, which join together at the points left by the marker.
- Then sew all the ears together.
You don't have to sew the elements together, but you can tie them in the center with sewing thread.
We make a thick beautiful bow from interlining
A beautiful non-woven bow can replace an expensive brooch. The material is quite dense, so it holds its shape perfectly.
Step-by-step algorithm of actions:
- Select several similar shades of non-woven fabric.
- Form several rings from each shade in an even number.
- Prepare a sketch by placing rings on top of each other and fastening them together. A thread and needle or a glue gun can be used as a connector.
You can cover the connection point with a mound of beads or beads.
Belt-bow
Making a bow belt is quite simple:
- Select a wide satin ribbon or prepare fabric.
- Take appropriate measurements of the length of the product.
- Find the center and form a small loop. Secure the section with a thread.
- Next, make a loop flat relative to the rest of the ribbon length and determine the center. Tie it with a thread. The first tier of the bow.
- On each side, form another loop larger than the previous ones. Secure the elements with a needle and thread.
- Cover the center of the bandage with a strip of fabric.
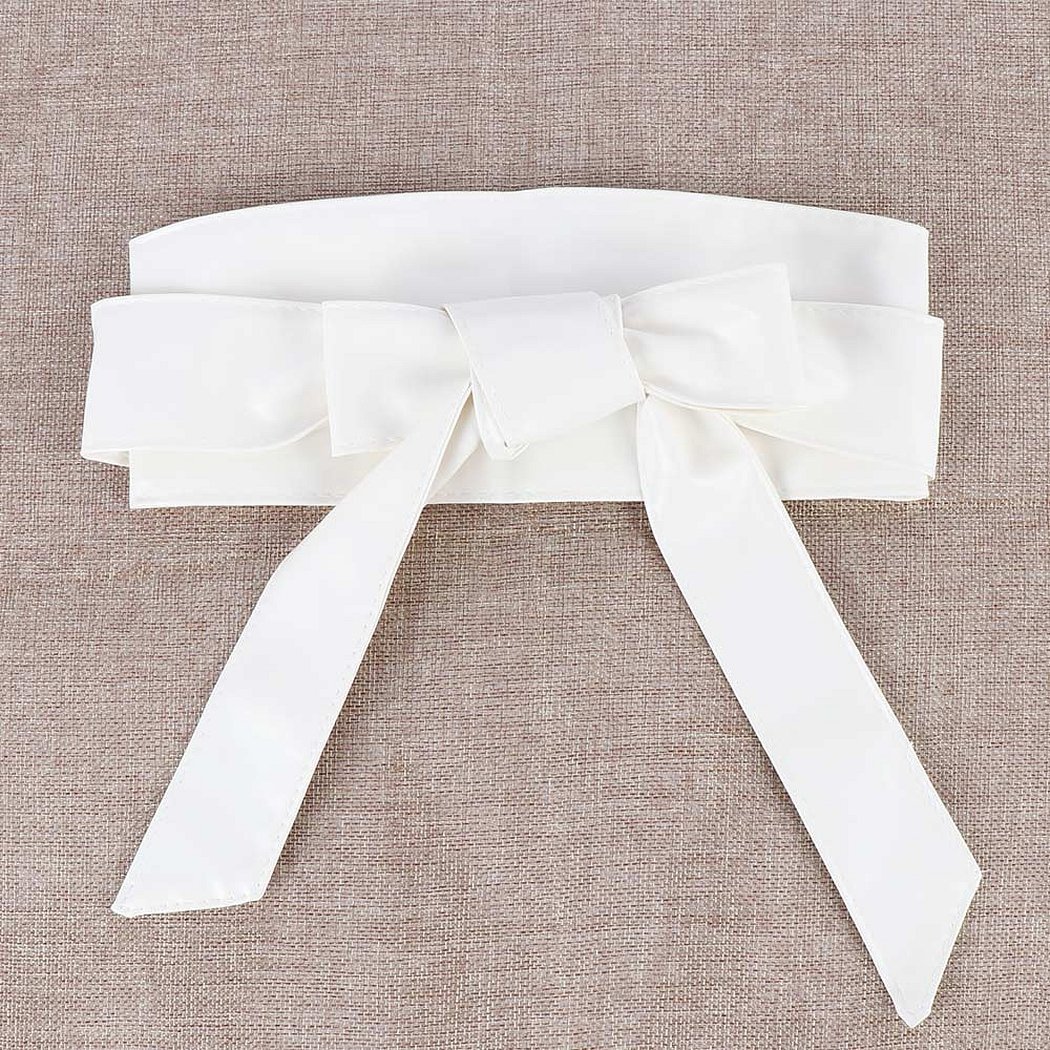
You can finish the belt by sewing the edges. An elastic band can be inserted between them. This type of belt will be relevant for any outfit. The accessory can hide the elastic band on the skirt, emphasize the waist if it is a dress or a sundress.
How to make a fabric bow on a dress
A bow can decorate a dress. It doesn't matter where it will be located. There is a version of the product that even novice craftswomen can handle. You need to cut 2 rectangles from the fabric or ribbon. One should be larger, and the second - smaller.
Place the pieces so that the smaller figure is on top of the larger one. The edges should be at the same distance. Fix the pieces by pulling them together in the center with a thread. The finished piece can be attached to a belt, shoulder, bodice, sleeve, or other detail of the dress. Any girl will look like a princess.
Making accessories in this style from textiles is not only interesting, but also fun. It is easy to involve a child in such an activity. At the same time, the little one can show imagination and create products of unimaginable shapes and sizes. There are many techniques and manufacturing schemes that differ from each other in complexity and complexion.


