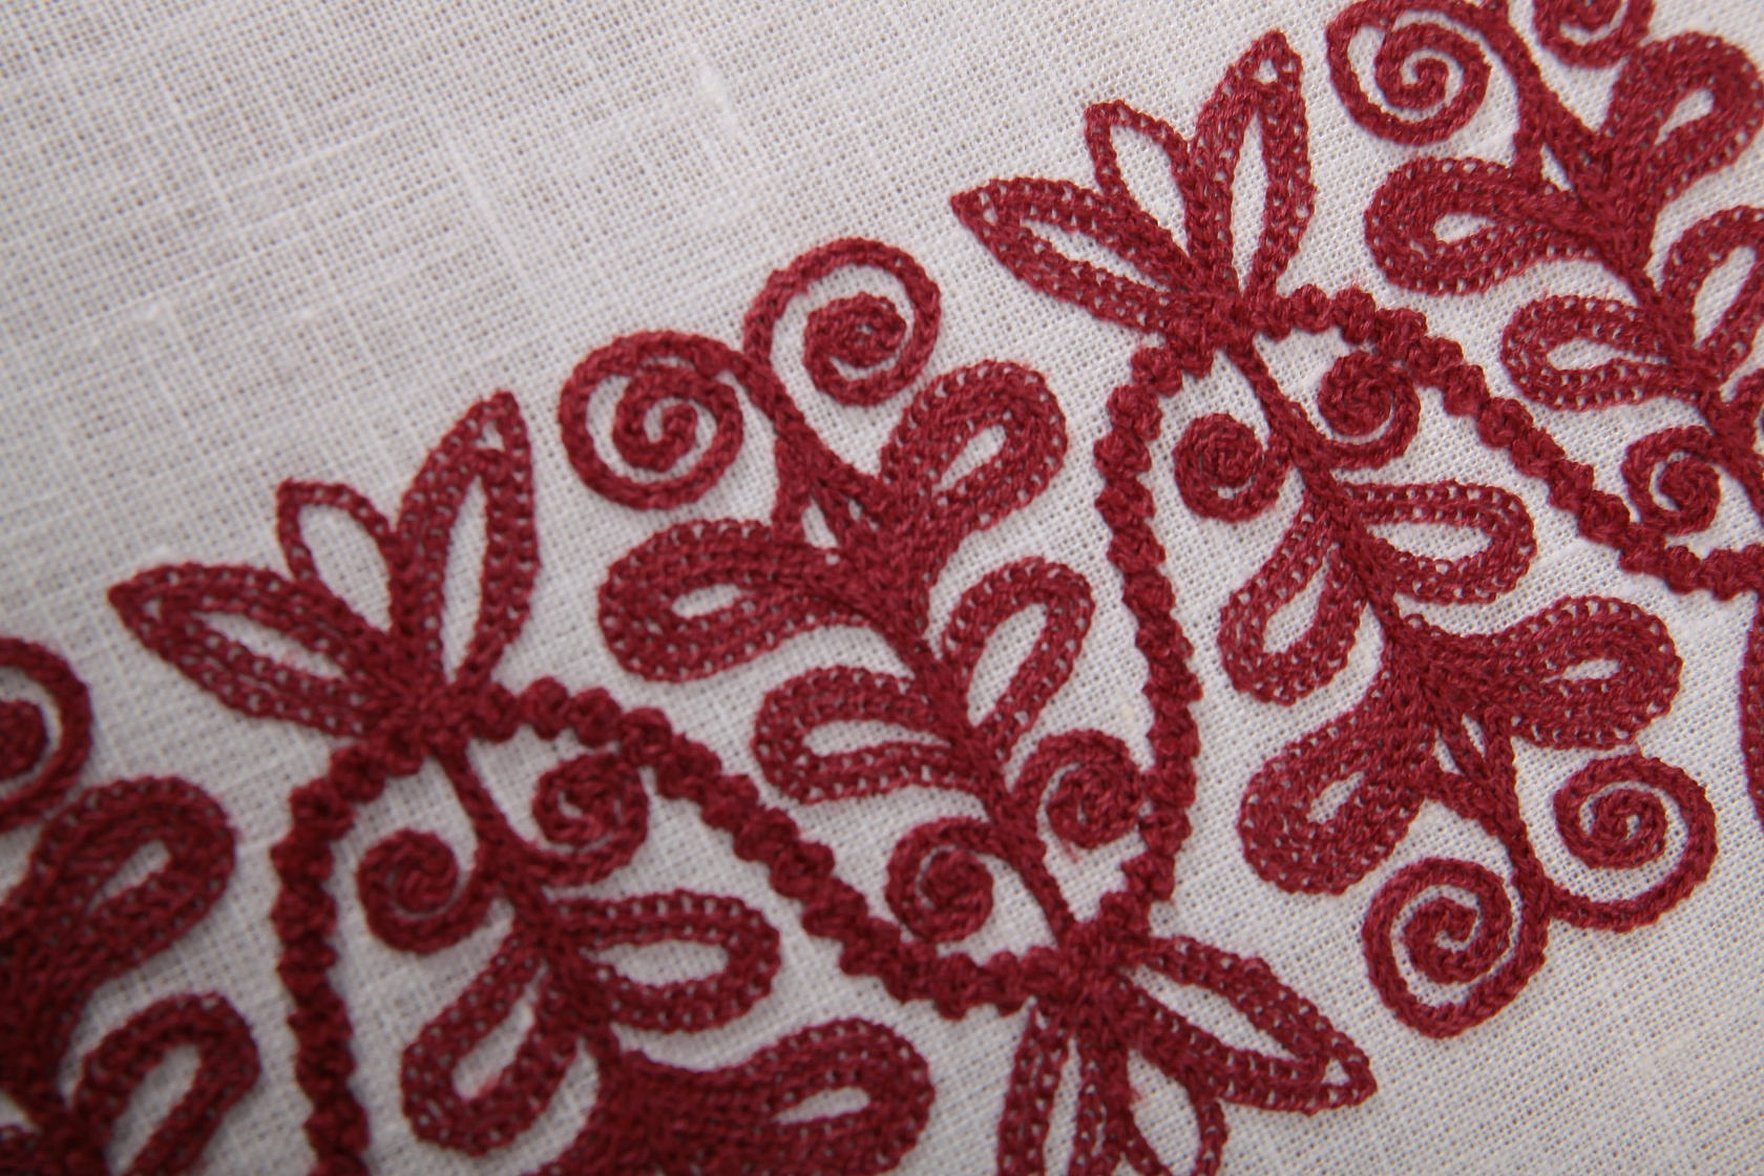
The history of tambour embroidery goes back to ancient Rus'. Tambour embroidery is done with various materials and technologies. This technique was used to decorate bedspreads and carpets. Various threads were used for the work, but preference was given to woolen ones. First, the outline of the drawing was filled with a special stitch, and then the drawing itself. However, many works were embroidered simply along the outline.
Embroidery became widespread in the 18th century, and a little later, special hoops began to be used for its execution. The hoop was a large circle, the fabric was stretched on it, and the embroiderers did all the work. It received its name "tambour" due to this method of embroidery, because the large hoops looked like a drum, which in translation from French means "tambour", since embroidering with a tambour stitch will be described in the article.
Materials and tools
This type is very common and simple, no special tools are needed to perform it. However, to make the work easier, you still need to have the necessary set of tools. The inventory includes:
- hoops. If in the old days hoops were only round and large, then nowadays their variety is amazing.
- fabric. Absolutely any fabric will do for this type of embroidery: dark material, silk and velvet. But for beginners, it is better to hone their skills on silk organza.
- hook and needle. Any needle will do for tambour embroidery, but it is better to choose a special hook.
- threads. The thickness and composition of the threads should be selected based on the work that will be done. You can use silk, cotton and even wool threads. The main requirements for the thread are imposed when working with a crochet hook. They need to be strong and easy to tie knots.
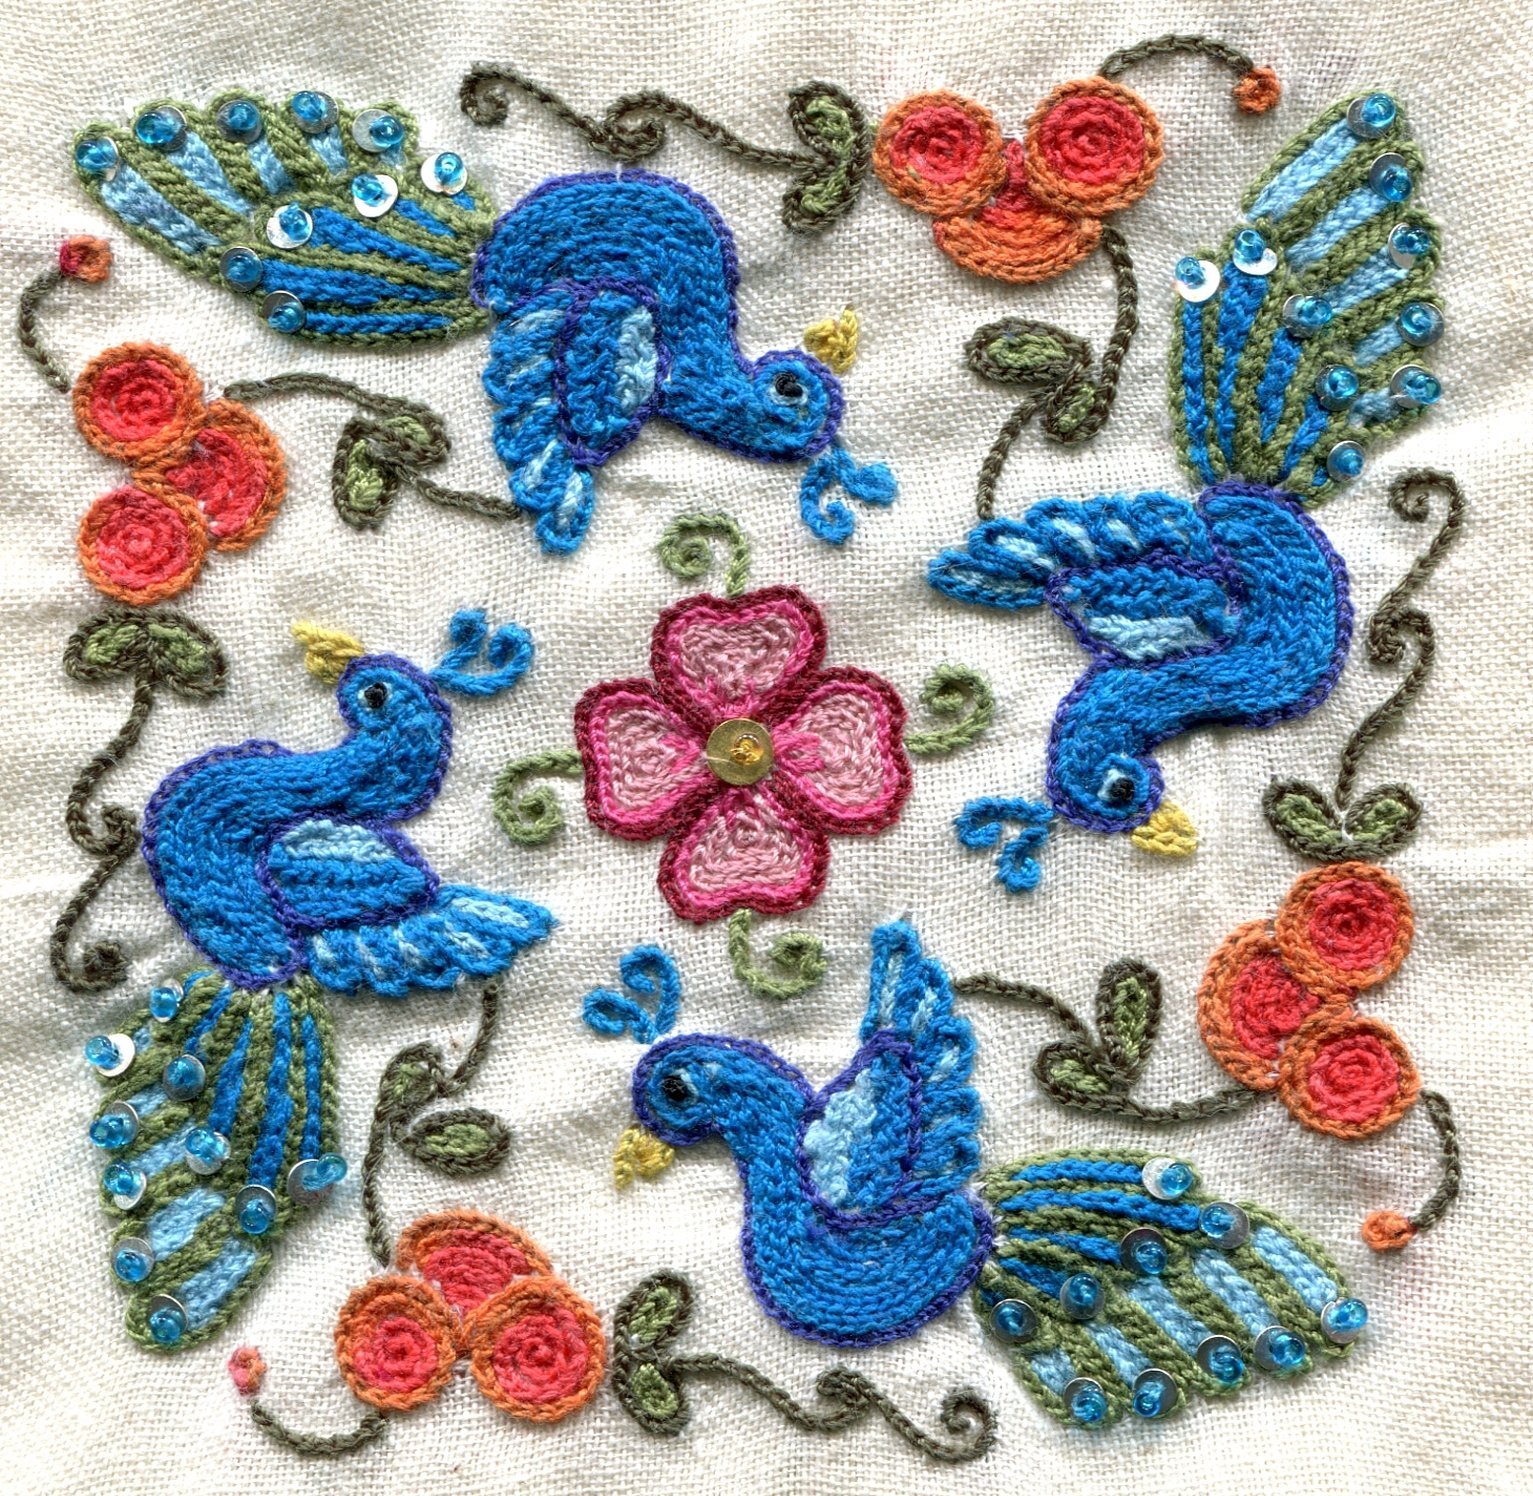
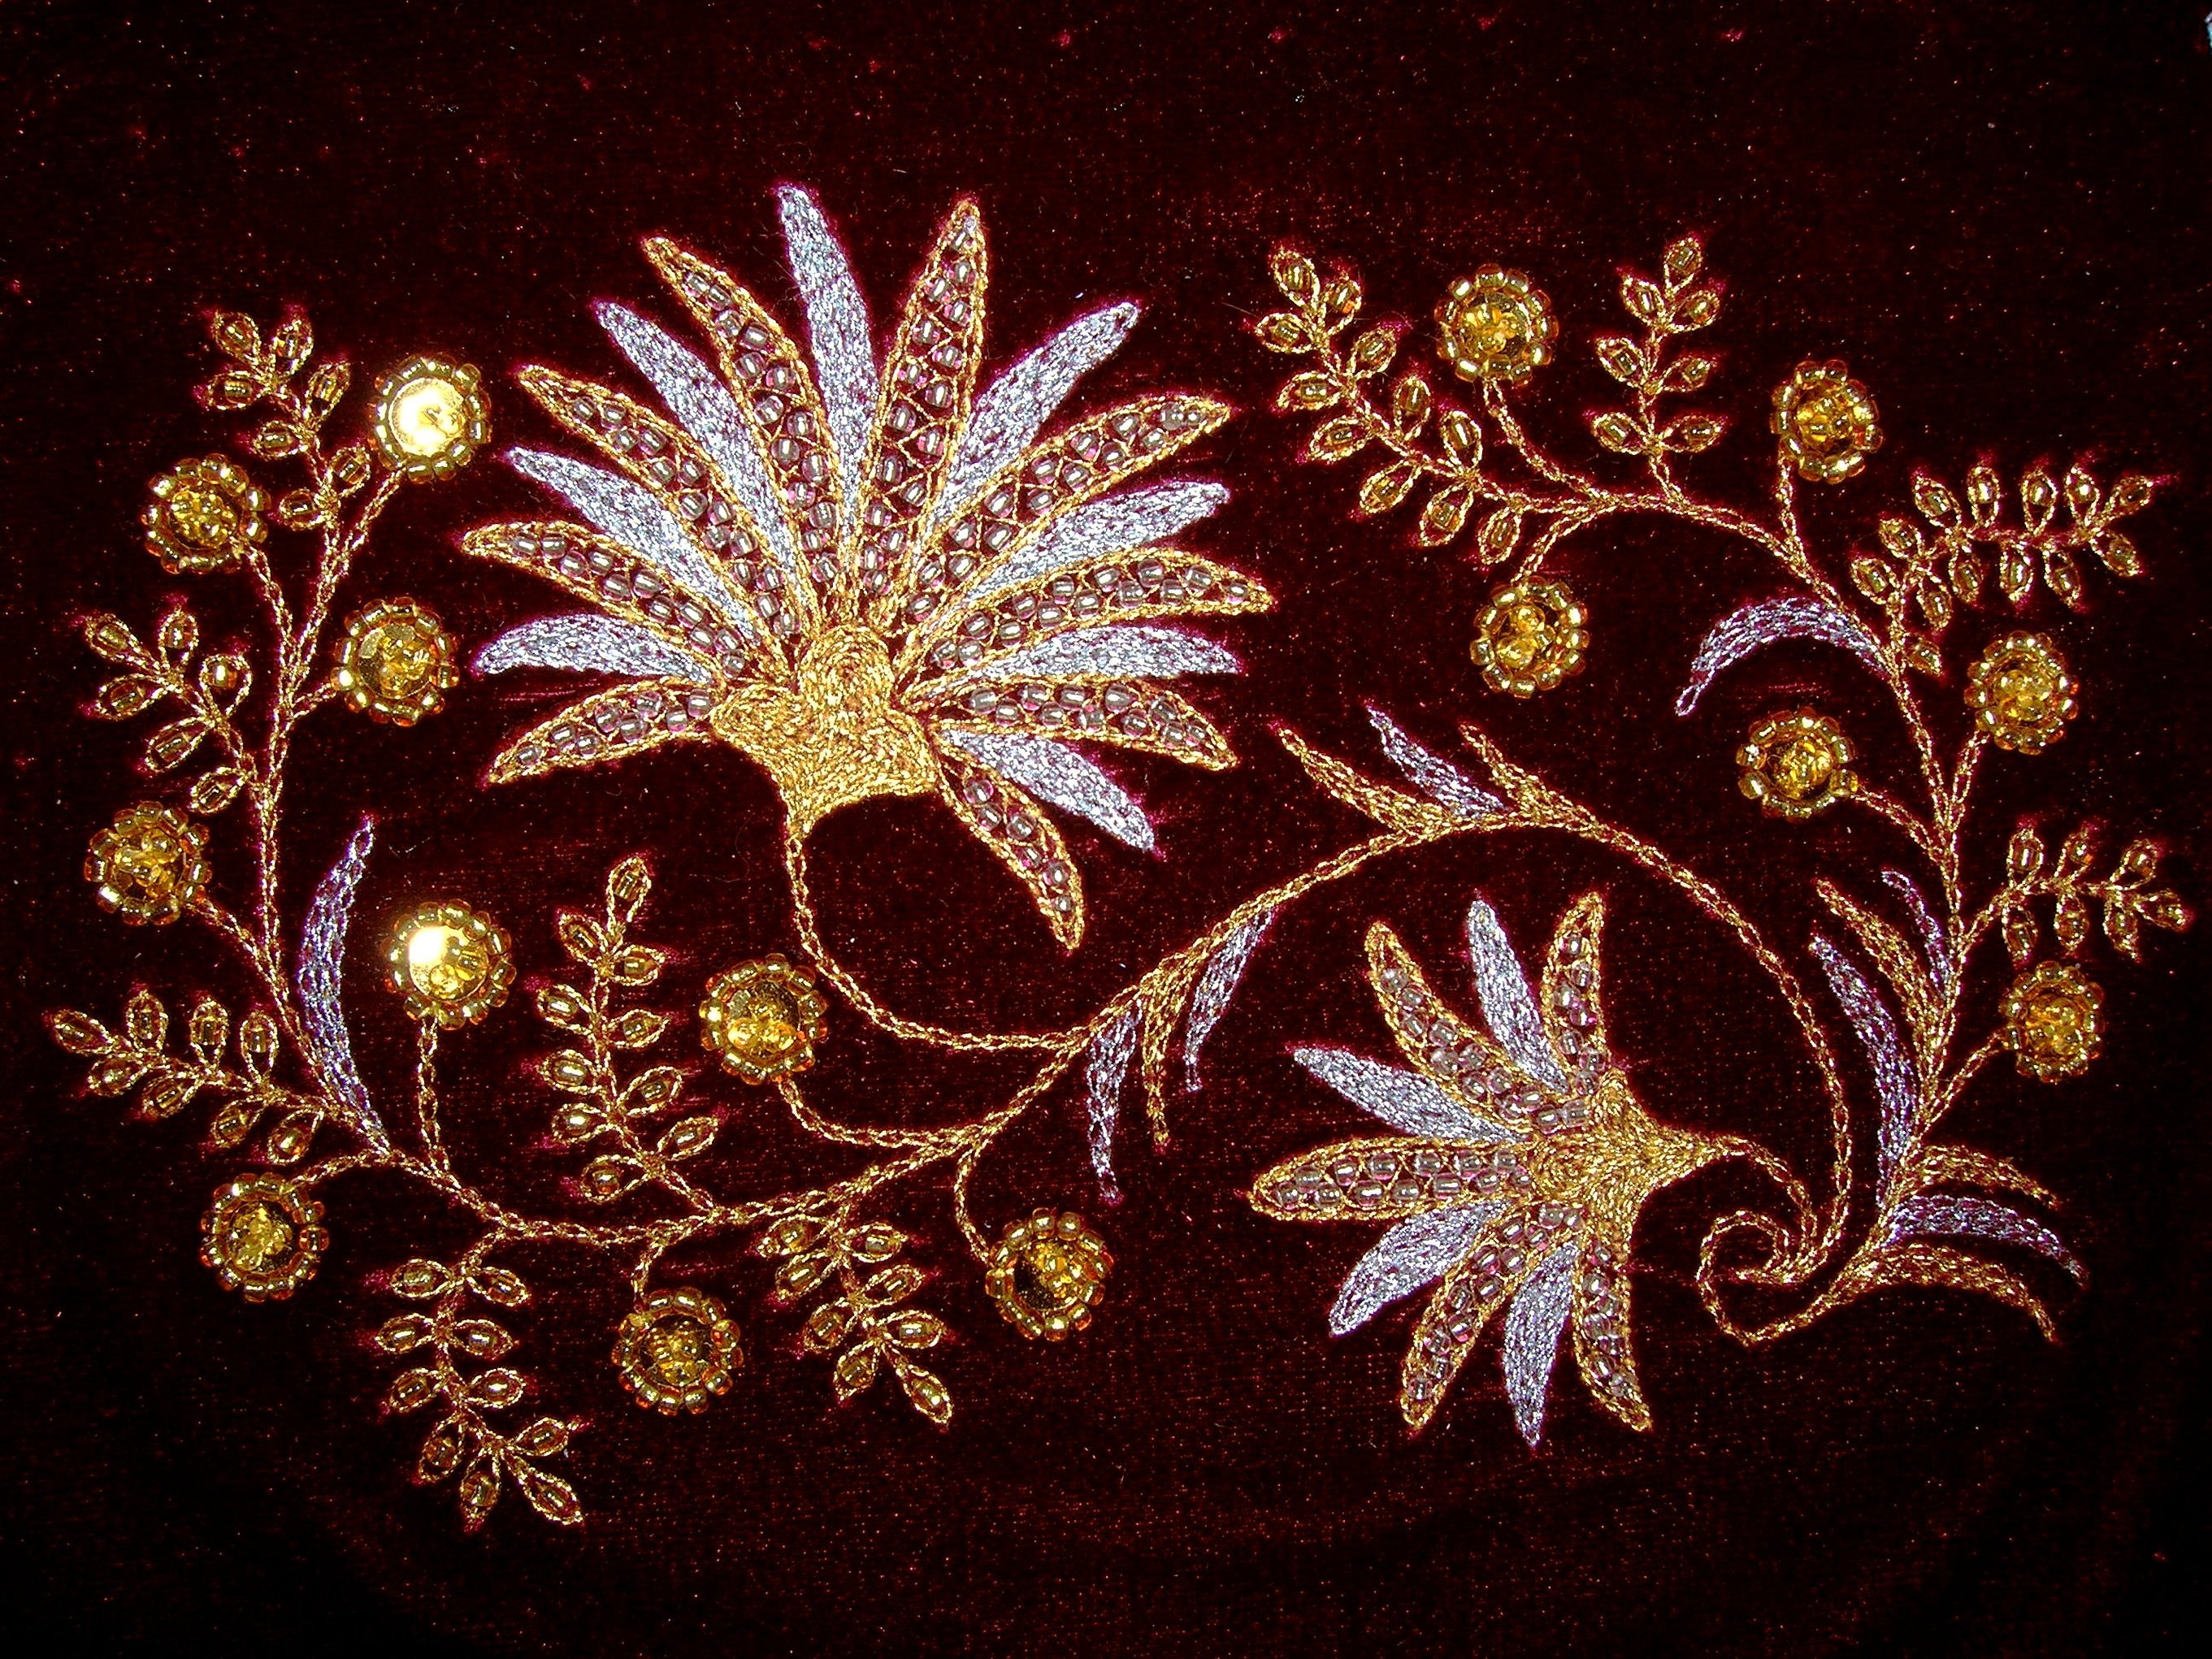
- Tambour embroidery is most often used to decorate fabrics, so you can't do without decorative elements. Such materials include: rhinestones, sequins, beads and stones. In general, you can use any decorative materials that you like.
Interesting! Nowadays, the tambour stitch is used to decorate bedspreads, pillows, clothes, accessories, panels, and also for finishing toys.
Technique of execution
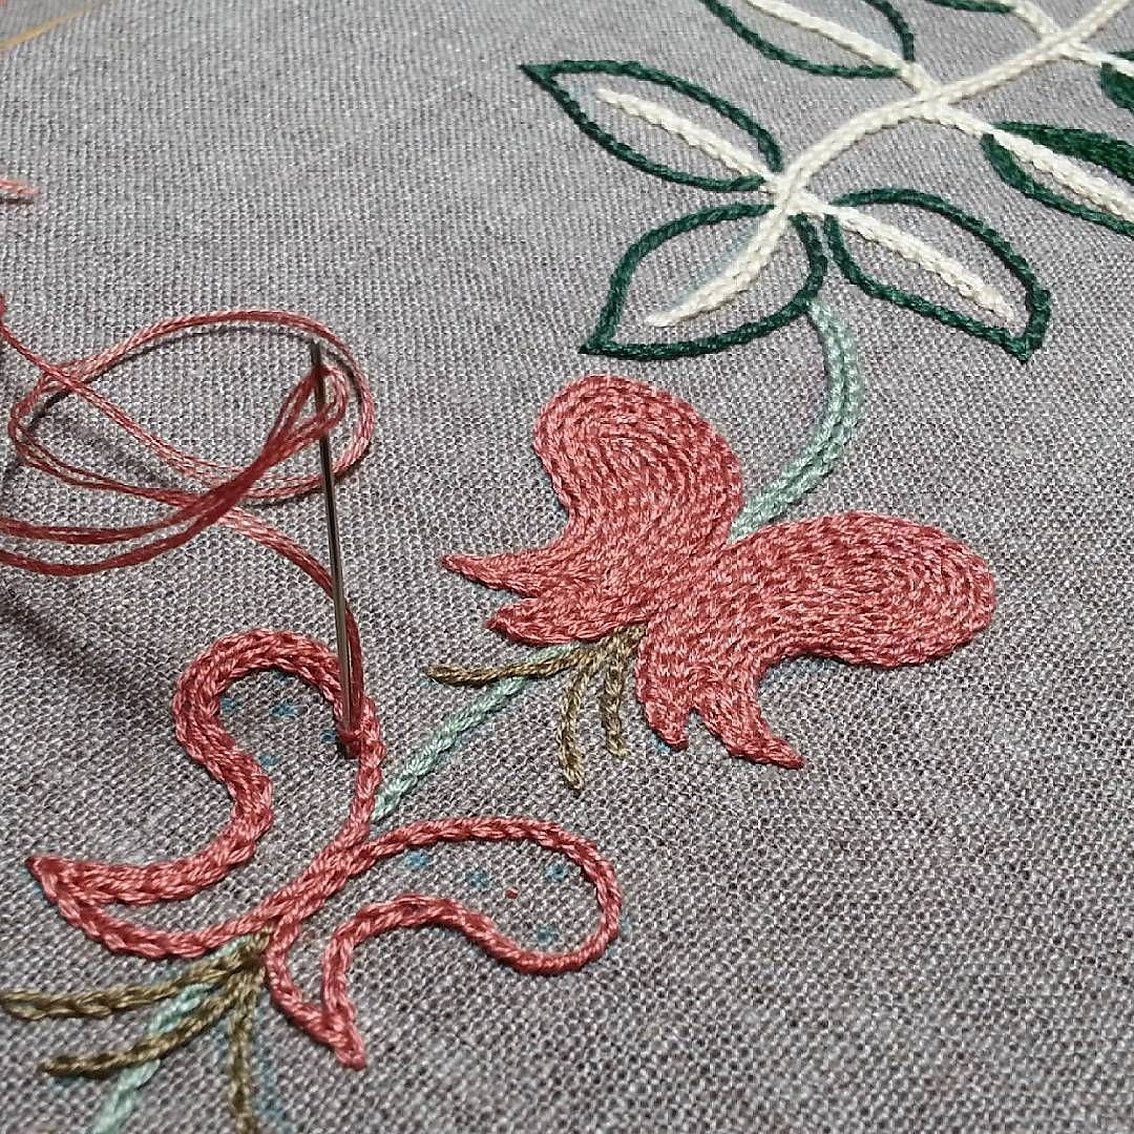
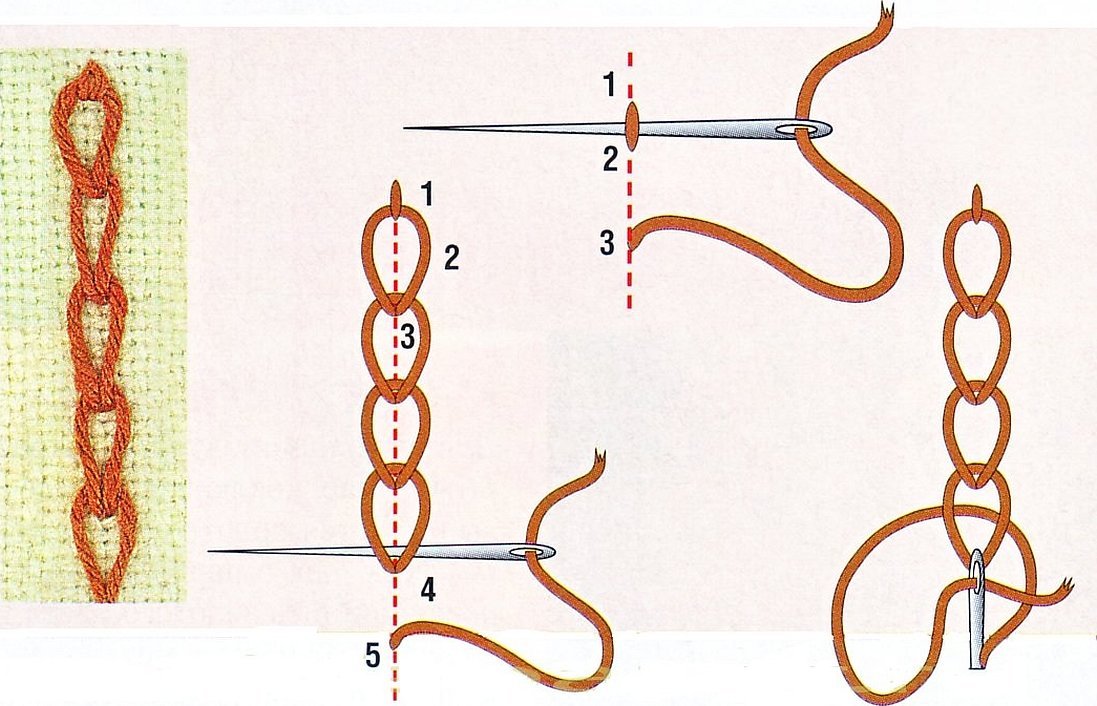
Embroiderers call tambour stitches chain stitches. This name arose because the stitches look like a chain.
Chain stitches with a needle are made in two ways:
- The thread is laid out in a loop, bringing it out to the front side of the fabric. Then, holding the loop with your finger, the needle is inserted. Without tightening the loop, the needle is brought out and the thread is tightened. All subsequent links are performed in the same manner.
- A stitch is made. Then the thread is brought to the front side and passed under the stitch. And at the end the needle is brought to the back side. All subsequent stitches are embroidered similarly.
Slavic cross stitch has no boundaries. Stitches can be made from top to bottom or from left to right. The size of the stitches does not matter either.
Please note! As was written above, the work is done not only with a needle, but also with a hook.
Usually, a hook is used to decorate knitted and jersey items. You can embroider with a hook in the following way: the hook is brought out from the front side, catching the working thread, and bringing it back. This creates a loop. After that, the hook is inserted into the fabric again, catching the thread, and passing it through the previous loop.
Embroidery options for children
Due to the fact that this is one of the simplest, it will suit not only beginners, but also children. An example for children's embroidery can be found in the coloring book. Children can embroider with one thread or several multi-colored threads. When choosing any children's drawing, you can embroider with one thread. To make the line thicker, you can sew another seam nearby. After you have acquired some skills, you can try to embroider the entire pattern with a tambour stitch, not just the outline. For convenience, you can choose a fabric on which the mesh will be visible.
Requirements for embroidering the chain stitch
There are certain requirements for embroidery using this method:
- the size of the loops must be the same;
- the loops must be located on the same line;
- all subsequent loops must come out of the previous ones;
- After the seam is finished, make a securing stitch;
- The seams should not be tight so that the fabric does not tighten.
Instructions on how to make a seam correctly
To make the seam correctly, you don’t need to have any special skills, you just need to follow certain instructions:
- You need to pierce the fabric so that the knots remain on the inside;
- When sewing, press the thread well with your thumb;
- continuing to hold the thread, the needle is inserted into the puncture;
- thus, the needle ends up on the wrong side, and the thread is pinched by the finger;
- now the thread needs to be tightened, and after that a loop will be formed;
- Thus, you need to make as many seams as are required to cover the design.
It should be remembered that the loops should be the same size and go along one line. The picture should show that each loop comes out of the other. If the sizes are different, the picture may not be beautiful.
How to turn a regular chain stitch into a raised one
The convex version is a composite element and must be done in several stages. During the first stage, the thread should be passed through the fabric to create a ladder. During the second stage, it should weave around the steps, but it will only pass through them at the end and at the beginning. For such a seam, it is better to use a twisted thread and a tapestry needle. Descriptions of many works can be found on the Internet.
Hook
For tambour embroidery with a crochet hook you will need not a regular hook, but a special one. Outwardly, it looks like a regular needle, only on a handle. The main feature is that there is an indicator on the handle that will always indicate where the hook barb is. Because with such skill with a crochet hook it is difficult to determine where it is.
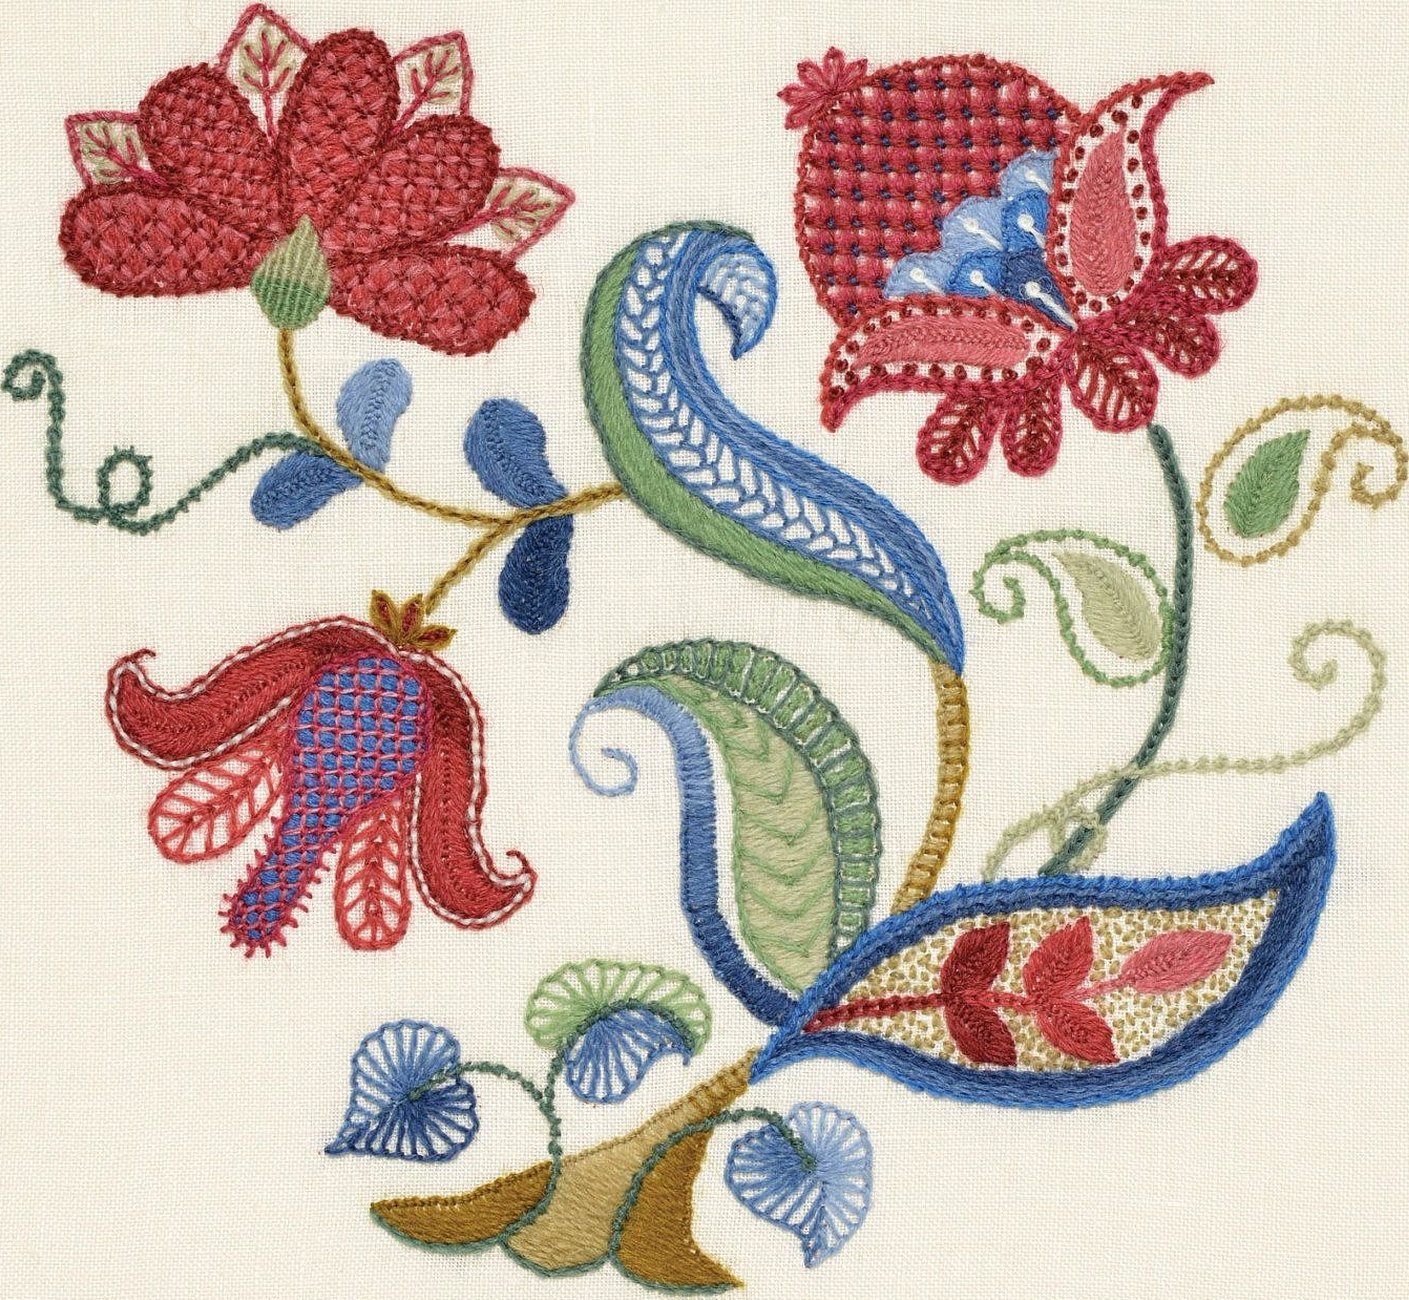
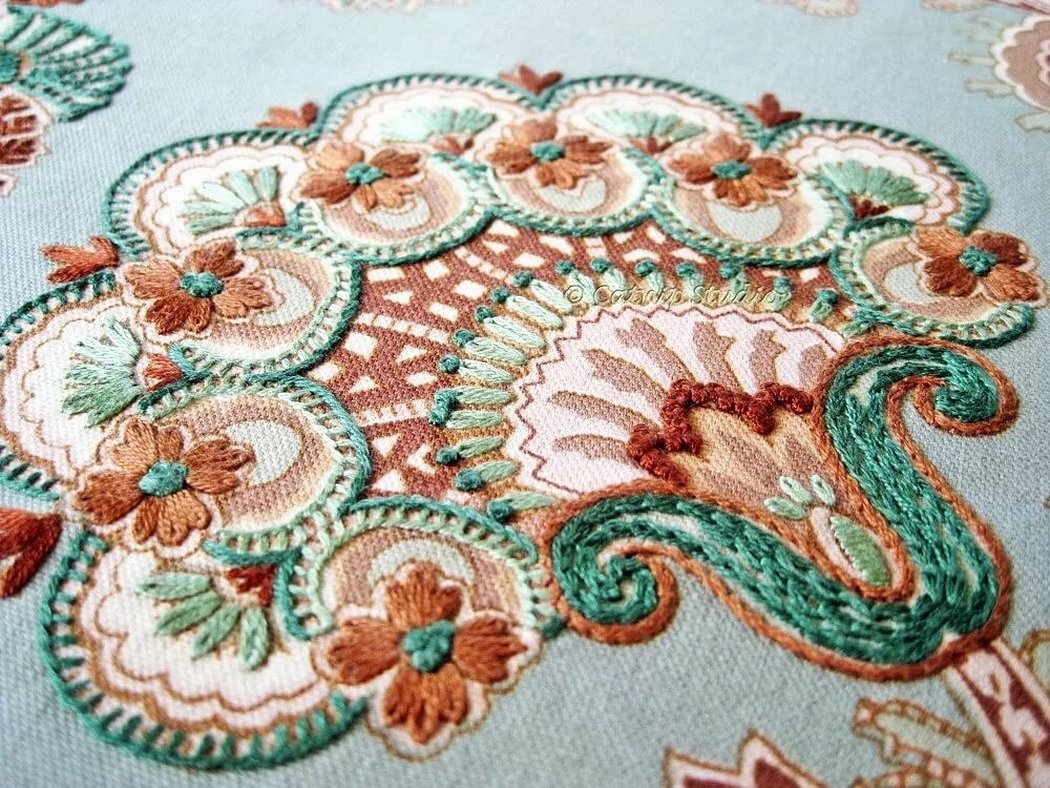
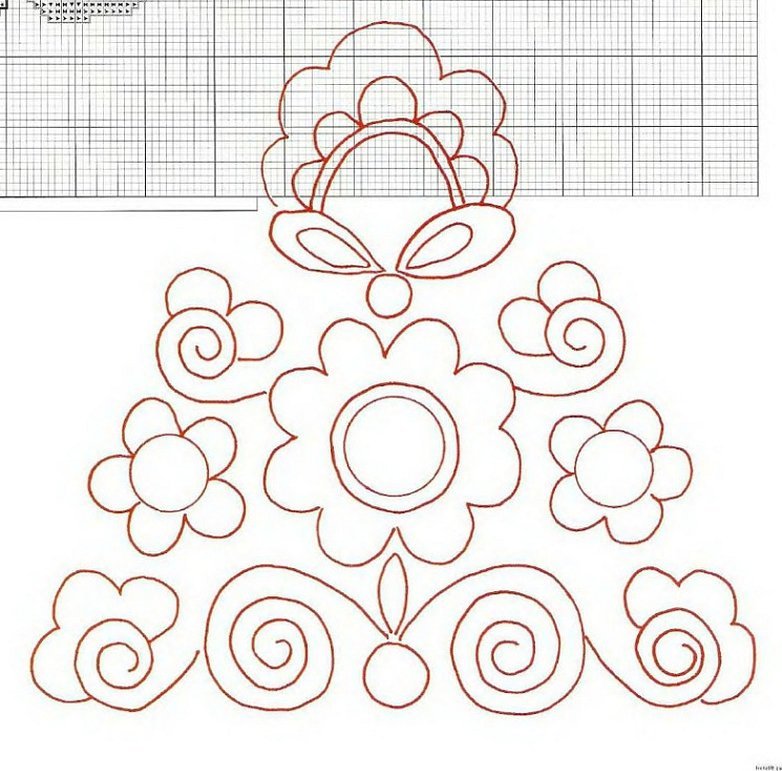
Embroidery designs
You can choose a pattern for a tambour stitch on the Internet or draw it yourself. Some craftswomen run their own forums, where they present a large selection of patterns for both beginners and experts.
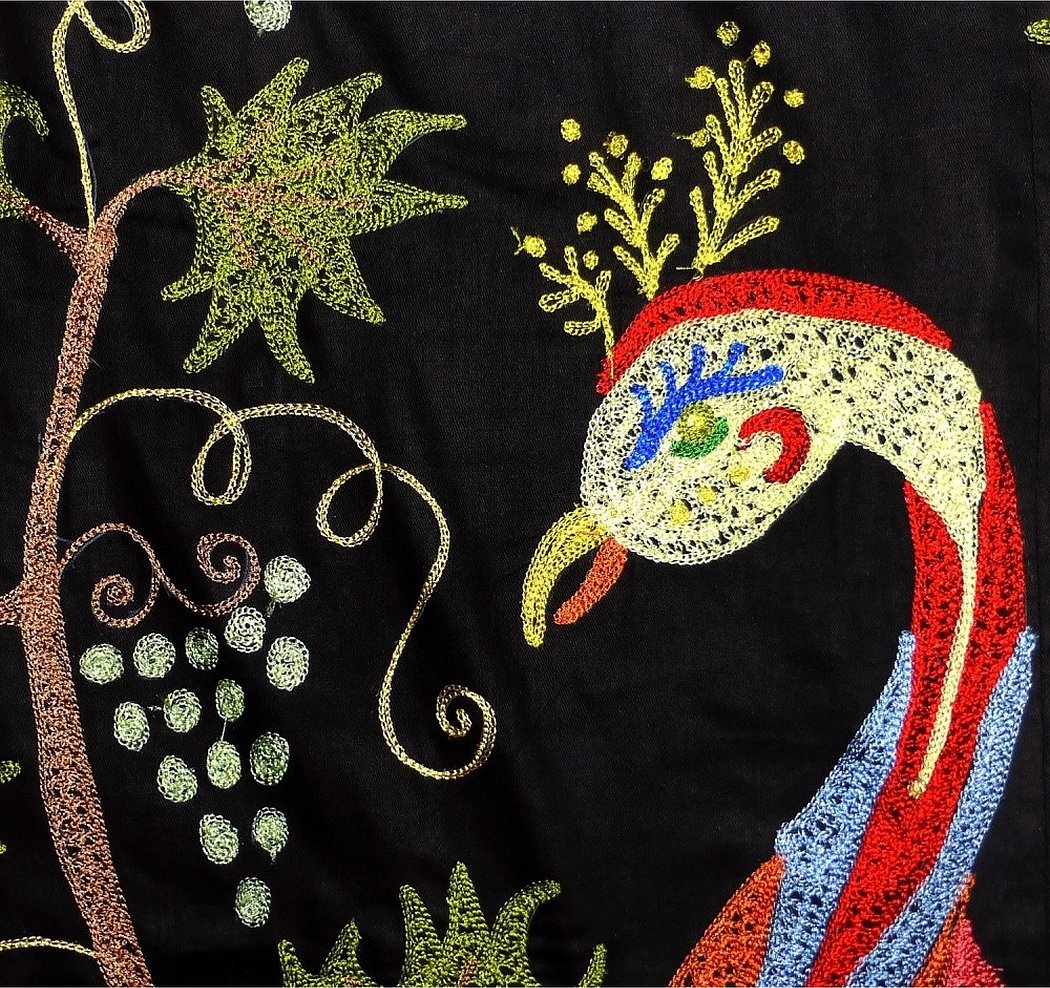
It is important to note that the ancient Egyptians used this type of embroidery for amulets. That is why it is also called amulet embroidery.
In Rus', every woman had to be able to embroider. The process of embroidery itself was a symbol of the ritual. The family in which the girls grew up forced them to prepare their dowry in this way. It is also worth noting that the art was determined depending on the region in which a person was born. Embroidery in Rus' was distinguished by a variety of patterns. Also, everyone had their own specific pattern of execution. Most often, birds and geometric patterns were embroidered.


